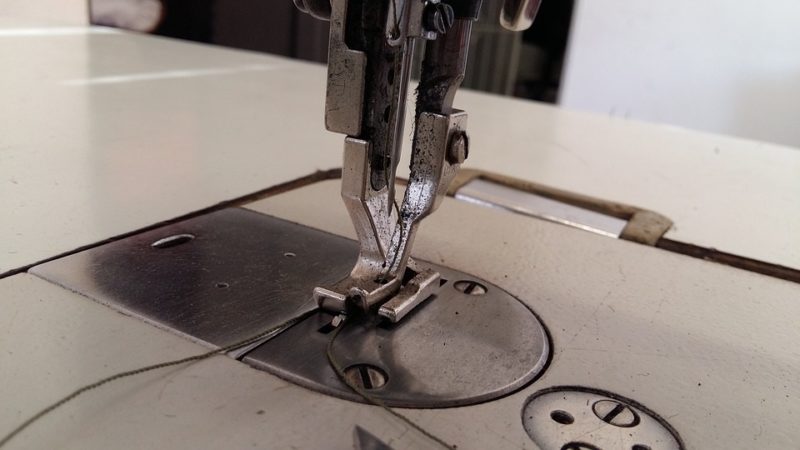
If you’re curious about sewing machine attachments and how to use them, here are the six common presser feet. This article discusses the all-purpose foot, walking foot, blind hem foot, button stitch foot, zipper foot, and satin foot. We’ll talk about how and when to use each foot so that you can be prepared for every sewing project.
Besides familiarizing yourself with sewing attachments and how to attach and use them, please browse our blog for other tutorials regarding the sewing machine. Start with learning how to change a sewing machine needle, for example.

Guide To Sewing Machine Attachments And How To Use Them
All-purpose foot
The most basic sewing machine attachment is the all-purpose foot. It comes with your sewing machine, and it’s versatile enough to be used for most sewing projects. It is also sometimes called the straight stitch foot or standard foot being used in straight single needle sewing machines.
You can distinguish an all-purpose foot from others by the toes on the sides of the needle. This way, you can make everything from basic stitches, zigzag stitches, or even some decorative stitches. You may even be able to sew stitches as wide as 7mm.
Walking foot
Another standard sewing machine attachment is the walking foot. It is also called the even feed or dual feed foot because it works like feed dogs as it feeds the fabric to the sewing machine to get precise stitches. The walking foot is also helpful in keeping fabric layers that shift around or for heavy materials where the feed dog can struggle with feeding it through the needle.
The walking foot stands out from other sewing machine attachments because it looks bulky with a set of teeth. It will move in a circular motion to help with stabilizing the fabric. It will also prevent misalignment when sewing thick materials since the top and bottom layers will be moved simultaneously.
Blind hem foot
There are different types of blind hem feet, but you use this sewing machine attachment to make professional-looking hems on clothing. It can make invisible stitches because you can put the fabric along its guide as the grooves on foot stabilizes the fabric while sewing. This makes it easy to distinguish a blind hem foot because it has grooves underneath and a center metal guide.
Do you want to learn how to sew a hidden seam with a sewing machine as well? Then, please read our tutorial for the surprisingly easy steps to follow when finishing your projects.
Button stitch foot
The sewing machine is invented to make sewing quick, easy, yet precise. Putting buttons on projects becomes fast and straightforward thanks to button stitch settings and the sewing machine attachment called the button stitch foot. With the button stitch foot, you can two-hole and four-hole buttons with ease.
This foot works by holding the button via its rubberized grip as the machine makes zigzag stitches to attach it. You can also ensure precise attachment of buttons since you can still have a good viewing area. And besides buttons, you can use the button stitch foot to tack trims, sew ribbons, and attach hook and eye closures.
Zipper foot
Attaching zippers became much easier with the zipper foot. It is also among the most common sewing machine attachments, and most sewing machines have it included. Compared to other feet, it is narrower to allow stitching around the zipper.
The zipper foot can hold the zipper in place as the needle gets close to the edge of the project, thanks to its notches. Therefore, you can sew without hitting the zipper teeth, which can break the needle. Some zipper feet are even adjustable by having a slider on the back so that you can change its position.
Satin stitch foot
If you make decorative stitches often, it’s best to get a satin stitch foot. This sewing machine attachment allows the machine to make dense stitches that it’s also used for appliques. Therefore, another name for the satin foot is the applique foot.
You can determine a satin stitch foot by its groove underneath to prevent decorative stitches from getting distorted. Some are even transparent, so you can see how your stitches work out. The transparency can also help you know if you are attaching the applique correctly.
How Do You Attach A Presser Foot To A Sewing Machine?
- Refer to your model’s manual for specific instructions
- Raise the needle as much as possible
- Turn the sewing machine off
- Raise the presser foot via the lever
- Press the button behind the presser foot holder to remove the current foot
- Align the replacement foot underneath the shank of the holder
- Lower the presser foot lever to snap the foot pin into the holder’s shank
- Raise the lever to check the foot’s attachment
Conclusion
And that’s it! We just discussed six sewing machine attachments and how to use them. They are the most common presser foot, and owning them will help you with almost every project. But, of course, using them depends on what you’ll be sewing.
For example, there are feet for buttons, zippers, and even appliques. You can also get by with the basic all-purpose foot or walking foot. We hope this was helpful; leave us a comment if you have any.
