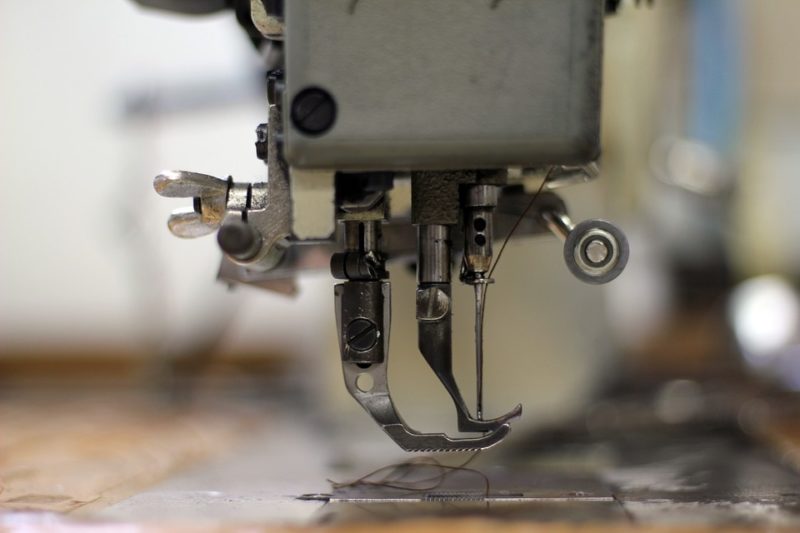
You only need two steps to learn how to change a sewing machine needle. This article will discuss it in more detail using a bullet-type guide to make it easier to follow. We’ll also include other valuable tips regarding sewing machine needles.
A related article that you can also check is how to put a needle in a sewing machine. Please give that a read since it includes other tips regarding the usage of sewing machine needles. And if you’re new to these machines, we have a guide on how to buy a sewing machine so that you can get the best one for your needs and preferences.

How To Change A Sewing Machine Needle At Home
Step #1. Prepare the tools and sewing machine
- Refer to the manual of the specific sewing machine model you have
- Prepare a needle insertion tool to keep your needle from falling down the sewing machine
- As an additional precaution, you can place an index card on the base of the sewing machine, so in case of the needle falling, you won’t lose it
Step 2. Use the needle insertion tool to remove the needle
- Insert the end of the needle on the needle insertion tool and pull it up to cover the needle as much as you can
- Tighten the space and use your screwdriver to loosen the needle screw slightly
- Remove the needle insertion tool and loosen the screw by hand until you remove it completely
- Make sure that you’ll dispose of your sewing machine needle properly for safety
- You can use any small container to keep all your removed needles
How Do You Change A Needle On A Singer Sewing Machine?
- Read the manual of the specific Singer sewing machine model you have
- Turn off your Singer sewing machine for safety
- Locate the presser foot lever to raise the presser foot, then place a paper underneath it to cover the hole on the needle plate
- Having paper over the needle plate hole will ensure that your needle won’t accidentally fall inside the sewing machine as you remove it
- Turn the handwheel towards you until you lifted the needle to the highest level, typically indicated by a marking on the sewing machine
- Having the needle very high will make it easier to access, remove, and replace
- Hold the needle with your left hand and turn it counterclockwise with the other
- You can also use a screwdriver if you’re struggling with turning the needle screw
- Pull out the needle and prepare the new one
- Make sure that you’re inserting the flat side of the needle facing the back of the sewing machine
- Push the needle into the needle clamp
- You will feel that you’ve hit the needle stopper to indicate that the needle is secured in place
- Hold the needle with your left hand and use the other to tighten the screw clockwise
- Ensure that the screw is secured in place by tightening it further with a screwdriver without overtightening it since it can damage your sewing machine
How Should A Sewing Machine Needle Be Placed In A Machine?
When installing the needle on the sewing machine, the final orientation should be its flat side facing left. If you placed the sewing machine needle incorrectly, it would be slightly on the right. As a result, the hook will likely miss the thread loop, and your machine won’t be able to make stitches.
You can also read this explanation regarding how a sewing machine works. It will benefit you because you’ll understand the mechanisms that allow the machine to sew. You’ll also find how the needle works, and you can apply it when learning about its installation.
How Do You Loosen A Set Screw Needle?
Loosening the needle set screw on the sewing machine is relatively quick and easy, but sometimes, it can get stuck and make the process a bit harder. You can avoid issues like this by always using the correct needle, installing it correctly, and of course, studying your sewing machine’s manual. In the meantime, here’s how to loosen a set screw needle that’s stuck:
- Hold the needle with your left hand and use the brand’s included screwdriver with your sewing machine
- Some sewing machines, such as Brother, consists of an oval screwdriver for turning the needle clamp screw
- Loosen the screw by turning it counterclockwise and then remove the needle
- If the screw doesn’t loosen, a straight blade screwdriver can also work
- Remember to go counterclockwise for loosening and clockwise for tightening the needle clamp screw
How Often Should I Change My Sewing Machine Needle?
You can change the sewing machine needle as often as after each project, especially after working with tough materials like fleece and leather that dull needles. You can also replace the sewing machine needle after using two pre-wound bobbins or finishing three full bobbins. And if you’re quilting with the sewing machine, change the needle every 8 hours.
Conclusion
And that’s it! To recap how to change a sewing machine needle, you only need to cover the machine so the needle won’t fall, use an insertion tool to hold the needle, and loosen the screw counterclockwise. It’s a quick practice you can do each time you finish three full bobbins.
Are you also interested in another sewing machine-related information? Please browse our blog because we even have articles regarding machine brands. For example, who makes Eversewn sewing machines?
