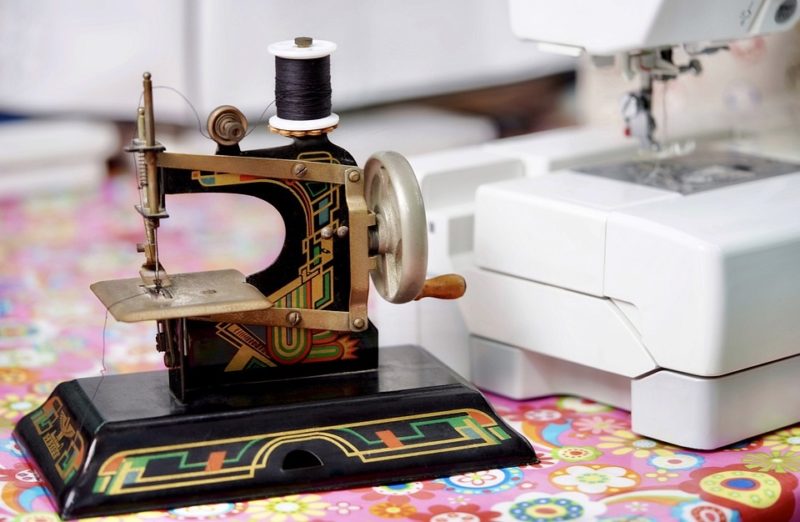
You can learn how to use Easy Stitch sewing machine by referring to its manual. But if you lost it, worry not because here is a complete step-by-step guide.
We’ll teach you everything from sewing to setting up an Easy Stitch. This includes replacing the needle to even winding the bobbin.

Do you also own a handheld unit? It’s best for quick mending and repairs, but read how to thread a handheld sewing machine to have it working smoothly.
How To Use Easy Stitch Sewing Machine For Beginners
Safety instructions for usage
- Always set the Easy Stitch power off when inserting the batteries or replacing the needles
- Set the sewing machine off and unplugged or batteries out when not in use
- Keep the machine off until the fabric is placed properly
- Never try to dismantle the unit yourself
Battery installation
- Prepare four double-A batteries for the Easy Stitch, which aren’t included with the machine
- Make sure the machine is off
- Locate the battery compartment underneath the machine and take its cover off
- Insert the batteries according to the correct polarities
- Always use a whole new set of batteries each time
- Remove the batteries on the Easy Stitch if you will store the machine for a long time
How to sew with an Easy Stitch sewing machine
- Rotate the handwheel of the Easy Stitch towards you to raise the needle as much as possible
- Raise the presser foot lever and position the fabric underneath it
- Lower the foot via the lever to secure it in place
- Turn the handwheel to test the stitching and fabric movement
- Turn the sewing machine on and adjust the speed via the speed switch
- Once done with sewing, turn the Easy Stitch power switch off
- Raise the needle and feet to remove the fabric
- Play with the handwheel if the fabric can’t be taken out easily
- Cut the thread
How to adjust the stitching in an Easy Stitch sewing machine
- If the top thread looks like a straight line, turn the thread clamp counterclockwise to reduce its pressure
- If the bottom thread looks like a straight line, turn the thread clamp clockwise to tighten the stitching
How to replace the needle on an Easy Stitch sewing machine
- Turn off the sewing machine and remove the batteries
- Turn the needle clamp screw counterclockwise to loosen it and pull the needle down to remove it
- Position the new needle underneath the holder and insert it as far as you can, ensuring that the needle’s flat edge is positioned away from you
- Turn the needle clamp screw clockwise to secure the new needle in place
How Do You Use A Set Up An Easy Stitch Sewing Machine?
How to thread an Easy Stitch sewing machine
- Study the Easy Stitch sewing machine parts
- Thread the first thread guide eye located between the bobbin and thread clamps
- Guide the thread between the thread clamps and take-up lever through the second thread guide eye
- Thread the take-up lever and lead the thread through the third thread guide eye
- Thread the fourth thread guide eye on the foot holder pole spring
- Thread the needle eye left to right and pull the thread under the foot holder towards the rear of the Easy Stitch sewing machine
How to install the bobbin in an Easy Stitch sewing machine
- Release and remove the shuttle cover plate via the button located at the back of the Easy Stitch
- Pull the thread from the bobbin for 5 inches and put the bobbin inside the compartment
- Check if the thread will run clockwise towards the front of the Easy Stitch
- Turn the handwheel counterclockwise to lower the needle and continue moving the handwheel, so the bottom thread runs across the bobbin
- Turn the handwheel until your raise the needle and the bottom thread formed a loop over the needle thread
- Pull both threads towards you to raise the bobbin thread up
- Have both threads towards the back of the Easy Stitch and under the foot holder
How to wind the bobbin on an Easy Stitch sewing machine
- Locate the bobbin winding pole inside the handwheel and turn it counterclockwise to have it spring out
- Release the bobbin winding spindle at the top of the unit and put the thread spool onto it
- Thread the center bobbin hole left to right before threading one of the bobbin holes
- Put the bobbin to the rewind pole and wind the thread around it about four times clockwise
- Hold the thread to guide it and start winding by turning the power on
- Once full, cut the thread and remove the bobbin from the pole
- Push the pole back into the handwheel and rotate it clockwise
- Push the spindle back into the machine
Read more about what is a bobbin on a sewing machine.
Conclusion
Was this article helpful? We just discussed how to use Easy Stitch sewing machine, and it showed that it lives up to its name.
Sewing is as easy as securing the fabric under the foot and using the dedicated switch to control the speed. Then, you will turn the machine off and remove the material with the feed and needle raised.
We hope this helped those who lost the manual; leave us a question if you have any.

I have successfully used my Easy Stitch several times in the past. I find now that it will not sew, in spite of numerous attempts including completely retreading. Am I missing something?