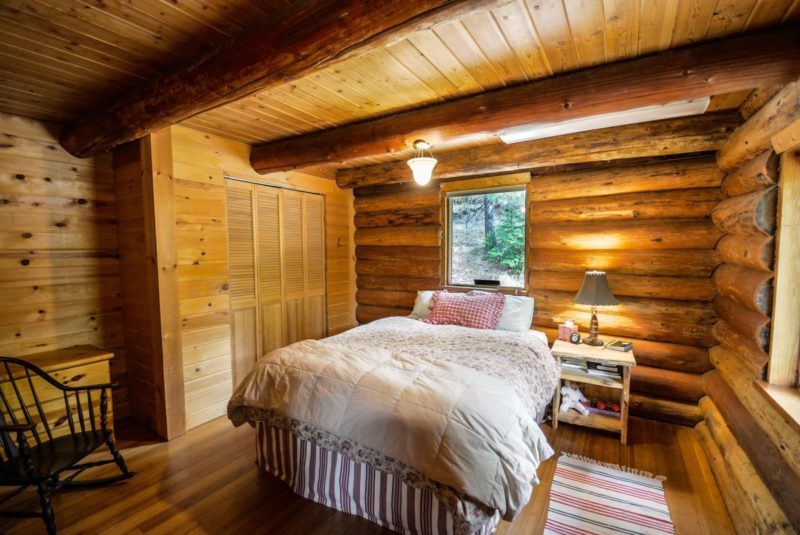
Do you feel uncomfortable sleeping on your bed and thought of other ways to satisfy your needs by learning how to make a log bed?
A log bed is a bed frame made entirely of cut and shaped logs that fit together without using nails or screws.

Before, log beds were built with cross rails and placed with a mattress on top.
Modern log beds do not need a cross rail anymore because they usually hold a box spring and a mattress.
The sturdy frame offers you security, and the logs make the atmosphere warmer compared to the industry-made beds.
So log beds could make one of the aesthetically pleasing pieces of furniture for your home that fits your particular needs for a good sleep.
Ways To Make A Log Bed
Sleep is an essential state we need, and it can be one of the most blissful.
Seeing your bed equates to seeing a reward of peace, quiet, and rejuvenation after a toxic day at work.
But a good evening sleep won’t be possible if you lie on a bed that frustrates your whole being.
A DIY bed of your dreams that fit your taste is the best choice.
Unfortunately, the industrial-scale made beds don’t fit our needs very often.
Thus, taking a toll on our supposed beauty sleep every night.
So, how to make a log bed?
Below are the six simple techniques to make a log bed:
Technique #1. Finding the logs
In finding logs to be used in making a log bed, dead trees burned out by a wildfire are the best choice.
However, if you found none, look for a medium-sized tree and cut it legally.
Then, remove its bark to dry the wood faster since waiting for it to dry out takes about a year completely.
Technique #2. Sawing the logs
For the legs of the bed and the ends of the headboard and footboard, you need to cut four posts.
Make sure these posts come with two measuring 4 feet long and another two with 3 feet in length.
You saw another four rails and cut them into 1 inch longer than the mattress width to separate the posts.
Next, you will need spindles between the rails of the headboard and footboard.
For the headboard, you need 36-inch spindles while 24-inch long for the footboard.
The number of spindles you have to cut will depend on the bed size.
To connect the head post to the foot post on each side, use the bed rails you saw.
Next, cut other bed rails that are 1 inch longer than the length of the mattress.
Technique #3. Removing the bark
To remove the bark and shape the logs, use a curved drawknife.
A drawknife is a traditional hand tool; it contains a blade with two handles set against the wood and is used to shape wood by removing the bark.
Technique #4. Forming tenons and mortises
Using a drawknife or a tenon maker attached to a drill, form the tenons in the rails and spindles.
The tenons you’ve formed would connect the railings and spindles of your bed frame.
Next, using a drill and Frostner bits, carve out flat-bottomed holes that are large enough to hold the tenons.
Furthermore, cut out mortises for the headboard at 9 inches and 44 inches from the floor.
Then cut 9 inches and 32 inches for the footboard.
Space the spindles evenly by cutting the spindle mortises.
Then, drill the mortises for the bottom bed rail at 5 inches from the floor for all bedposts.
Meanwhile, drill the mortises for the top bed rail at 13 inches from the ground.
Technique #5. Assembling the bed
To assemble the bed, attach each post 12 inches from the ground using a metal eye hook.
These eye hooks will allow you to connect the cables diagonally between the head posts.
Next, tighten the cables by using turnbuckles so that they will hold the bed together.
Then, fit the box spring securely, so you have to form a notch on each top of the bed rails on the head and foot edges.
Later on, garnish the whole bed frame to refine and protect the wooden surface.
Lastly, place a box spring and a mattress on top of your bed.
Knowing the weight of the foam is essential, so read this, and you’re all set.
Technique #6. Stabilizing the bed
Once there’s too much motion on the bed, the posts that support your it will most likely slide out, which would cause the bed to collapse.
To secure its firmness, you need to drill through its head and foot post to penetrate through the center of its carved section.
The next thing that you should do is sliding the wood dowel into the holes.
In this way, you’re sure to secure them in place.
But then, see to it that they can be taken in case you will need so.
Start Building Your Log Bed Now
Log beds belong to rustic furniture built entirely with tree logs and are often very durable, depending on the construction methods.
Whether you live out in the country and want a bed to match or add that homely feel to your haven, learning how to make a log bed is the best choice.
This authentic bed gives out a simple yet impressive style that brings the forest and outdoor ambiance inside your home with ease.
