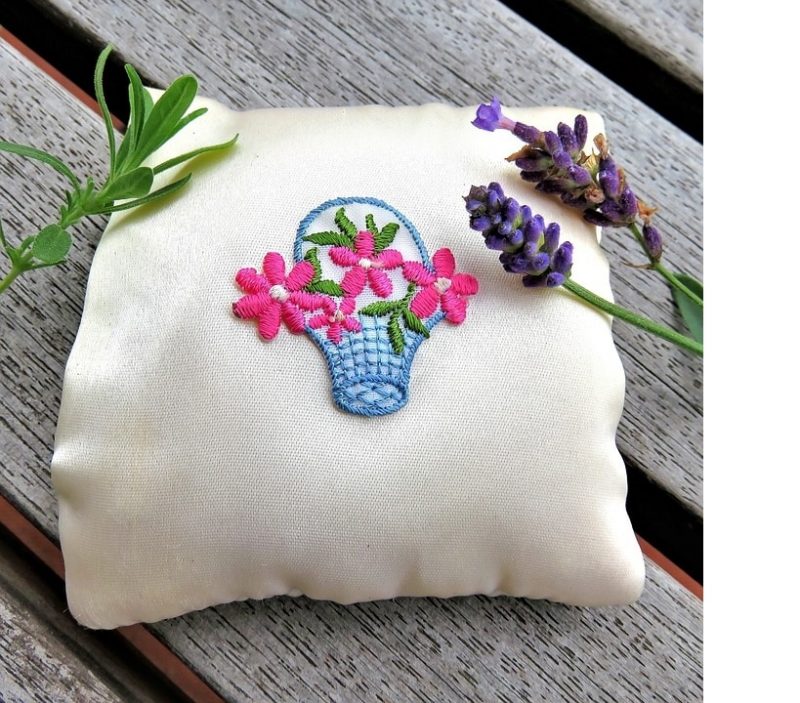
Those who want to learn how to embroider a pillow can study two steps. Don’t be intimidated in trying projects like this because even beginners can start embroidering. You can always wow your friends and family with personalized pillows using embroidery.
The fantastic thing about this project is you can get creative in how you want to do it. You can even find the technique that is easiest for you. Without further ado, here’s a quick and easy guide on pillow embroidery.

How To Embroider A Pillow For Beginners
Step #1. Design
Embroidering a pillow is relatively simple, but you want to lay your design first like any project. The fantastic thing with embroidery is that you have so many designs and patterns to choose from. If you have the skill, you can even freehand the design or text using an embroidery pen.
If you want to play it safe and guarantee a professional-looking finish for a first-timer, you can type out the name, word, or phrase in a large font. Then, trace the computer or laptop screen with your pillowcase with the embroidery pen. The same goes for any pattern you want to copy.
Once you have traced the design, you’re ready to start embroidering. You should find two circles of the embroidery hoop and stick the smaller one inside your pillow liner. The bigger circle will then be on top to encircle the first part of the design or the word’s first letter.
Step #2. Get started
It can be confusing how you’ll shade in your design with stitches for someone who hasn’t tried embroidery. After you tie a knot at the end of the embroidery thread that you just inserted in the needle, you can begin with the first letter. You’ll poke the needle through the corner of the design coming from inside the pillowcase.
Pull the thread all the way through and bring the needle back through the other corner. At this point, you’re making the stitches that’ll fill the letter or design. Once you’ve finished that part of the word or layout, tie the thread and start doing the same process to the remaining parts.
Tie the thread after you filled the design, and voila, you just finished embroidering a pillow! With some practice, you’ll be able to go through the process faster. The key is being patient and trying various designs and color combinations.
Types Of Hand Embroidery Stitches
When learning how to embroider a pillow, it can be overwhelming to choose an embroidery stitch that will best suit your project. Therefore, you must also familiarize yourself with the basic hand embroidery stitches that can also be useful for other projects like knitted pillows. Here are some of them that even beginners can try:
Running stitch
The most common stitch for embroidery is the running stitch. You’ll just run your thread and needle up and down at a consistent distance from the name itself. With this stitch, it’s typical to see more lines on the front than the fabric’s back.
Chain stitch
Speaking of common, the chain stitch has been a classic for embroidery. It’s something you’ll see worldwide. The chain stitch is also versatile and the petal-like appearance makes excellent embellishment.
Cross stitch
Another favorite for embroidery is the cross stitch. Experts will mention the Danish style and the traditional style. They differ because the former separately make the diagonal stitches, and then the other diagonal stitches are done at the back.
Back stitch
Back stitch is so-called because you’ll take the thread backward instead of forward. This stitch is best if your design has curves or you want a continuous embroidery without spaces between each stitch. You can also use back stitches to secure seams.
Satin stitch
After learning the back stitch, you can use it to outline the easy satin stitch. It’s a relatively simple method, but remember not to leave the stitches too loose or too tight. Nonetheless, it’s excellent for filling designs as long as you have a stitch to keep it bordered.
Stem stitch
As a beginner, you can also try stem stitches as your first way to embroider. You can use this for various designs, including those with curves. You also have two methods to stem stitch, which are sewing and stabbing.
Feather stitch
An eye-catching stitch for your embroidered pillow is the feather stitch. You can add it to French knots and other decorative stitches. More so, feather stitches make excellent fillings and borders.
Herringbone stitch
A basic herringbone stitch creates a cross that is cut in quarters. Therefore, it’s useful for embroidering words. Herringbone stitches are also a great way to end up with a herringbone cloth-like appearance.
French knot
Stitches are not the only ones you must learn when embroidering a pillow. Some standard designs, such as flowers and circles, will look best with knots. The easiest one for newbies is the French knot that also changes the texture of the fabric.
Conclusion
Finding a way to add a design to your pillow or pillowcase? Then you should learn how to embroider a pillow! This classic embellishment that has been around for years does not go out of style for a reason.
You’ll just need to trace the design you want on the pillow with an embroidery pen and start embroidering at the back of the pillow. Start little by little until you fill the design with stitches. Tie the thread each time you’re starting at a new area, and you’re done.
