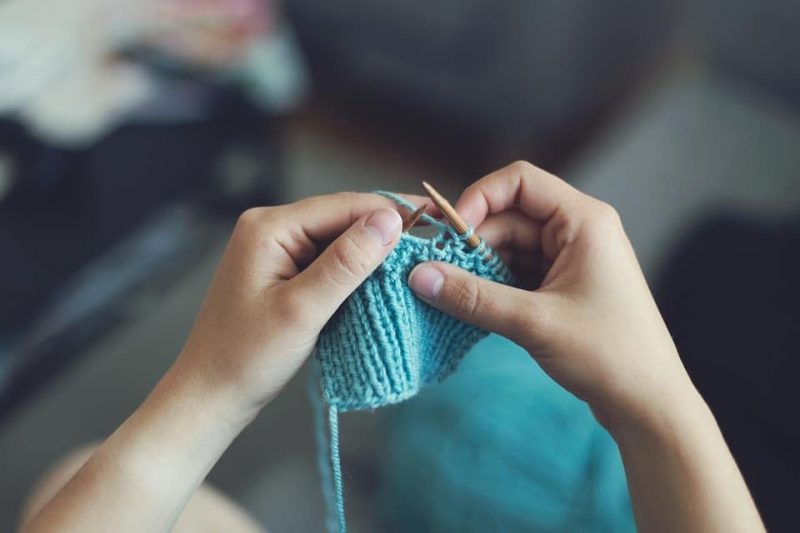
Learning how to knit a pillow only takes two steps. It may seem intimidating to get your hands on knitted needles, yarn needles, and crochet hooks, but this project is still doable for a beginner. For this pillow, prepare the materials mentioned as well as an acrylic yarn and a pillow form.
This project is best for a traditional 16 by 16-inch pillow form, and you might be surprised with how straightforward it is to do. The result is a classic-looking knitted pillow that is both useful and attractive to the eyes. Continue reading below to get started, and you may even consider decorating your finished pillow for a more personalized touch!

How To Make A Knitted Pillow
Step #1. Cast-on
In this project, you’ll be knitting a pillow cover for a 16 by 16-inch pillow form, which means you can adjust the measurements according to the form you’re using. The resulting cover may seem small, but remember that it will stretch out to provide the best fit. To start, cast-on 60 stitches and secure the loose ends to get a piece 14 inches wide and 23.5 inches in length.
Once you have a piece with those dimensions, fold it in half, so the bind-off and cast-on sides touch each other. The great thing about this knitted pillow is there are no wrong sides since the back and front faces are similar. You should then be ready for the next step because you’ll be using this whole piece as the pillow.
Step #2. Stitch
You want to make stitches starting from the right towards the left side with a yarn needle. Remember to secure your yarn before you begin stitching up the left side. Do note that you can also slip stitch the sides with a crochet hook if you prefer this seam finish.
Once you’ve stitched the sides together, you can turn your pillow right side out. At this point, you’ll notice that the cast-on and bind-off edge are open for stuffing with the pillow form. Finally, smooth out the corners and then slip stitch the bottom side to finish your pillow.
How To Cast-On For Beginners
Making a slip knot
There are different techniques to learn if you want to cast-on smoothly. For example, you must perfect making a slip knot by looping a yarn and bringing the yarn through it. Then, make another loop with a knot at the end; hence the name, slip knot.
Making a single cast-on
Once you’ve made a slip knot, slide it onto your needle and pull to tighten. You can make a single cast-on by wrapping the yarn connected to the ball of yarn around your thumb. Then, bring your needle down and up this loop and remove your thumb to pull the yarn.
You can repeat wrapping the yarn around your thumb until you reached the number of stitches you want. A useful tip is to leave a tail at the yarn’s end with its length complementary to the cast-on stitches you’ll do. For example, a foot of tail is suitable for ten cast-on stitches.
Knitting cast-on
Start by putting a slip knot on a needle for your left hand. Then, pass another needle that you hold with your other hand through the left needle’s loop and under it. Wrap the working yarn under the left needle using your left hand and bring the right needle through the left needle’s loop,
This makes a loop around the right needle that you’ll turn and drop onto the left needle. Release your right needle from the loop and pull the yarn to end up with two cast-on stitches. At this point, you’ll just repeat the process of passing the right needle through the left needle’s loop and bringing it under.
How To Slip Stitch
Another skill to learn when making a knitted pillow is doing a slip stitch. The simplest way to do so is to insert your needle as if you’re going to knit. You’ll insert your right needle onto the left needle’s stitch and then slide it off the latter onto the right needle to end up with a twisted stitch.
Slip stitch knitting is useful when you’re learning how to knit a pillow to make edge stitches. Your pillow will have a better seam not just in terms of stabilization but also visually since the edge looks cleaner. However, remember that you’ll also include the edge stitches or selvage stitches in the total stitch count.
How To Choose The Right Size Crochet Hook
The final tip to ensure the success of your knitted pillow is choosing the right crochet hook. You can do this by checking your yarn’s label for the suggested hook size and number of stitches per inch. It won’t hurt to crochet a pattern and measure your stitches to ensure that the needle won’t be tight or loose as well.
Conclusion
Knitted pillows just have a unique cozy charm to them, but did you know that they also make fun projects for DIY? You can quickly learn how to knit a pillow in two steps. The simplified guide above is meant for beginners since you just need to cast-on and stitch the pillow cover.
Once done, put the form inside and stitch the bottom side with a crochet hook or yarn needle. With some patience, you should end up with a neat-looking knitted pillow. So what are you waiting for?
Try this project ASAP!
