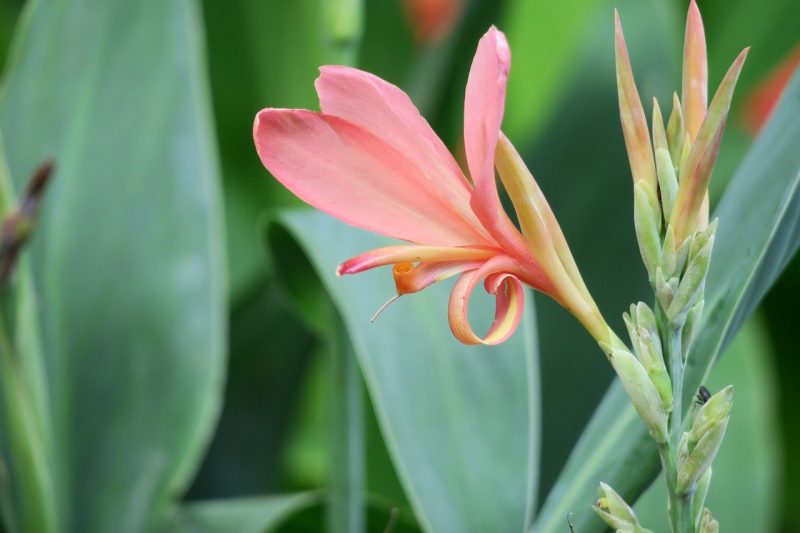
Learning how to transplant cannas in four steps will always be useful for propagation and maintenance. For example, you can apply the techniques discussed below to divide and create more canna lilies for your garden. But on the other hand, being skilled in transplanting them will help you relocate cannas if you started them in the greenhouse via seeds.
Cannas or canna lilies offer different flower and leaf types to satisfy every gardener’s taste. But being tropical plants, you may need to do some management practices if your area experiences challenging cold conditions. Therefore, knowing how to transplant cannas will help you in keeping these plants healthy year-round.

How To Transplant Cannas For Success
Step #1. Digging
Transplanting cannas is relatively straightforward, where you’ll be propagating them by division. You can do this every three years to keep the plants from getting overcrowded and help them stay healthy. More so, you’ll be hitting two birds with one stone because you’re transplanting for propagation and maintenance.
Therefore, you’ll start by digging up the canna rhizomes and preparing them for planting. The best time to do this is after the cannas finished blooming and when you notice their foliage dying. However, a useful tip to remember is to dig the cannas in fall after the first frost if your region is cold.
You don’t need to wash the rhizome itself, but you must brush off the soil stuck on it to make division easier. After you collected the rhizomes, it’s best to cut back the plant’s foliage to at least an inch to help with rejuvenation.
Step #2. Dividing
As mentioned earlier, removing the remaining soil on the rhizome should make the division more comfortable. After the rhizomes are cleaned, you should easily spot off the areas or joints where the new rhizomes grow from the mature ones. Use this as a guide to where you’ll cut the rhizomes apart with a sharp and sterile knife.
You can also use your hand to break them apart, but make sure that each division has enough roots and at least one eye to guarantee growth. You can discard the rhizomes without any eye, as they wouldn’t grow later on. If you notice that you’re always getting an underwhelming root mass, you can leave the cannas in the ground for longer, and you should have better division next time.
Step #3. Preparation
Before planting the canna divisions, you want to submerge them first in a mix of bleach and water. This will guarantee that you won’t introduce pests and diseases among the new plants. You don’t need to scrub the rhizomes as this might damage them and cause them to rot.
Once you sterilized them, let them dry and prepare for planting. You can opt to plant them directly in your outdoor garden as long as the weather is warm. However, a common practice among gardeners is to overwinter the rhizomes in the greenhouse and then transplanting them in spring.
If you’re waiting for the outdoor conditions to warm up, you can keep the sterilized rhizomes in a cool and dry area for a week. Place them in a box with peat moss, but cut the roots before storing them. You can plant them to around 6 inches deep or use a container.
Step #4. Planting
Remember that these rhizomes will do best when you plant them two weeks before the last frost date. You can also grow them in pots and then transplant the potted cannas in spring and summer. In general, choose a bright area for these transplants and allocate a space of at least one foot among them.
You can also amend the area with compost and add fertilizer in each planting hole to establish them. The eye should be facing upward to help the sprouts later. At this point, maintain the moisture of the location and adjust accordingly.
Caring For Canna Lilies
Watering and feeding cannas are an easy task. Keep in mind that these plants would be happy being well-hydrated, so always check the soil or the medium if you need to water them. You must also adjust the watering frequency and amount according to the climate.
While cannas will bloom without problems even without the help of fertilizers, you can boost them by feeding in spring and twice during the growing season. You can use a 5-10-5 fertilizer or those that you use for tomatoes and roses. If you want to get them taller, choose fertilizers with high nitrogen content.
Much like with other flowering plants, deadheading cannas will extend their blooming period. You can remove the faded flowers as you see them, but the plants might benefit more from cutting back over time. This should rejuvenate the cannas to encourage flowering in the next summer if you prune back by the end of fall.
Conclusion
Transplanting plants like cannas shouldn’t be intimidating. You can quickly master how to transplant cannas in three easy steps, and you’ll be able to propagate and maintain these plants comfortably. Once you notice the foliage dying after the blooming season, you can dig up the rhizomes and divide them.
You can do the separating of rhizomes by hand or by a sharp and sterile knife. Then, you can plant them in spring or overwinter for planting in the next season. The rhizomes themelves aren’t picky in the growing locations, and they should grow without issues given the conditions are not challenging and extreme.
