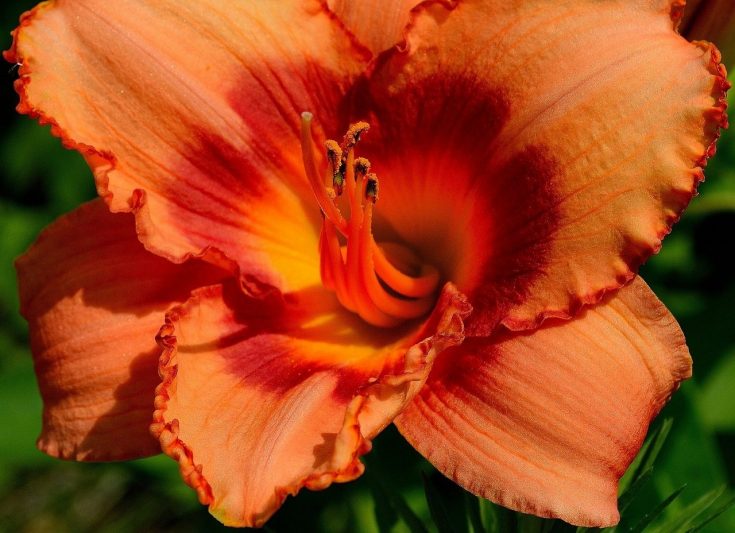
If you’re interested in being well-versed in learning how to transplant daylilies, this article simplifies the technique in four easy steps. You can use the knowledge transferring the daylilies you grew in pots in the greenhouse and onto the garden. This way, you have grown healthy plants that will survive transplanting outdoors.
Nonetheless, take comfort in the fact that daylilies are highly-adaptable plants, even in challenging conditions. Therefore, you should feel confident that they will survive transplanting without any issues. Mastering and remembering the tips below should help you transplant daylilies as a regular part of maintenance and propagation.

How To Transplant Daylilies Correctly
Step #1. Site preparation
Transplanting daylilies is easy, but make sure to prepare the new planting site beforehand. This way, you can immediately plant the daylilies, and their roots won’t dry out from waiting. These plants will thrive best in a bright and sunny location, so choose an area that’ll provide this.
You must also amend the soil with compost to improve its nutrient content and quality. It would be best to get your soil tested and check its pH level and improve its drainage and water retention before planting.
Step #2. Digging
After you’ve prepared the new planting site, you must cut back the daylilies, so they are around 6 inches in height. This is crucial before transplanting because it will be easier for the plants to stay hydrated during transplanting with less foliage. Remember that plants are prone to moisture loss much quickly during transplanting, and pruning is the remedy.
You can then dig around the plant’s perimeter to ensure that you won’t damage its roots when lifting. It should be easy to slide the shovel underneath the root ball after you loosen the plant’s surrounding area.
Step #3. Division
Transplanting daylilies is not only a way to maintain and rejuvenate them to help with their health and blooming. This is also an opportunity to propagate by division after the blooming season. Doing so allows transplanting in spring or after blooming to produce flowers in the next year.
Upon digging out the root ball, you want to hose it down gently to remove the remaining soil. This will make dividing easier, and you’ll find the damaged and diseased roots after washing. You want to cut any discolored and soft roots with a knife to prevent their spread to the healthy roots that are white and firm.
After the inspection and removal of roots, you can divide the root ball into sections for planting. Aim to have at least two green shoots per division to guarantee establishment. You can divide by hand, but you can also separate the roots with a knife.
Step #4. Planting
You can plant the daylilies on your site, but be sure to check that each hole is twice the size of each root ball. This will anticipate the growth of your daylilies and prevent overcrowding the space. You then want to spread the roots and have the area where the stem meets them to be slightly below the ground surface.
Stabilize the transplants with the soil and water them well. The soil must be thoroughly moist to help prevent transplant shock. Lastly, maintain this condition until new growth appears.
Caring For Daylilies
Whether you have just started your daylilies in the greenhouse or you have transplanted them outdoors, it’s no secret that their success lies in how you care for them. As mentioned earlier, daylilies will thrive amidst challenging conditions. However, it would be best to remember the proper maintenance practices to avoid diseases and drawbacks throughout the year.
Watering, feeding, and cutting back
For example, daylilies will tolerate drought once established, but you need to maintain soil moisture to keep them healthy. You can also fertilize during the flowering season to boost their blooms in addition to feeding in spring. As for the other maintenance practices, you can remove the plant’s dead parts to help daylilies rejuvenate themselves.
Some gardeners cut the daylilies back to the ground in the fall as part of their yearly schedule. You can also leave them be and let them dry up, but remember to remove the dead foliage early in spring. You might also find them performing better if you deadhead them and remove their seed pods.
Pest management
Are daylilies prone to pests? The good news is these plants rarely get infested, but aphids and thrips can still occur. They are relatively easy to eradicate, especially when you always monitor the daylilies. You want to address the pests immediately to keep their populations low and prevent the spread.
Practice cleanliness and sanitation throughout the year and spray off the insects once you saw them.
Conclusion
Dividing daylilies is not only a propagation technique. Mastering how to transplant daylilies will also help you rejuvenate the plants and keep them from overcrowding. You can simplify the process into four steps, and your daylilies should be established for blooming in the following year.
Start by preparing for the new location and amend the soil if necessary. Carefully dig out the plant and divide its root ball so only healthy roots remain. Then you can plant them as you would with other plants by being mindful of space and moisture.
