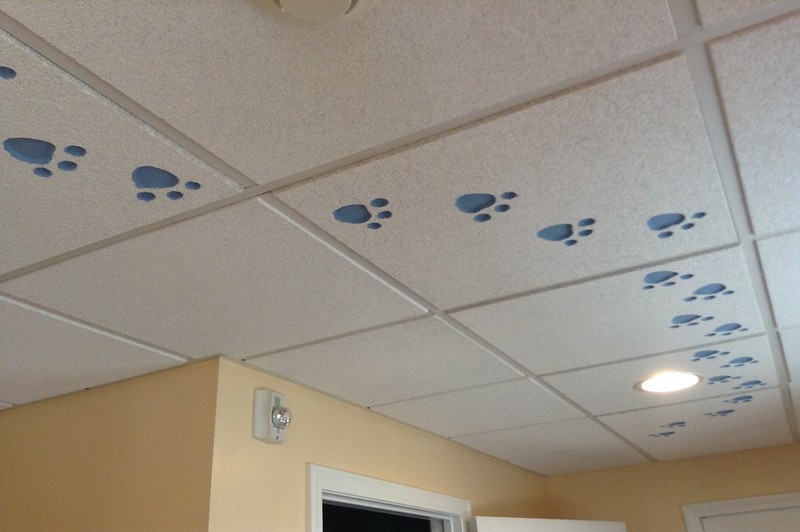
You may be asking how to replace water damaged ceiling tiles. Ceiling tiles are common in companies, schools, and even unfinished basements in our houses. However, they can be damaged at times.
Ceiling tiles that have been damaged by water, gouge, or other incidents make for an unappealing space. Not to mention, wiring, HVAC systems, and other ugly requirements like plumbing are all hidden behind them.

We’ve done extensive study into the processes required to replace a tile, and this article will provide you with the answer to your question! If you’re also interested in fixing other ceiling types, you can visit this article on repairing water damaged textured ceilings.
Repair & Replace Water-Damaged Ceiling Tiles
Step #1. Interlocking ceiling tiles are available in a variety of designs. To match your present ceiling, you’ll need to acquire replacement tiles that are identical or quite comparable in appearance.
Tip: Check your local home center or internet shops if you don’t remember where you bought yours.
Step #2. Determine the extent of your tiles’ damage. Some of the backsides or interlocking lips may be damaged, but the damage will not be obvious until the tiles are removed.
Step #3. Most interlocking tiles are stapled to a wood strip framework that is spread out perpendicular to studs or joists and affixed to them, unlike drop-ceiling acoustic tiles that fit into a suspended frame. Remove the staples connecting the damaged tiles to the framework swiftly and effortlessly using a staple lifter.
Tip: To correctly put the new tiles together, you may need to remove some of the undamaged tiles in the surrounding area.
Step #4. Unpack your replacement ceiling tiles after removing all damaged tiles. The replacement tiles have an extended lip on two sides for stapling to the framework and a recessed groove for the tile adjacent to its lip.
The interlocking lip on the other two sides of the tile fits into the recessed groove. Place the first tile on the framework and staple it in place with a forward-action stapler along the two sides with the extended lips.
Take note: A staple should be placed every 4-6 inches.
Step #5. Stapling tiles to the framework should be continued. Insert the replacement tile’s interlocking lipped edges into the grooves of one of the previously inserted tiles.
Then, staple the exposed lip on the tile’s other two sides. Repeat until all of the damaged tiles have been replaced.
Step #6. Check your lineups regularly. The sizing of tiles can be irregular, making installation difficult.
Step #7. You won’t be able to interlock the edges on both sides of the tile in the last row if you replace tiles in the center of the ceiling. Cut the lip off one end of the tile and adhere it to the framework with adhesive.
Make sure you’re getting rid of the larger staple edge. Because staples would be visible, they can’t be utilized.
For severely damaged tiles
Mold and other illness-inducing contaminants can breed in severely to moderate water-damaged ceiling tiles, thus they should be discarded and replaced with new ones. When such superficial adjustments are required, bad odors will continue, and air quality will suffer.
For cosmetic/surface damage
Bleach method
Step #1. Use a drop cloth to protect your floor and a vacuum brush or feather duster to remove any dust or debris from the ceiling tiles. Put on your safety glasses and climb a ladder or step stool to spray the affected tiles with a 50/50 mix of bleach and water.
Step #2. Wait 30 minutes or until the tile is dry before repeating the process until the stain is gone. You can also use a paint roller to apply the solution.
Tip: Ceiling tiles are fragile and easily broken during removal and reinstallation, clean them while they’re up. Too much moisture in the tile might cause sagging or cracks, so don’t apply too much solution.
Paint method
Step #1. Place a drop cloth on the floor.
Step #2. Apply stain-killing primer to the tiles.
Step #3. Refinish.
Take note: The stain will just leak through your touch-up attempts if you don’t use these specific primers.
Ceiling Tiles: How Long Do They Last?
Ceiling tiles are designed to last about ten years, which may surprise you. If they haven’t been harmed or discolored by any source, they may become brittle after ten years.
Older tiles are prone to warping and even breaking. Ceiling tiles are now available in a wide range of materials. Choosing a waterproof tile will most likely outlast ordinary drop ceiling tiles.
Conclusion
If your ceiling has stains or water damage from leaks, or a puncture or hole from a mishandled ladder or other objects, you’ll need to repair or replace the damaged tiles. This is a fairly basic DIY project that can usually be completed in a short amount of time.
Ignoring a water stain is the worst thing you can do because it will eventually lead to structural damage, mold, and poor indoor air quality. If you’re not sure where the leak is coming from, a professional handyman or home cleanup specialist can assist you and give you a pricing estimate. Here is also a guide on knowing how much to replace water damaged ceiling.
Hopefully, this article gave you the answers you need on how to replace water damaged ceiling tiles.
