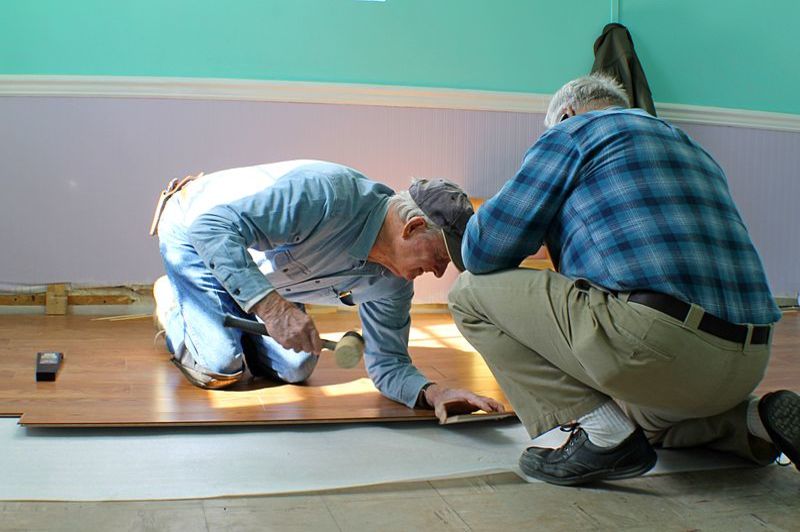
The passage of time is critical in the case of any water-related property damage, and it is why knowing how to replace water damaged wood floor tongue is crucial. If you don’t take care of moisture problems right once, your floors are more susceptible to lasting water damage and mold development.
Tongue-and-groove flooring is held in place by a system of interlocking edges — tongues and grooves — that allows it to install a minimum of nails. If floorboards become split or warped, you should replace them both to avoid additional damage to the subfloor. While removing broken planks requires some effort, installing new tongue-and-groove flooring is just a simple task.

How do you remove tongue from hardwood floors?
To cut through the damaged flooring, use a hammer and chisel in conjunction with a saw. Next is to break directly down through the tongue at the end of the damaged floorboard with a chisel and hammer to create a straight joint
If you need to detach a whole panel, you can use a tenon saw or a jigsaw to cut along the groove. Use a cordless circular saw, floorboard saw, or padsaw to lift smaller chunks of material.
Adding extra battens fixed to the sides of joists for support can replace parts that were damaged. Lastly, get rid of any dust and grime from the subfloor by sweeping or vacuuming it.
How do you lift old tongue and groove floorboards?
It may be essential to conduct an assessment beneath floor level or to repair a floorboard on occasion. You may typically lift floorboards without causing damage to the surface to get access to pipelines or cables.
When nailing or cutting a board, always check to ensure there are no cables or pipes right underneath it. When hammering or operating power tools, make sure to use protective eyewear.
You can remove a tongue and groove board by cutting through the tongues along each edge using a tenon saw or a small cordless circular saw, both of which you can rent. You can accomplish it by removing the board as previously described.
How To Replace Water Damaged Tongue And Groove Flooring
When linking adjacent strips, most floors adopt a tongue-and-groove style. It is difficult, but not unattainable, to replace a single strip or plank due to the nature of this structure. Find any nails in the damaged board and pound them as far into the board as possible with a hammer and nail set, starting from the outside.
To avoid harming the trim with a hammer, artisans use nail sets to press nails to flush against it. You should now remove the pins from the damaged board and replace them with a fresh one.
If you need an extra guide on replacing tongue-and-groove flooring, you can check out this article on how to replace water damaged laminate flooring boards. These materials are quite related in some areas. In case your flooring gets damaged, you can also learn how to repair water damaged laminate flooring.
Step #1. Measure what you’ll saw
Configure the circular saw to cut 1/16-inch deeper than the depth of the damaged floorboards by adjusting the blade tension. T&G floorboards are typically 3/4-inch thick, which is standard for most of them.
Cut two parallel lines down the length of the damaged floorboards, allowing a 1-inch space between the two saw lines between the two lines of cutting. Before you reach the other end of the board, raise the saw to a comfortable height.
Step #2. Remove the pry bar
Cut scores into the ends of the damaged boards with a straightedge and a utility knife. Pry the damaged boards out with a pry bar after chiseling along the scored lines at a 30-degree angle.
Step #3. Replace the wood floor tongue
Prepare the floor area by clearing away any debris that has accumulated. Cut the replacement boards to the desired length using a table saw by removing the bottom grooves from the planks.
Step #4. Pound the replacements
Using a rubber mallet, pound the replacement planks flush with the original boards to ensure they parallel the existing boards. Using a nail gun, secure the panels in position by nailing two finish nails into each end of each board.
Step #5. Apply wood putty
You should use wood putty to fill up the nail holes and be allowed to cure them. Sand the new boards with 220 grit sandpaper along the wood grain to remove any imperfections in preparation for finishing. You can use a tack cloth to dust off sanding dust.
Ensure the replacement boards are stained or varnished in the same hue and gloss as the original ones. To determine how to apply your finishing products, read the labels on the products you purchased and follow the directions on the labels.
Conclusion
We hope we were able to guide you in the process of how to replace water damaged wood floor tongue. Even though it may be challenging to match the finish of the new strip to that of the current flooring, it is worth a try before refinishing the entire floor.
You should make sure that you are wearing protective gears to avoid any accidents. Complete all necessary materials or call a professional to replace it. Check if you can do it by yourself but prepare a medical kit.
