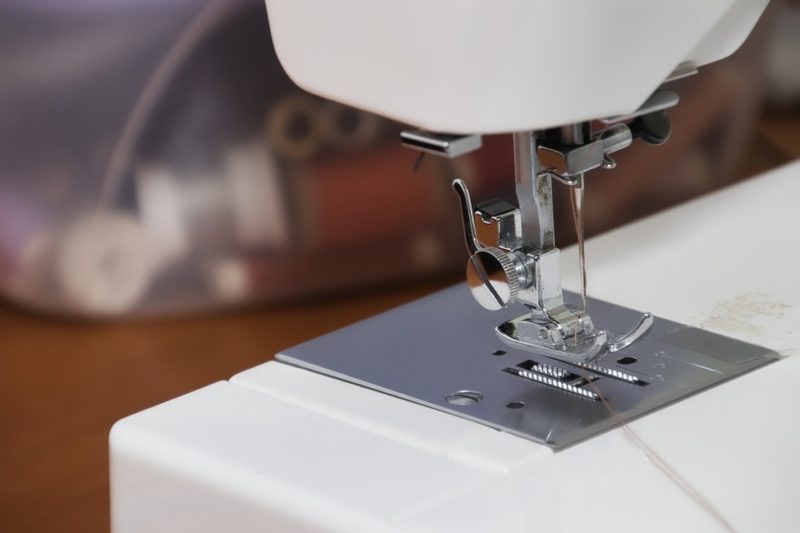
You can learn how to remove needle threader on Brother sewing machine in three steps. We’ll discuss what parts to take off first. Then, we’ll guide you on how to replace the needle threader.
Do you already know the proper way to set a Brother sewing machine up? Read how to thread a Brother sewing machine as well, so you’ll learn how to thread the unit even without a threader.

How To Remove The Needle Threader On A Brother Sewing Machine
Step 1. Remove the needle and side plate caps
- Read the Brother manual of the specific unit you have and familiarize yourself with its anatomy via the illustrations
- Remove the needle on your Brother sewing machine, making sure to follow the instructions in the manual
- Check if the machine is turned off and unplugged
- Use a needle Allen key to remove the side plate caps
Step 2. Remove the side cover and force the threader up
- Loosen the screw to remove the side cover at the top of the unit
- Pull off the side cover
- Push the driver bar down as much as you can
- Move the needle threader leg upward with firm force
Step 3. Remove the needle threader
- Ease the shaft off the sewing machine
- Be careful not to lose the spring on the shaft when removing it
- Remove the needle threader on your Brother sewing machine accordingly
How Do You Install A Needle Threader On A Brother Sewing Machine?
- Slide the small spring you removed earlier onto the shaft behind the machine
- Push the needle threader into the machine in the same position when you removed the previous one
- Check if the threader’s lug is attached to the shaft’s recess to secure the new needle threader in place
- Pull the side cover away from the machine and the driver bar up to the machine
- Learn how to put a needle on the sewing machine to ensure that you’re using a new and sharp one for testing the threader
- Push the driver bar down so the new needle threader moves forward and stop once it reaches the needle
- Align the threader with the needle eye and pull the driver back up
- Reinstall the screws, caps, and the side cover you removed
How Do You Use The Automatic Needle Threader On A Brother?
- Refer to the manual of the specific Brother sewing machine you have since this is applicable to the Brother PQ-1500
- Raise the needle as high as possible by turning the handwheel towards you
- Lower the presser foot
- Pull the thread forward with your left hand
- Lower the automatic needle threader and pull the thread along the pin’s right side
- Turn the needle threader lever to the direction indicated in the manual’s illustration
- Pull the thread to the direction shown in the manual’s image once the hook extends from the needle hole to catch the thread on the hook
- Pull the thread to the left and see if it’s on the hook
- Turn the needle threader lever to the right as you’re holding the thread so the hook will move and pull a thread loop through the needle eye
- Pull the thread loop to the right
- Have the thread tail towards the back of the sewing machine
Why Is My Automatic Needle Threader On The Brother Sewing Machine Not Working?
- Check if you raised the needle to the highest position
- Reinstall the needle if its flat side is not facing the back
- Use the correct needle size for the threader and check if your current one is not bent or damaged
- Take note that the Brother automatic needle threader is only compatible with sewing machine needles size 75/11 to 100/16 and never with a 65/9 needle, twin needle, or wing needle
- The needle threader is not for use with a metallic thread, transparent nylon thread, and needles like 130/120 or thicker
- Check if the needle threader’s hook passes through the needle eye smoothly
- The hook can miss the needle eye if it’s damaged or shifted
- The hook can’t grab the thread if the thread is in front of the needle or under the hook
For other potential issues with your model, learn how to take apart a Brother sewing machine to inspect its parts.
Why Is My Brother Sewing Machine Not Threading The Needle?
- The needle is not installed correctly or not raised to the highest position
- The needle threader is incompatible with the needle or thread you’re using
- The needle and thread are not compatible with each other
- The hook fails to grab the thread
- The needle threader is not used accordingly
How Do You Fix An Automatic Needle Threader On A Brother Sewing Machine?
- Raise the needle as high as possible
- Turn off and unplug the Brother sewing machine
- Unthread the feeder and pull the thread through the machine
- Remove the needle and clean the automatic threader for debris and thread buildup
- Replace the needle and rethread the sewing machine
- For more complicated issues, bring your sewing machine to an authorized Brother service center
Conclusion
And that’s it! We just learned how to remove needle threader on Brother sewing machine, which is as easy as removing the needle, side plate caps, and side cover. Once you take off these parts, removing the threader is self-explanatory.
We hope you also remembered the troubleshooting techniques when you encounter issues with the needle threader on the Brother sewing machine. If you have more questions, feel free to leave them below.
