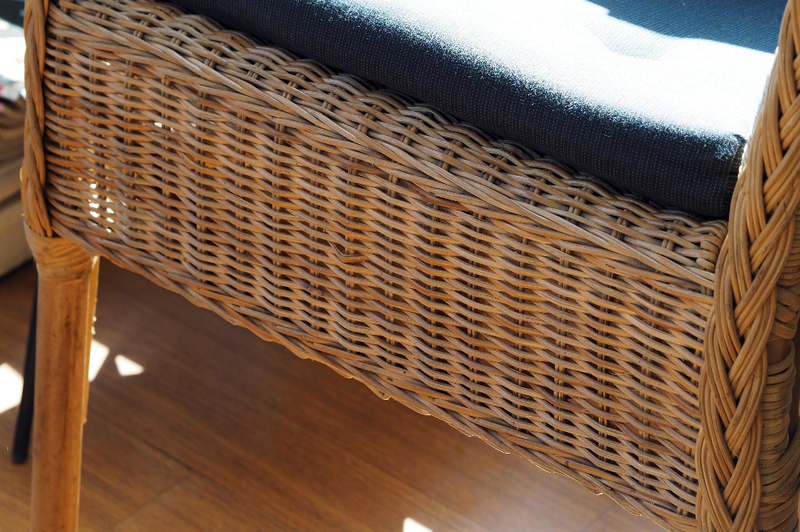
Get a simple tutorial here in this article on how to make chair cushions. You can easily do it on your own and it will not take you a day or two to make.
The procedure is effortless, and anyone can do it as long as you know how to do basic sewing skills. However, if you are a beginner, aside from the materials you’ll need, you need to accomplish this with patience.

What Are The Materials Needed?
Before proceeding to your task, make sure that you have this set of materials. If you have all of these, you are good to go!
- Hand sewing needle and thread
- Ruler, marking pen, scissors
- Sewing machine and thread
- Stuffing
- Covered button kit
- Fabric scraps or trim for ties/ ribbons
- Fabric scraps for buttons
- Fabric for the cushion
- We suggest that you get about a half yard. It will be enough for most small to medium-sized chair
Step #1: Measure the chair seat
When you measure your chair seat, it is better that you add a couple of inches to the measurement. We recommend an inch for a half-inch stitching allowance on each side of the chair, and another inch for the puffy factor of your cushion.
Step #2: Cut into two pieces
If you’re able to measure the chair seat for your fabric, you need to cut two pieces of the material—one for the front and one for the back. Once that you cut it into two pieces, stack the pieces together, and fold them in half.
After that, you need to cut the bottom edge to be rounded. Cut two ties to be 20 inches x 2 inches.
If you are using a trim or ribbon, you may skip this step:
- When you make the ties, you need to start by folding the tie in half lengthwise
- The right sides should be together and press
- Stitch along at the side and across the top
- You need to turn your tie-side out, fold a little of the open into the inside, and you have to stitch across the end, closing up the open end
- Cut the tie in half and repeat with the other ties
Step #3: Pin the ties in between the front and back piece
It would help if you pinned ties in between the front and the back piece. The front and back should be together on the right side.
Pin the ties about an inch and a half in from their sides. Make sure that the ties are facing in and are towards the center of your cushion and the edges are lined up at the back. The two ties need to be on the right side and the two at the left on where you’ll be the back seam.
Step #4: Ready to sew
Once you have everything pinned, you’re now ready to sew it. Start at the back right before your ties are pinned at the right side.
You have to stitch it across the back, pivot and stitch down the side, across the bottom up to the other side, and then across the back until it is right past the left set of ties.
You will need an opening left in the back in between the ties for the stuffing. Then, clip the corners and curves close to the seam. Turn the cushion right side out.
Step #5: Stuff the cushion
In this step, you need to stuff the cushion with polyfill or any other stuffing of your choice. After filling it up, you can stitch up the opening in the back using the hand needle and thread by just doing a whip stitch, blind stitch, or ladder stitch.
Optional: You can leave the cushion as it is, or you can add buttons.
Here are nine steps that you’ll need to do if you decide to have clothed buttons on your cushion.
Step #1. If you want to make covered buttons, cut a piece of fabric with a template included in your sewing box.
Step #2. Then, place the fabric right side down to the rubber cup.
Step #3. Insert the top part of the button, then face it down into the cup.
Step #4. You need to gather the fabric into the back part of the button front.
Step #5. Place the button back shank side up to the gathered fabric in the backside of the button front.
Step #6. Press the back of the button into the cup with a small piece of plastic. If you feel a snap together, it’s normal. Repeat on the other buttons.
Step #7. Measure and mark where you want the buttons to go, then mark the placement on the cushion with a marker.
Step #8. Bring your threaded needle from the button through the marked spot and thread the button.
Step #9. Clip the excess, then repeat the process
Conclusion
Congratulations! You’ve finally learned how to make chair cushions. May you enjoy your seat even better, and we hope that your cushion looks fantastic!
