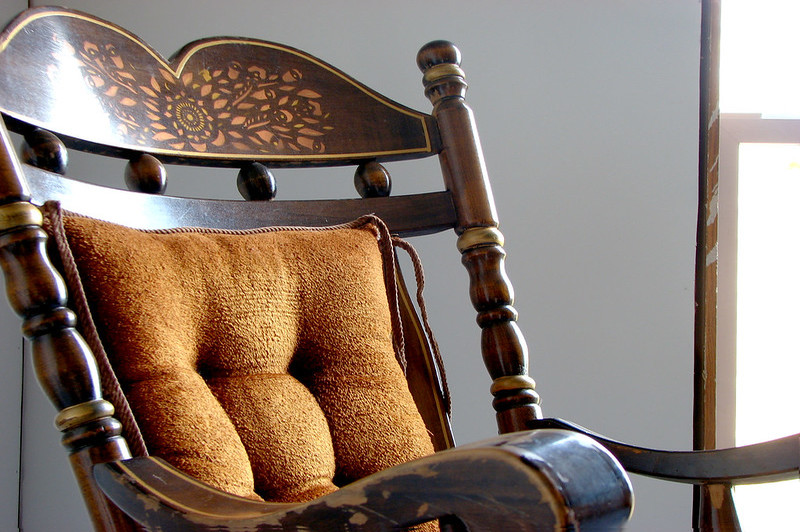
Rocking chairs are known to be relaxing, so we’ve enumerated steps on how to make a rocking chair for this article! It’s challenging to do, so you would need patience and a great deal of wood.
We’ve included steps on how to build it and the type of wood you’d need. Feed your curiosity, and read more below!

Steps On Building A Rocking Chair
Step #1. Prepare the materials
First, you would need to secure your materials. You would need wood (e.g., oak), pocket wood screws, wood glue, and T-square.
For the screws, make sure you get the hardwood screws. As for the hardwood sizes, secure six of your ¼”x4”x4”, two 1”x6”x6”, two 1”x4”x6”, and two 4 ft. oak steps.
The other equipment you need is an impact drill, circular saw, Kreg jig, and a speed square.
Step #2. Backrest
To start the project, we are going to do the backrest. First, measure 5 ½ inches, then measure 17 inches up.
Then, go back to the bottom, calculate one and ¼ over, and then make another 17-inch mark. This is the bottom portion of the backrest.
Then, take your t-square and go from the top of the 17-inch mark up to the corner of the board. This will be the angle of the backboard. Do this twice.
Afterward, cut the template to have your backrest pieces. Finally, grab your planer and smooth your backrest pieces. Sand the pieces of wood as well.
Step #3. Side bracing
Grab one of your wood pieces, measure, and cut 17” in length and one and ¼” in width. This is the side bracing.
Step #4. Front portion
These pieces of wood are to be attached to the backs. So, grab the back braces and measure another 17-inch, then go up to 24 ½-inches. This will be the front brace and part of the armrest for later.
Get your speed square and mark the 17-inch, then cut it. Make sure you get the angle right when you’re sawing.
Step #5. Three curved pieces
This step is for the seat. The first two are to be one and ¼ inch thick and 21 inches long.
The third one should be ¾ inches thick and 21 inches long. Again, make sure the curve is consistent across the three wood pieces.
Step #6. The bottom portion (the rocky piece)
First, cut a 31-inch piece. Then, at the dead center of the 31-inch, go down four inches to get the perfect curve.
After cutting this portion, lay the parts on the ground, on top of the frame you made. This is to ensure the angles that you need to cut off. For the back portion, cut four inches high compared to the front leg.
Step #7. Seat portion
Next, grab the ¼”x4”x6” inches of oak and split them right at the middle. Then, cut them with a length of 22”. You would need ten of these for your chair.
Step #8. Armrest
Grab your ¼-inch board and cut out the armrest for the chair. Next, grab your planer and sandpaper to define the curves, and sand the armrest. Then, put a pocket hole on the ends of your armrest for when you attach it to your chair.
Step #9. Top and bottom portion of the backrest
Next, to make the top portion of the backrest, use your t-square to get the curve you want. They should be 21-inches long.
For the bottom backrest, get your 1”x4”, then cut it into 21-inches wide. The middle support is 23-inches and ¾ inches wide, then put pocket holes on each side.
Next, cut the front and back bracings. They are going to be ¾” x ¾” x 21” and ¾” x ¾” x 17”.
Step #10. Attach the parts together
Next, attach the back and front legs along with the two 17-inch boards. Mark 17-inches on the four boards and put pocket screws on their ends.
Next, join the front and back legs using the 17-inch boards. Then, grab the angled cuts made earlier, attach them to hold the seat together—screw one of each to the front leg, and one to the back leg.
After that, put the two brackets together. This is the frame of the rocking chair.
Next, drill from the bottom of the rocker up into the chair so it’d be sturdy. Next, attach your armrests. Finally, drill a hole on top of the armrest directly to the front brace, and put a screw straight down.
Next, attach the top portion of the backrest. Drill the holes from the outside, and come back to them later.
Then, screw the bottom portion of the backrest, and start putting in the middle pieces after. Use glue and pocket screws to hold the parts.
Next, grab the ¾ x 21” and attach it to the center of the base. Leave a ½ space for the seat portion.
Then, get the ¾” x ¾” x 17” and 21-inch boards. Measure 8-inches down from the bottom of the seat, and attach those for extra support.
Lastly, grab the 22-inch long and ¼-inch thick pieces to make the seat. Sanding is done to finish the project!
What kind of wood is perfect for a rocking chair?
Generally, hardwoods are better than softwoods because they are more durable. Some examples of ideal wood for a rocking chair are oak and teak.
Conclusion
Now that you know how to make a rocking chair, you can arrange to make one for yourself and your family to enjoy! Just remember to choose the suitable materials and follow through with the steps we’ve enumerated for you.
