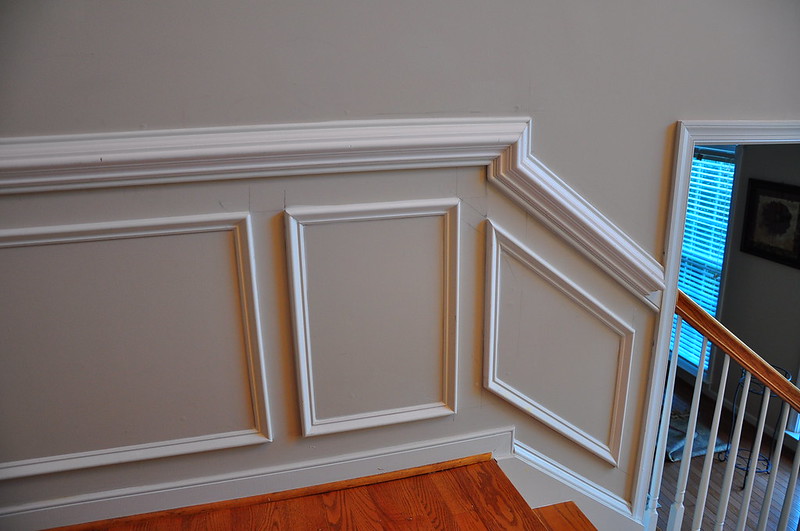
The people who want to know how to install chair railings should check out the four-step guide we have here. In this article, whether your room is newly built or remodeled, we will mention how you should adequately install chair railings. This is so you can protect your walls from being damaged from the backs of chairs and even achieve a classy touch for your room’s aesthetics.

What Are The Materials Needed?
Before reading the article, make sure that you have this set of materials. If you have all of these tools and materials, you are good to go!
Tools
- Small Paintbrush
- Miter Saw
- Sandpaper
- Hammer
- Level
- Tape Measure
- Nail Set
- A hand saw with Miter Box (optional)
- Pneumatic Nailer
- Pencil
Materials
- Wood Filler
- 2 ½ “finish nails
- Wall Glue
- Interior Wall Paint
- Chair Rail Molding
Step #1: Determine measurements and mark a level line
The most crucial part of installing your chair railings is to know the exact measurements. We would not want our room to have uneven railings, right? Under this first step, these are the procedures that you must follow.
- Find out the height of the ceiling and divide it by 3
- Take note that the chair rail should be about 1/3 up from the floor
- Chair rails can be around 30 to 36 inches from the floor. Always consider the two factors: chair height and wall height
- There is also an option where you may also put up a chair to the wall and mark where it would probably hit the wall
Once you have found out the height, use your tape measure and level to make a level line along the full reach of the room. Note that not all floors are well leveled, and that is why with the help of the level, your chair rail will be straight and aligned.
Step #2: Mark and cut the molding
Cutting an inside corner
With the use of your miter saw, you need to mark the molding of the chair rail. This is the easiest way to begin your inside corner and use a 90-degree angle cut. For those who don’t have any idea what an inside corner is, an example is a door or a window frame.
Also, cut one piece of molding for each stretch of wall. Do not forget to use the 45-degree angled cuts for the corners.
Cutting with longer walls
There would be instances that the wall is longer. In this case, the length of a single piece of molding will have two pieces that will be mitered together.
In this scenario, you should use opposite 45-degree cuts on both ends that will meet to create the miter. When you do this procedure, it can give you a cleaner and smoother mold.
What should I do if I don’t have a miter saw?
If you do not have a miter saw, you can use a hand saw for cutting the mold for your chair railings. It has the same procedure, but the difference between these saws is that with the use of the miter saw, it will be easier and it gives you precise cuts.
While doing this step with a handsaw to cut the molding, you should use a miter box to ensure that you have a straight 45-degree angle. Also, prioritize safety during this step. Since you are handling saws, you need to be extra cautious at all times.
Step #3: Attaching the molding to the wall
When we reach the point that all your molded pieces are cut, you can start installing them on your wall.
Begin with an inside corner
Ensure that you will be able to align the bottom part of the molding using the level line you marked earlier. Attach the first piece of molding to the wall by applying the wood glue and securing it to the wall using the pneumatic nailer.
Prepare your 2 and ½ inches finishing nails. Insert the nails into the high parts of the molding to avoid splitting.
Step #4: Smoothen the surface of the mold and apply paint
Once the chair railing has been installed, you need to use a nail set to recess the nail head. These also cover up the nail holes with the wood filler.
With the help of the sandpaper you have, you should also give the chair rail molding a light sanding to smoothen it. To finish your task, apply your choice of color with your paintbrush to the chair railings to give it a clean and finished look.
Conclusion
We hope you have learned something from this step-by-step procedure on how to install chair railings. Please take note that if you plan to install chair railings in your house or apartment, it is better if you have a person to help you during the process for safety measures.
Thank you for reading up to this point of this article. We hope that you enjoy your new set of chair railings!
