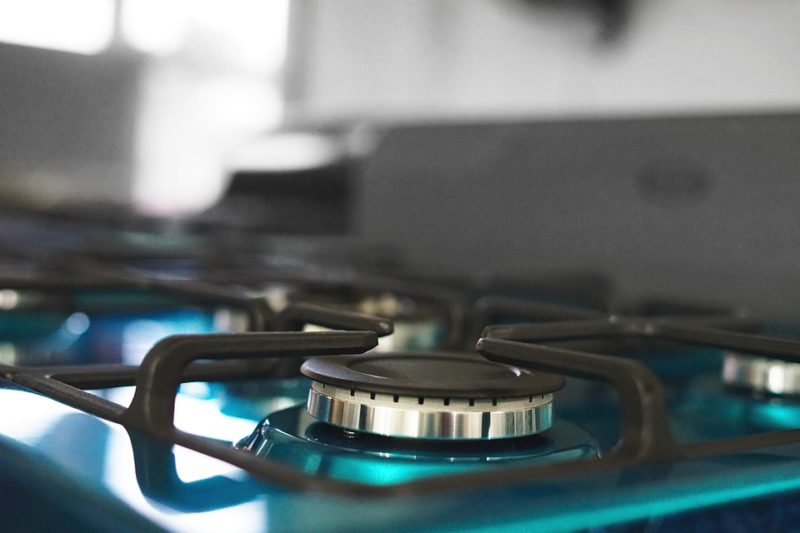
How to install a gas stove? I guess you’ll agree with me if I say it is inevitable to have a gas stove at home: I mean, it is a must-have in any kitchen. It is undoubtedly impossible to cook on fire without this ingredient, regardless of its kind, design, or application pattern. Some stoves use electricity, while others use gas.
Most people feel that gas-powered stoves are superior because they are easier to control. Where there is a lot of power outages, stoves like gas once are more reliable. When you’re in a rush to make a large number of meals, cooking on a gas range can help you get more done in less time.
Another thing to remember is that it is a cost-effective type of stove, and unlike the electric stove, your bill for electricity does not skyrocket in case of more cooking. So by now, you would have asked yourself how you can install a gas stove. Don’t worry as we will answer that question for you!
Steps To Install Gas Stove
Are you planning to replace/install a new gas stove oven? So, how can you install a gas stove? Then don’t worry, we got you! Here are the particular steps to take on how to install a gas stove:
Step #1. Prepare the correct tools and materials needed
Save time, frustration and avoid last-minute shopping sprees by having all your tools and materials prepared ahead of time. Here are some of the needed tools:
- 4-in-1 screwdriver
- Adjustable wrench
- Pipe wrench
- Rags
- Black iron pipe and fittings
- End connector fittings
- Flexible gas line
- Gas cock
- Leak detector
- Yellow Teflon tape
Step #2. Buy the correct gas stove connector
Selecting a suitable connector is the most crucial step to take to carry out a safe installation. When buying the connector, look for these things:
Make sure the “range” is marked. Then, purchase a connection that includes the connector fittings in the end you require. For example, a gas line is usually a 1/2-inch threaded pipe in color black, with a male (external threads) or female (internal threads) 1/2-inch fitting connecting it on your stove.
To accommodate the fittings, in the end, you can use a gas pipe that’s black onto the line if you can’t find a connection with the end fittings you require. Get a long enough connection to allow you to work between your stove and the wall.
Step #3. Disconnect the range
Disconnect your range, then turn the gas cock off (when directed on the pipe, the lever is on the perfect angle). The cut-off will be either behind the stove or directly below it in the basement. If you have none of this, now is the time to get one for your safety.
Step #4. Wrap the yellow Teflon tape around the pipe threads
Twice clockwise, wrap Teflon pipe-joint (yellow) tape around the threads. Because connections with 1/2-inch fittings on both ends are not always easily accessible, the 1/2-inch x 3/4-inch coupler also accepts the 3/4-inch end connector fitting.
Step #5. Install the connector to the gas supply line
Remove the end connector fitting, wrap it with Teflon tape, and screw it to the gas line. Use both fittings at the end, and DO NOT screw your connection nuts into a gas pipe that’s black to avoid leaks. Also, avoid kinking the connection or forcing it into severe bends.
Step #6. Make use of a street elbow
In the range gas port, screw a 1/2-inch x 1/2-inch street elbow. Then screw the other end of the connection into the street elbow. On each fitting, use the Teflon tape and be cautious not to overtighten.
Step #7. Reinforce the nuts
Tighten the connector nuts on the two-end connector fittings, keeping the tube parallel to the fitting. Use caution when using Teflon tape on these threads since it may obstruct the seal.
Step #8. Look for any leaks
It is vital to always check for leaks in your work. In a vertical position, turn on your gas cock, then go for lighting the burners (range) for around 60 seconds for the air to exit on your line for gas. Then use a gas leak detector to spray all of the joints (sold at home centers). You can also utilize warm soapy water if a gas leak detector is unaccessible. You can indicate a leak by noticing the presence of bubbles surrounding a joint. You may double-check your work by calling your local gas utility.
Step #9. Place the new stove in its proper location
Push your new stove into position and make sure that everything is level and no leaks are present. It’s then time to begin cooking once you’ve completed all your preparations!
It’s A Wrap!
And that’s that! So these were the particular steps to be taken on how to install a gas stove. The steps are pretty complex to understand but relatively easy to do.
We advise you to ask for guidance and help from professionals to secure a safe installation and be out of harm’s way. Make sure that you do all the steps thoroughly and correctly. Also, note the critical reminders present in the steps, as they are crucial to ensure a safe and non-hazardous installation.
You must also provide proper maintenance and regular check-ups for your gas stove now and then. But, if you use it with care and intelligence, it’s sure to withstand the test of time; the stove will be economical and ensure longevity.

