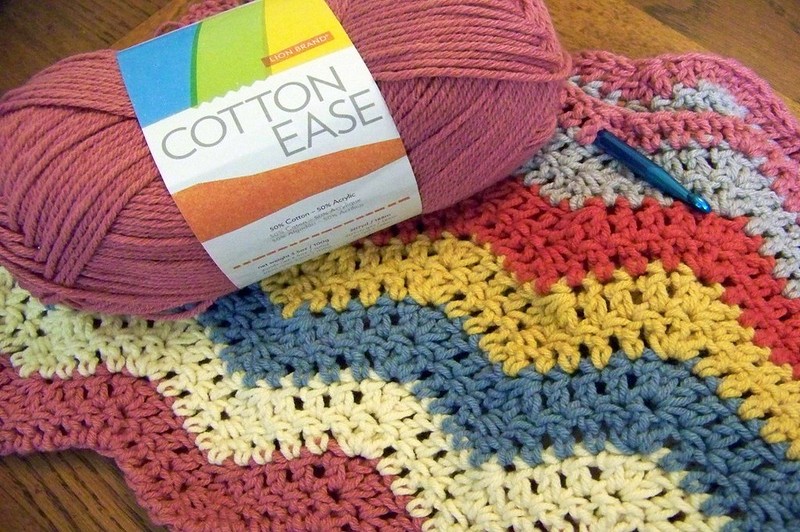
It’s nice to have a plain and classic crochet piece, but isn’t it cool to know how to crochet a picture blanket in three steps? Adding more designs and figures to your piece will make it stand out. It would make you even prouder if you made it yourself.
Crochet has now made it past being a pastime for our aged grandparents. It’s become a hobby for a lot of youngsters and a fashion statement for most. As it grows continuously, it’s becoming a solid pillar for the fashion industry.

It starts with learning a simple stitch. As you gradually discover how to make complex stitches, you can make better items. One of these is a personal picture blanket.
Steps In Crocheting A Picture Blanket
Let’s say you have already stashed a few techniques and skills on doing crochet. Now, you’re interested in making a blanket for yourself or for that special someone. Here are some steps you can follow.
Step #1. Graph your choice picture
Before we start with the knitting portion, you need to pick a picture for the blanket first. You can choose a picture of yourself, a friend, a pet, scenery, and others. However, if you’re a beginner in knitting, especially large projects like a blanket, it’ll be easier to start simple.
Simple pictures for crochet would include those with fewer layers of colors on them. Alternating with a lot of hues could test your patience, so it’s better to start with less. Also, begin with pictures that have less details so you can keep up a sense of consistency.
After picking a picture, you need to draw or print it on a graph like in cross-stitching — achieving a blanket that’s almost exactly as the image. Your graphed photo should consist of boxes that contain the colors of all sections.
Step #2. Make your bobbins
Using the graph you made, you can divide your yarn into bobbins (smaller balls of yarn). These bobbins are budgeted into the size of each color section in the picture, with one box in the graph equating to one stitch. You can do this before the actual crocheting to put less stress on you for changing colors.
The number of bobbins for a single color depends on the area which that specific color occupies. Note that whenever a color changes or meets a border, it counts as a new bobbin. Making a bobbin of yarn cross another color would make your blanket one-sided with a mess on the other.
Step #3. Start crocheting the picture blanket
Though most crocheters would recommend starting from the bottom of the photo, you can start wherever you’re comfortable. However, you need to work on the crochet in a winding manner. That is, if your first row is from left to right, then the second should be right to left, and the third row repeats left to right, and so on.
Make single stitches, one by one, connected to each other. Remember that the direction you’re going is sideways. So, when you’re making a new row, your movement follows an upward then sideway stitch.
To change the color of the yarn, make a new stitch in the previous color. However, don’t pull the loop inside the stitch, which finishes the stitch. Leave this loop in the hook, pull the tail of the previous color towards you, and hold it there.
Loop the next color to the hook, then pull it through. Your crochet should look like the new color is in between two strings of the initial color. Continue by making single stitches of the new color connected to the previous row of the first color.
To fix the first tip of your new color, place it on the top of your current row. Whenever you’re making a new stitch, pass your hook and running yarn on top of this excess yarn. It should look like it’s wrapped inside your new row.
Make sure all your straggler yarns are in front of your blanket so they are accessible. To secure these ends, you can either use a darning needle or create a slip knot. Always check your yarns so you don’t cut or lock off any of them that you’re still going to use.
What is the best crochet stitch for blankets?
There have been a couple of stitches made for crochet projects. Here are some of the favorites
- Granny stitch
- Single crochet Chevron stitch
- Ripple crochet stitch
- Slip stitch
- Shell stitch
Each one of these stitches takes more time and patience than the single stitch crochet, which is the easiest stitch. Since they’re a bit like level-ups, they also take time to learn.
Finishing a single blanket using the single stitch crochet takes a beginner months to complete. If you get impatient easily, then we suggest you stick to simpler stitches. However, we’ll also tell you that complicated projects will give you a higher sense of accomplishment.
Conclusion
We’ve shared our steps on how to crochet a picture blanket. There are, of course, dozens of other ways to do it, but now, all you need is yarns and a hook, and you’re good to go!
