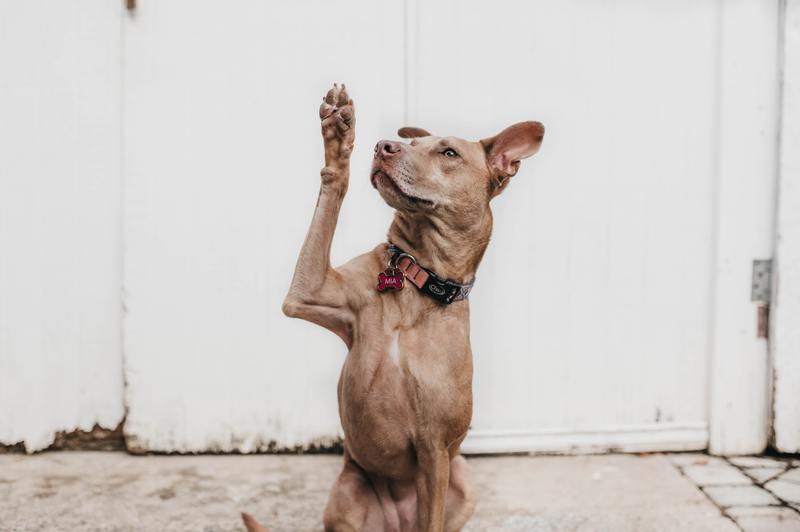
We all don’t want our dogs to suffer, so we will do everything to help them be at ease. Read through to know how to build a bailey chair for your ever-loyal friend.
Bailey chairs are designed to assist dogs with megaesophagus condition in eating. Since they cannot eat in a normal position, this chair will help them to sit upright and enable digestion. It will allow the food and water intake to slide down the throat, preventing them from vomiting.

This simple project will create a significant impact on your dog’s life! Let’s go and do the building and make an impression on our furry friends’ welfare. Do this and train them how to use it.
First, Let’s Prepare
Before building your bailey chair, take note of the following materials and tools you will need.
- Wood
- Drill
- Jigsaw
- Circular saw
- Pocket hole jig
- Router
- Wood glue
- Hinges
- 1-1¼” pocket screws
- Cushion
Building A Bailey Chair
After preparing, let us now proceed with the building.
Step #1. You must ensure that the chair you are going to build fits your dog perfectly. Record necessary measurements to be used as a guide on the project dimensions.
- M1: Shoulder width. Measure from one shoulder point to another.
- M2: Shoulder to buttocks. Make your dog sit and measure its height, starting from its tush to its shoulder.
- M3: Back to the front of the chest. With your dog sitting, measure your dog’s width starting from its back to the front of its chest.
It is very important to be accurate with your measurements. Make it too small and you’ll crush your dog; make it too big and the dog will slide down — so be precise!
Step #2. Take your paper where you wrote all your dog’s measurements and look at M1 (this will serve as the back support’s width) and M2 ( this one is the back support’s height). Create back support according to these measurements.
Add 3″-4″ on M1 and 4″-6″ on M2 for allowance. Cut a piece of wood following the total measurements. On one bottom of an end, facing inside, drill two ¾” pocket holes.
On the top of the back support, trace around edges using a jigsaw to create a nicely curved look.
Step #3. Now, let’s proceed with the side supports. Take measurements M2 and M3 as the height and width, respectively. You can add 2″-3″ on M3, depending if you would like to add a cushion.
Cut out two pieces of wood with the measurements. Then, using a jigsaw, drill a pair of ¾” pocket holes on the bottom edge, facing inside, on both panels.
Step #4. Time to assemble! Using wood glue, jigsaw, and 1″-1¼” pocket screws, attach the side panels to the back support.
You don’t have to worry if it did not turn out square. The pocket screws will automatically adjust later when we add the other component.
Step #5. Let’s now add the base. If your dog is big, you will need a bigger base! The base should allow the device to be in balance as it should carry the weight of your pup.
Add 4″-6″ to M1 and 1″ to M3. Use these measurements in creating your base.
Attach the ripped wood first on the back support using wood glue and 1″-1¼” pocket screws. Now to make it square, attach the side panels after.
Step #6. Add in a door. Measure the width from one panel to another. As for the height, this is where you need to look at your dog’s size and shape.
If your dog is big, you should leave some space on the bottom for its feet to hang. For the upper part, leave some space enough for your dog to sit upright and still allow enough room to eat.
Step #7. Oops! Don’t forget the tray! Cut a piece of wood 3″ wider than the width of the frame.
Rip a hole in the middle using your dog’s bowl as a guide. You can make the edges round to create a fancy look. Dig in ¾” pocket holes on the unrounded side.
With 1″-1¼” pocket screws, attach the tray directly to the door. Make sure to screw it as tight as possible. Now, dinner is served!
Step #8. The softest moment has come— adding the cushions! If you want your furry friend to be much more comfortable, add in some cushions!
You can put them on the back and side supports and on the base for an all-around fluffiness! Your dog will surely get to enjoy the time of his life eating.
Conclusion
That’s it! You have now made a special chair for your special dog. If you wish to do more, you can go to animal centers and donate bailey chairs for other dogs with the same condition.
Learning how to build a bailey chair is an excellent way to give ease to your furry friends and to other adorable dogs who are having a hard time eating. It will only last you a few hours of building and you can change a pet’s life!
