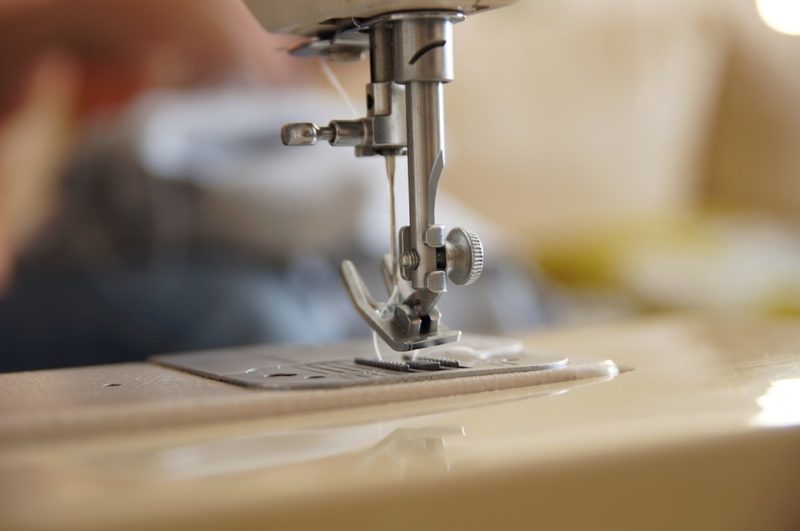
Those who want to know how to adjust presser foot pressure on Brother sewing machine will be pleased that it only takes two steps. We based this tutorial on Brother itself to ensure that you’re doing the correct procedure. You’ll also know everything about presser foot pressure on sewing machines.
Additionally, do you know how to use a Brother sewing machine correctly? We recommend reading our tutorial regarding this brand to help you get the most of the unit and extend its lifespan.

Adjusting The Presser Foot Pressure On Brother Sewing Machine
Step 1. Adjust the lever
- Refer to the Brother manual of the specific sewing machine you have
- Determine the proper presser foot pressure for your project; thin materials must use a higher pressure foot pressure, then decrease the pressure foot pressure when working with thick materials
- Find the presser foot lever on the Brother sewing machine and lower it to move the presser foot down
Step 2. Adjust the dial
- Find the presser foot pressure dial on the machine, typically located at the back of the unit
- The presser foot pressure has four levels between 1 to 4, where the larger setting means stronger pressure
- Thin fabrics must use level 3 or 4 while setting 1 or 2 is suitable for thick fabrics
- Once done, remember to set the presser foot pressure dial to 3, which is the standard-setting
How Do You Adjust The Pressure On A Presser Foot?
You can adjust the pressure on the presser foot of a sewing machine via a dial located at the back or top of the machine. But, again, remember to study your sewing machine’s manual, as it has illustrations on where to find different parts and controls around the unit. And if adjusting the presser foot pressure is still not sufficient, there are three alternatives you can try to make the fabrics feed evenly under the presser foot:
- Place a tissue paper over the fabric
- Use a Teflon foot
- Use a walking or even feed foot
How Do You Lower The Foot Pressure On A Sewing Machine?
- Determine the type of presser foot tension regulator on your sewing machine, and read the model’s manual
- For dials, turn it towards the minus sign or lower number to lower the foot pressure
- For knobs, press down the indicator to lower the foot pressure
- For pins, press the pin down to lower the foot pressure
- For screws, turn it counterclockwise or towards the minus sign to lower the foot pressure
- Remember to test the pressure foot tension on a scrap piece of fabric
What Is A Presser Foot Pressure Dial?
Sewing machines use a presser foot pressure dial to allow the user to adjust the presser foot pressure. The dial can have four to six levels, where 1 is the lightest and 4 or 6 is the strongest. The thicker the fabric, the lower the pressure you must use, while lighter materials should use a higher foot pressure. However, do note that some sewing machines can also use a knob, button, pin, or a screw for their presser foot pressure adjustment.
Another thing worth noting is that the presser foot pressure dial might look like the thread tension dial. Do not confuse the two because the former is responsible for the smooth fabric sliding when sewing while the latter ensures that the stitches are not too loose or tight. Again, always read your manual to know which knob is which.
Speaking of tension, learn how to adjust the tension on a Brother sewing machine correctly.
What is a presser foot?
The presser foot is the part of the sewing machine that holds the fabric down to be fed through the machine under the needle smoothly.
What is presser foot pressure?
The presser foot pressure or presser foot tension is the pressure that presses onto the fabric. This way, the feed dogs can pull the material through as the machine sews. You’ll know that the machine has the correct presser foot tension when:
- The fabric slides smoothly
- The fabric doesn’t pucker
- The thread doesn’t get tangled
- The stitches have the same length
When Should You Change Presser Foot Pressure?
- Increase the presser foot pressure when the fabric slips
- Decrease the presser foot pressure when the feed dog can’t move the fabric
- Adjust the presser foot pressure when the fabric layers are not moving at the same pace
What Will Happen If The Pressure On Foot Presser Is Not Correct?
- The fabric slips
- The fabric won’t move
- The fabric puckers
- Some of the fabric layers move faster than the others
- The machine skips stitches
Please note that other instances can potentially cause these issues. It would be best to check your machine thoroughly as the presser foot pressure might not be to blame.
Conclusion
And that’s it! To recap how to adjust presser foot pressure on Brother sewing machine, you only need to lower the presser foot and find the presser foot pressure dial at the back of the unit. From there, you can move between setting 1 to 4, depending on the material.
Use setting 1 or 2 for thick fabrics and 3 or 4 for thin materials. Once done, return the dial to 3 for the standard-setting. We hope this helped you; leave us a question below if you still have any.
