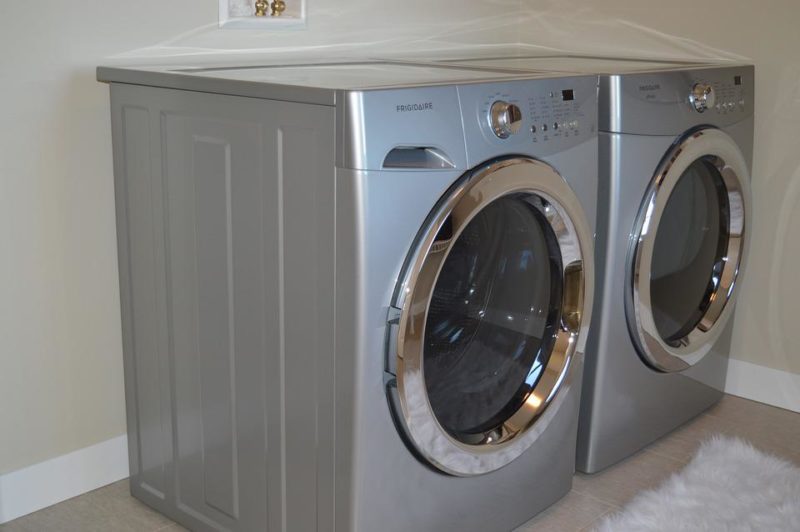
Do you want to know how to stack Whirlpool washer and dryer? If yes, then continue reading this article till the end; we will discuss a few steps that will assist you in stacking the Whirlpool dryer washer.
Laundry piles up even when you live in cramped confines. A stackable dryer and washer combination is essential for keeping your house neat when you live in an area with limited square footage, such as a condo or apartment because they require less space and can even be put in cabinets.
Follow the step-by-step instruction on how to stack a washer-dryer so it will be easier for you to stack your present front load laundry set or a newer one. Let’s get started!
Steps To Stack Whirlpool Washer And Dryer
Here’s a complete guide on how to stack Whirlpool washer and dryer:
Step #1. Check to see whether your washer and dryer are stackable
Check your owner’s handbook before attempting to stack your dryer and washer since just a few front-load dryers and washers are stackable. Whether you’re in the market for a new dryer and washer, inquire if they’re stackable and go through Whirlpool’s stackable dryers and washers to find the perfect match. Any washer and dryer may be stacked. But don’t stack your dryer and washer that they’re not from that similar brand. Stacking a dryer on top of an incompatible washer can also be hazardous. The vibrations might force the dryer to shift and perhaps fall, resulting in building degradation and death risk.
Step #2. Calculate the space you’ll need to stack the dryer washer
Once you begin, check sure your washer dryer will fit in your intended space. If you’re putting in a cabinet, you’ll need at least 5 inches between the back of the wall and the washer and approximately 1 inch between every edge of the wall and the washer, based on the brand you are using. Closet doors should have roughly an inch of gap between the bottom of the closet door and the floor to aid proper ventilation. The door’s top and bottom air apertures are necessary if a closet opening or louvered door is fitted. Product and company-specific criteria may differ. Follow the installation instructions with your model or the manufacturer’s website for further information.
Step #3. Get a stacking kit for your washer and dryer
After you’ve figured out all of your specifications and sizes, you’ll have to buy a stacking kit from the same company that makes your dryer and washer. To keep organized, the kit will come with a few screws, nuts, and clamps.
Step #4. Check the level of your washer
Bring the dryer to the location where it will be installed, giving enough space to complete the job. Make sure the washer is balanced from front to rear and side to side using a level. If it isn’t, use a wrench to adjust the leveling legs by tilting the washer back with someone’s help. The legs will be shortened if you turn the wrench clockwise and extended if you turn it counterclockwise. Before fully fastening the legs and situating your washer, double-check that it is level.
Step #5. Attach your dryer’s stacking feet
Put a small cupboard piece on the floor and tip your machine over onto the side; next, if your dryer has any, detach the dryer feet using an adjustable wrench. If your package includes stacking feet, use a screwdriver to insert them into the dryer and tighten them down. Put the dryer’s vertical position, then move it next to the washer with the cardboard.
Step #6. Place the washer on top of the dryer
Lift the dryer onto the top of the washer with the assistance of a buddy. Place your dryer so that its front and sides are level with the washer’s, and its back slightly overhangs the washer’s back because dryers are often lighter than washers, particularly when full of water; they must always be placed on top of them.
Step #7. Clips and brackets should be attached
Plastic clips may be included in your stacking kit. Place the clips in the slots on all sides of the dryer’s lower corners if this is the case. If you’re having trouble opening the clips, try snapping them open with a flathead screwdriver. To line the washer-dryer, slide the hooked tip of one of the brackets over one of the plastic clamps, sliding the dryer forward if required. Using a Phillips screwdriver, tighten the brackets with the screws provided in the package.
Step #8. Move the stacked washer and dryer
Reposition the washer and dryer in their proper locations and connect your machines according to the owner’s handbook or set up guidelines. Check out Whirlpool’s stacked laundry centers for further space-saving possibilities. You may also be interested to know about Whirlpool washer dryer combo troubleshooting.
It’s A Wrap!
We hope that this guide has helped you learn how to stack Whirlpool washer and dryer. Before you plan to stack your dryer and washer, make sure both are from the same brand. Anyways, all the steps to stack your dryer washer are discussed above. Thank you, friends, for being with us at the end. You may also want to read about how to disconnect washer and dryer and how to do laundry without a washer and dryer.

