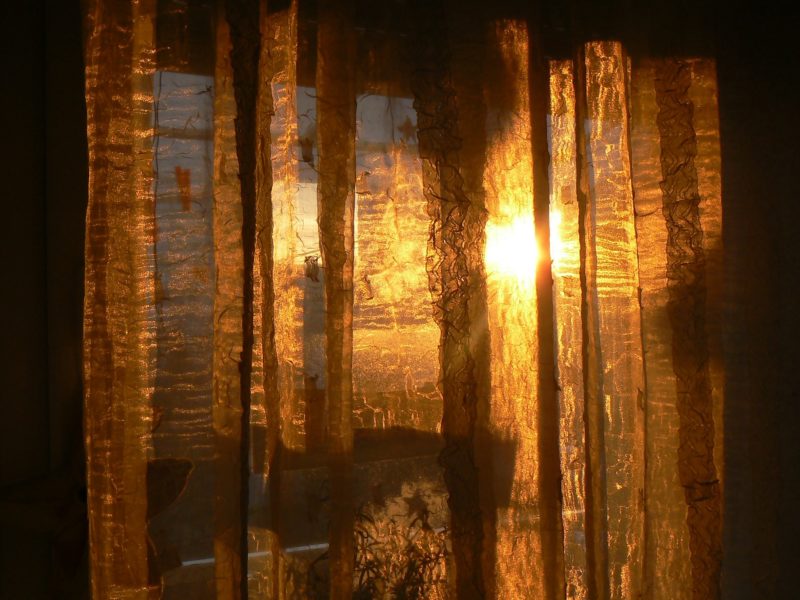
If you are looking for a DIY curtain sewing project, you should definitely learn how to sew burlap curtains. Burlap is an incredibly versatile and beautiful material that you can turn into pretty window treatments as an added decoration.

Luckily, you don’t have to be a skilled or professional dressmaker to pull this off. All you need is some basic stitching, cutting, and measuring skills. You can hand-stitch the hems in place or use a sewing machine to hold them together.
What is burlap?
Before we get into the curtain-making process, you might want an overview of burlap fabric. It is typically woven from plant skins with strong fibers, making it an ideal woven material for any curtains. You can also make fabric rolls, bags, rugs, and ropes from this material.
It is typically similar to sacking materials that coffee, rice, and potato producers use to transport their goods. Burlap fabric is an eco-friendly fabric that you can use in different house projects starting from versatile home decorations and garden products.
Despite its rustic appearance, it is actually an inexpensive way to create a designer look for your windows. You can make valances and short curtains and floor-length draperies with rich texture. Burlap curtains can suit formal and informal interior designs.
Here is for a beautiful, versatile, and eco-friendly window design. It may seem not very safe to work with, but the process is simple. We have prepared straightforward steps that are easy to follow.
Step 1: Prepare the fabric.
Whether you have a stash of burlap fabric just lying around or planning on buying a sufficient amount of material, the first thing you have to consider is the window and curtain measurements. After all, they will serve as the primary basis for the curtain fabric.
Measure your entire window and determine the length and width of your curtain panel. For the width, don’t forget to multiply the actual window width by a fullness factor of two or three. This will help you achieve curtains with volume and avoid flat and dull draperies.
Once you have the curtain panel measurements, add extra inches for the hemming on the bottom and sides. Measure your curtain rod to determine how much fabric you would need to create the rod pocket at the top and add it to the curtain measurement.
Step 2: Cutting
Steam your burlap fabric to soften the crisp edges and make the next steps much easier to perform. Using a straight edge and pencil, trace the panel edges, along with the side and bottom hems. Don’t forget to add the rod pocket placements. Cut your fabric.
Step 3: Sewing
Lay your curtain on your table or workspace with the right side facing downwards. Start folding the side hems and secure it in place with sewing pins. Use your iron on a low heat setting to gently press the folds in place.
Repeat the same process for both sides and on the top and bottom hem. Once you have folded, pinned, and ironed the hems, stitch the seams of your burlap curtain. Try to do a zigzag stitch with a wider and longer stitching length using a needle and thread or a sewing machine.
To create the rod pockets, gently fold the top excess fabric depending on your calculated circumference of the curtain rod. Iron and sew along the bottom edge of the fold to secure the rod pocket in place.
Make sure that you use a brown thread that is nearly invisible when sewn into the burlap fabric. That will help you create a perfectly seamless curtain look with neat and tailored finishes. Using matching threads and fabric colors will give your curtains a more professional look.
Step 4: Hanging
Take your curtain and slip it onto the rod. Carefully attach the finials or rod end pieces and hang them on the bracket. Adjust your curtains to form pleats or other designs. If you prefer other curtain hanging methods, try to experiment with ring clips and grommets.
There are many types of curtain hardware that you can choose from. Each of these drapery hanging methods brings a different touch to the overall window treatment. It depends on how you want your windows to look.
Design Tips
If you have some leftover burlap fabric, you can make an additional valance curtain using pretty much the same procedures. Just make sure to alter the length according to your preferences. Valances typically cover until the top part of the window to hide curtain hardware.
The fabric’s open weave design makes it suitable for kitchen and living room windows. It also doesn’t need much maintenance, so you don’t have to worry about conditioning your fabric from time to time.
It adds a touch of rustic and homely appeal to any home. Try to pair it with simple decorative rods and dark brown furniture accents to enhance the look. You can layer it with a pair of sheer white curtains to boost your privacy.
Add some fairy light, grosgrain ribbons, and other ornamental elements. Just because burlap is minimalistic and straightforward doesn’t mean that you can’t spice it up with a few decorative items. Let your imagination run wild and make pretty window treatments when you learn how to sew burlap curtains.
