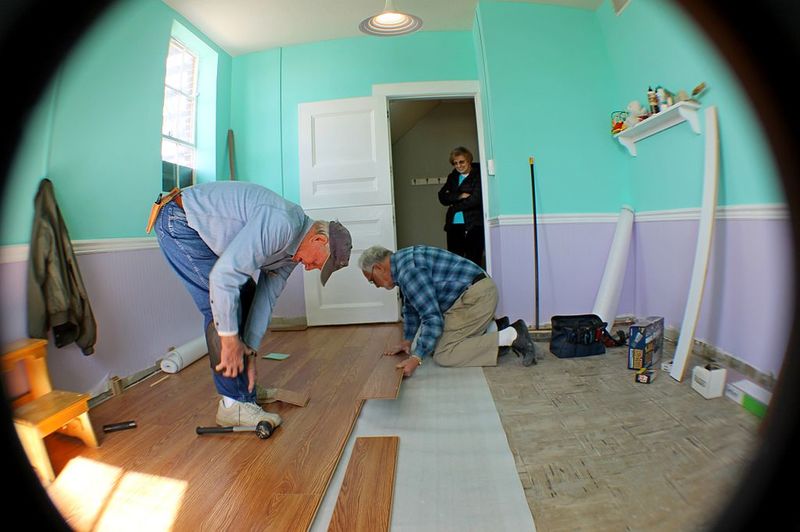
You should check out this article for those interested in learning how to repair water damaged Pergo flooring. This worthwhile read will provide you with a quick and easy technique for you to follow, which is also suitable for beginners! You don’t have to worry as long as you stay in touch with our article to fix the problem you are experiencing.

What Are The Materials Needed?
Before proceeding, ensure that you have the following materials. Once you have the complete set, you’re good to go to resolve your problem!
- Putty knife
- Utility knife
- Gloves
- Floorboards
- Safety glasses
- Floor adhesive
- Cleaning solvent
- Pliers
- Hammer
Repairing Water Damaged Pergo Flooring
Step #1. Stop the water from causing further damage
For this step, you’ll need to spot the source of water causing the damage. If a minor spillage or any accidents didn’t cause these damages, this needs to be your priority.
Another thing, if there’s a leak from the dishwater or with some other location, you’ll need to focus on how to stop the water leak before you try to replace the laminate floors. Once you’ve accomplished your first task, you can revert your attention to the damaged boards with evident problems.
Step #2. Clean up excess water
Fixing the water-damaged Pergo floor can lead some water to the surface. If not fixed early, it may worsen your problem.
In order to avoid such a matter, you need to get a dry and clean cloth to wipe off the excess water from the surface before you move on to the next step. Ensure that all leaks need to be resolved before you repair or seal anything. If there’s still leakage, the possibility is that there might be more damage done to your laminate tiles.
Step #3. Inspect the affected area
It’d be helpful if you took note that water spreads quickly. Don’t be surprised at how fast this medium can move quickly on the flooring.
It’d be best if you don’t stress out. Take your time at this point of this suggested method.
When you inspect any affected area, here are some things that you need to do.
3.1. Find all of the affected areas on laminate floors
If some spots are unnoticed, you’re more likely to have significant problems since you’ll have to deal with molds and bacterias that may build up in other areas if not seen early. If you see any signs of mold, try to contact professionals that can deal with everything.
3.2. Step on each damaged board
You’ll need to do this alternative, and you’ll feel any movement or changes that may suggest whether that is underneath. It’d be best if you’re looking for any visual changes from the flooring.
3.3. Look if there’s some discoloration
In this case, you’ll need to buckle it and misshapen it after being exposed to any water amount.
Step #4. Remove damaged planks
You’ll need to gather your knife that’ll help you lift the barrier underneath. No need to hurry up; take the time that you’ll need during the process.
This job is risky, and it doesn’t include your insurance coverage, and you can’t complain to a lawyer for conflict during the process. That is why for safety, wear gloves to avoid getting wounded.
Carefully pull up the damaged planks using the putty knife you have and place it under the damaged edges to remove it. You have to get rid of the entire plank.
There will be no exceptions for small portions that are damaged; they should be removed as well. Also, pry up the planks along with the baseboard to expose itself underneath. Then, you will need to ensure that the sub-flooring for any signs of mildew or molds.
Note: If there’s damage, it would be better to reinstall the popped-up planks.
Step #5. Replace the damaged planks
Ensure that you replace the damaged planks by using the same laminated planks that you have installed. This is unless you bought the replacement using the same laminate planks that you have installed previously. Another tip that you might want to consider if you want to avoid replacing the entire floor is to purchase from the same manufacturer or find a suitable plank that’ll balance it nicely.
Note: While doing this procedure, you need to be observant if there would be mildew or mold. If you see any of this, you need to remove all of it.
Step #6. Finish up the reinstalled floor
You’ll need to apply enough adhesive tape and place it on a heavy object with your new plank. When installing on any water-prone areas, ensure that it’ll allow the floor to dry up completely before using.
Note: Match up any designs on the flooring as identical as possible.
Conclusion
We are glad you have reached this point of the article on how to repair water damaged Pergo flooring. By following the step-by-step procedure, you’ll be able to save up money. However, if you think that this method is too much to handle, you can call for a professional to deal with your problem.

How to contact a trained professional ?