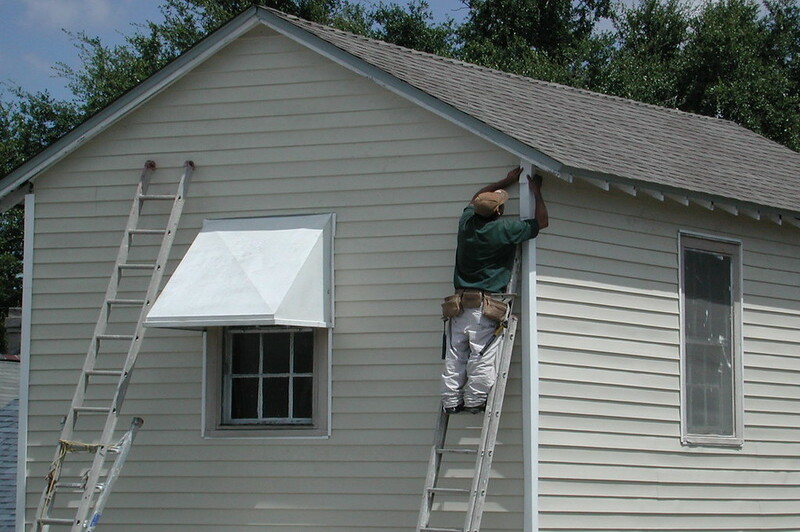
You don’t have to replace your whole wall when there are damaged wood planks. You only need to learn how to partially replace water damaged siding, which will help you save on costs and time.
Homeowners usually feel stressed when they see water damage on their outside walls. It’s usual to think you may need to replace the whole thing. However, you can fix sidings efficiently by just replacing the damaged areas.

What Is Siding?
Sidings are the external wall that covers your home or shed. They protect the interior from temperature changes, wind, and precipitation.
This covering is usually cement, asphalt, vinyl, aluminum, steel, or wood. It may suffer some damage because it’s exposed to different weather conditions.
Vinyl and wood typically experience damage from water. You can quickly replace these materials by removing the damaged planks and installing new ones..
What Causes Siding Damage?
Several factors can make your wooden siding rot or bulge. These are the factors that cause water damage in sidings.
1. Rainfall and runoff
Constant exposure to rain or runoff from the roof can lead to rot. It may take some time for the damage to manifest.
2. Moisture
Look out for the isolated sides and corners of your siding, especially the parts near the roof. These areas are prone to water buildup and moisture, so they’re common sites for water damage.
3. Improper maintenance
Wood siding is beautiful, but it needs rigorous maintenance to avoid water damage. The best way to protect your siding is to make sure it’s painted.
Another way to do proper maintenance is to check for mildew growth. Here is a post on how to remove mildew from wood siding
What Tools And Materials Do You Need?
You may feel intimidated when you see your damaged siding, but don’t worry! You only need to fix the damaged parts and leave the rest of the wall alone.
That’s why it’s essential to constantly check on your siding to have minimum repairs. Replacing the planks is easy, but you will need several tools and materials to do the job.
You will need these materials:
- Acrylic caulk
- 10d Galvanized nails
- New Siding boards for replacement
You will also need these tools:
- Circular saw
- Combination square
- Caulk gun
- Drill set with wires and extension cords
- Hammer
- Pry bar
- Sawhorses
- Utility knife
- Tape measure
- Ladder
- Speed square
- Scribbling tool
- Safety and protective equipment (glasses, hearing protection)
You can find all these materials at the hardware store. Once you have everything, you can start the wood siding repair.
Step-By-Step Process On How To Replace Siding
People use wooden sidings for homes and sheds; the latter usually needs proper repair since it’s exposed to the weather.
Here is a guide for replacing the wooden siding on an outdoor shed.
Step #1. Clear the area around the shed
Remove any loose debris that may hinder your work or cause accidents. Your work area must be clean.
Step #2. Remove the damaged panels
Use your hammer and drill to break off the damaged side panels. Make sure to leave boards that are still in good condition.
Step #3. Paint the floor with Epoxy paint
Strengthen the floor with this sheet to prevent water damage. Paint the inside floor first and work your way out.
Step #4. Attach the new wooden panels
Once the floor dries, you can use your tools to install the new wooden panels. People usually use plywood for sidings as it’s affordable.
This process is the best way to partially replace your shed siding.
How To Protect Your Siding
Once you’ve fixed your water-damaged siding, you must protect the wood to make your repair last. Here are some tips for maintaining your wooden siding.
1. Install gutters and adjust sprinklers
The gutter can protect your siding from runoff from the roof, and make sure your lawn sprinklers don’t directly hit your siding walls.
2. Leave a gap between the joints
Corner and butt joints must have a ⅛-inch gap between them. You can seal this gap with a paintable acrylic caulk.
3. Paint the siding
Painting provides excellent protection against water damage. Apply new paint every few years to keep the layer strong.
4. Apply caulk on nailheads
Nails may break the paper face if you drive them in too hard. Water can seep through these cracks and rot your siding.
Use caulk to seal the area where the nail penetrates.
5. Leave a gap between the shingles
Your siding may rot faster if it touches the roof shingles. Leave a 1-inch gap between these areas to prevent water spatter.
Learning how to replace water damaged siding is a useful skill, but sometimes the damage is too severe. You need professional help to replace the whole siding wall when this happens.
Read this informative article to learn how to get homeowner’s insurance to pay for new siding. You will save on expenses!
Conclusion
Sidings are helpful to protect your home from outside elements. However, they may suffer from water damage over time.
You will keep your walls strong if you know how to partially replace water damaged siding. Protect every part of your home or shed!
