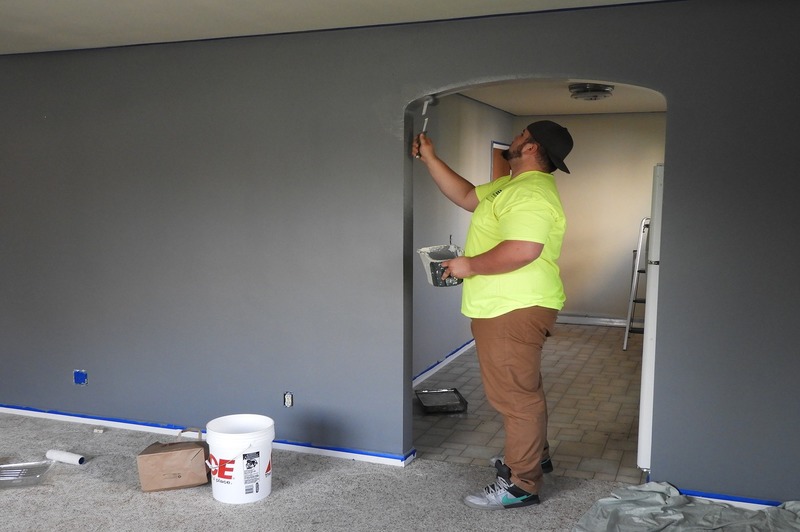
Did you ever lay down on your bed and was greeted by a stained ceiling? Here’s how to paint a water damaged ceiling in just seven easy steps! Repainting your ceiling is just like fixing water damaged wall paint.
The ceiling is one of the highlights of a home but is often the one unnoticed and unmaintained. Whether by natural or accidental causes, water may damage it and successfully call your attention. When this happens, you have no choice but to fix it or else wait for the ceiling to collapse in front of you.

Easy Steps To Painting A Water Damaged Ceiling
Painting a water damaged ceiling is not hard as it sounds. Just follow the following steps, and you will be good.
Step #1. Clean the ceiling
Any painting project starts with cleaning. Use a damp cloth and sugar soap to clean the surface you want to repaint.
Make sure to get rid of all the dirt, dust, and grit in the area. After cleaning, allow the surface to dry before proceeding with the next step.
Step #2. Scrape away old and flaking paint
With a paint scraper, remove the areas of bubbling or peeling paint thoroughly. This step will help create a smoother surface that is much easier to paint.
Step #3. Apply seal binder or peel-stop
It is not only important to repair the damage; it is also essential to prevent the same damage from reoccurring. Water-based seal binders and peel-stops will prevent moisture from seeping through pores by permeating and blocking them.
Applying such products will also create a more solid surface feel, allowing a flawless job. Give the area time to dry completely before moving on to the next step.
Step #4. Use filler to smoothen out the surface
Before pouring the paint, get the surface ready by applying filler. There are different kinds available, but we recommend you use fast-drying ones. This action will make the process faster and more convenient.
Some quicken the drying using a hairdryer. However, if you want the filler to dry out completely, leave it for a whole day without intervention.
Step #5. Sand the surface
When the filler has completely dried out, smoothen it out. Use fine-grit paper with a controlled amount of pressure to sand the surface. Get it nice and ready for the new paint.
Step #6. Apply a sealer or primer
Finally, the last step of preparation, applying a sealer or primer. Interior ceilings and other surfaces accept paint more when sealed. When using a primer, make sure to use one that is appropriate for ceilings.
Step #7. Paint the area
Prep time’s over — we are now at the main event. With a paint of color and type of choice, repaint the ceiling. You can either keep it down and classy by using neutral colors or go loud with bright ones.
Once the painting is done, the only thing you have to do is to wait for it to dry. While waiting, clean up the mess you made and give yourself a shoulder tap for doing a good job.
If the DIY remedy doesn’t work, you can get professional help. It is advisable, especially when dealing with severe cases of water leaks that require complex repair. Repairs may be costly, but nothing good will come out if you won’t do it.
How do you cover water stains on the ceiling?
Water stains on ceilings are eyesores. Fortunately, there is a technique to cover them entirely by using a stain-blocking primer.
First, apply a layer of stain-blocking primer over the stained area. When using a primer, choose one that is mold-resistant and oil-based aside from stain-blocking.
That type of primer is better compared to regular latex paint. Conventional latex paint won’t cover the stain completely when it dries, so why take a risk and waste your time and money?
How do you prevent water damage on ceilings?
Water is not a best friend to ceilings. It can damage them and cause stains and a weakened structure, so as much as possible, you must keep it away.
Before the rainy season, make sure that there are no leaks in your roof where water can seep through, and make time to check on your water pipes for leaks. Water pooling in your ceilings is something you wouldn’t want to happen. It will create damage and, in the worst case, collapse your ceiling.
When choosing the materials for your roof and ceiling, please take note of their capacity to withstand water. Materials that absorb water are not ideal for ceilings. Choose materials that are lightweight, durable, and water-resistant.
If you bought a water damaged house and you found these problems later on, you can take your time in repairing the ceiling before painting on it.
Conclusion
Damage on the ceiling is unsightly and is hard to deal with. This is true, especially in terms of water damage. Since the ceiling area is elevated, it will take much effort to repair, consuming your time and energy.
This is why as much as possible, water damage must be prevented. Learning how to paint a water damaged ceiling is indeed helpful, but good maintenance will save you from the frustrating repairs later on.
