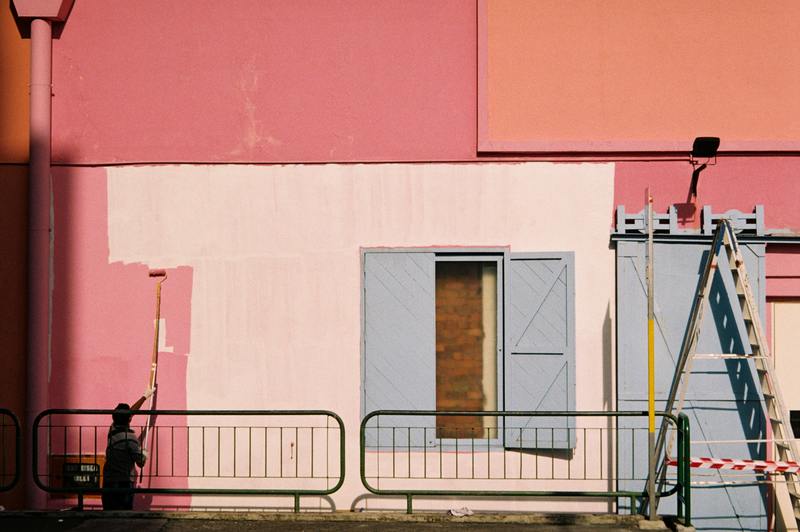
Is water turning your space into a tired and unloved space? Here’s how to fix water damaged wall paint in six simple steps. You can definitely bring back the comfort and aesthetic of your home.
Moisture from water, over time, can damage the wall paint causing it to bubble, flake, and peel. It is such a frustrating situation that you wouldn’t ever want to happen. In case you experience this, don’t worry because we got you!

6 Steps To Repairing Water Damaged Wall Paint
Here is the step-by-step process to fix the damaged wall paint in your home.
Step #1. Clean the area
Before starting any project, it is important that you clean the area of damage first. You can use a damp cloth and soap to give it a good bath. After cleaning, make sure to give the area enough time to dry.
Step #2. Scrape off peeling and flaking paint
When the area gets dry, it is now time to remove all the peeling, flaking, and bubbling paint from the wall. This is to smoothen out the surface for repainting so make sure to not leave any damaged paint.
Once scraping gets hard, stop. Instead, use a wire brush to remove the remaining debris. This part is fun, so enjoy it rather than stressing yourself out.
Step #3. Apply filler
Let’s get your wall smooth and ready for a fresh color. With a putty knife, cover the area of restoration with wood filler. Make sure to apply beyond the edges of the damage.
For a simple tip to do the trick, bend the putty knife when applying the filler. This creates a smoother and even surface and makes spreading easier. Wait for a couple of hours allowing the filler to dry before you proceed with the next step.
Step #4. Sand the surface
This part is tricky. You will need to have excellent control over your strength. Sanding the surface too hard might take you all the way to the wood while sanding too soft will not make the area smooth.
To make things more effective, use fine grain paper. Also, make sure that you sand until the filler is the same level as the old layer(s) of paint in the wall.
Step #5. Apply sealer or water-based primer
This step will fully prep the wall for paint application. Water-based primer is recommended for interior surfaces. It is best that you apply this prior to applying paint.
Step #6. Repaint the area
Once your wall is fully prepped — clean, primed, and protected from possible water damage in the future — it is now time to apply the much-desired color. It is not easy to match the new color with the old one as paint fades as time goes by. In this case, you can just choose to paint the entire wall fresh again.
If you want less hassle, you can use a peel and stick removable paint. This will save you the effort of priming, sealing, and other prep stuff. This will be easier and will consume less of your time allowing you to enjoy the new walls as soon as possible.
The result will speak for itself. Your unloved and tired-looking wall is now once again cozy and fresh as new.
How to effectively remove moisture from walls after water damage
Once moisture gets its way in between your walls and paint, it is not that simple to get rid of it. Your walls might appear dry but you will never be sure so you should go the extra mile.
When drying out walls, accelerate the process by opening the doors and windows of your home. You can also use fans to direct air towards the wet walls.
Dehumidifiers will also be a great help. It will remove moisture from the air which will do the same to the wet walls. To catalyze the evaporation process, you can also try removing the baseboards and molding to prevent moisture from seeping into them.
Is it okay to just paint over peeling paint?
Painting usually calls for additional steps to prepare. You will need to apply filler first prior to using primer and paint.
However, when chipping or peeling paint is just found on a small area of the surface, you can just simply brush off the damaged paint, prime, and paint. This is possible as long as the edges of the damaged area are still stable.
Conclusion
Winter brings moisture alongside the windy and wet weather. As you wrap yourself in a blanket and enjoy the mood, moisture might also come seeping into your walls and damage its beautiful paint. You will just notice as you watch the television that it starts to bubble, flake, and peel.
Luckily, learning how to fix water damaged wall paint is easy with just six simple steps. Forgive yourself for being too consumed with the comfort of the cold weather. Your walls will surely be back to their fresh and comfortable state in no time.
