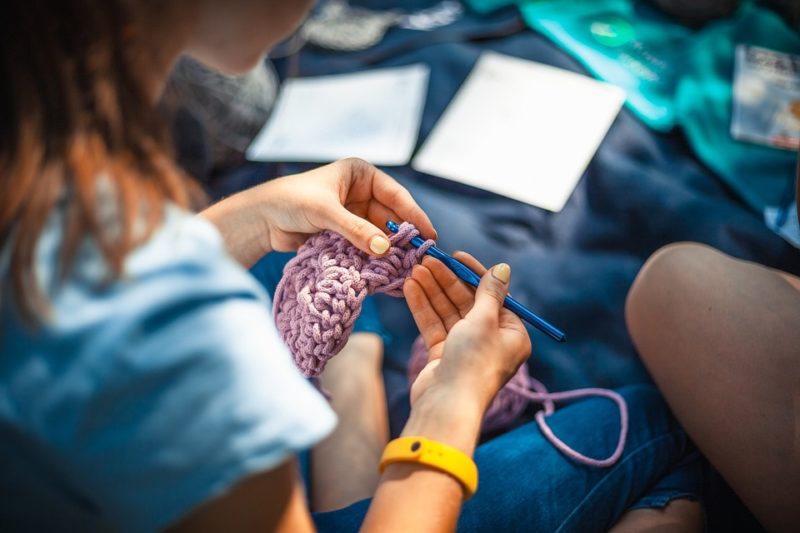
If you wonder how to knit a mermaid blanket, you can finish one in four steps. Start by casting on, making the scales, the tail, and constructing the pieces together. There are other ways to make a mermaid blanket, but knitting can be a therapeutic hobby to get into.
More so, who wouldn’t want a knitted feel on a mermaid blanket? So before you buy a mermaid tail blanket, check this four-step guide first.

How To Knit A Mermaid Blanket At Home
1. Cast on the blanket
To start your mermaid blanket, be sure to prepare the loom for the body and tail with pegs according to the size you want to make. Then, you will move to the right each time you cast on and start a scale since you’ll work counterclockwise for the mermaid tail blanket.
Now, drawstring cast on and e-wrap the entire loom according to your desired size. For a toddler-size blanket, you can use pegs 1 to 8 then use 15 rows for each scale with crocodile stitches. The scale’s gauge will be four stitches per inch.
2. Make the scales
E-wrap eight pegs moving counterclockwise, but remember that you are knitting a flat panel. Your working yarn will end alternating on the right and left. For example, you will e-wrap 8 pegs on rows 1 to 3 and end with the working yarn on the right.
Then, you will e-wrap 7 pegs without knitting on the first peg and have the working yarn on the left. Continue working each row, reducing the number of pegs by one and having the working yarn in alternate directions. Just remember to not knit pegs 1 and 8 for the 5th row, pegs 1, 2, and 8 for the 6th row, pegs 1, 2, 7, and 8 on the 7th row, pegs 1, 7, and 8 for the 8th row, pegs 1 and 8 on row 9, and the 1st peg on row 10.
E-wrap eight pegs for rows 11 to 14 and pull back the original stitches onto the pegs for the 15th row. Repeat all the rows around the loom to reach the peg you begin with and e-wrap for three rows around the loom. Work four pegs from the right of the starting peg and repeat your scales until you reach the length you want.
2. Finish the blanket tail
After the scales, you can make the waist of the tail by e-wrapping 20 rows of the loom and pulling the last row back onto the pegs to knit over. Bind off your work and make the flipper with a gauge of 28 stitches per 4 inches.
Set your loom so that you have two empty holes on both ends. You’ll do the rows inside the flipper like the scales and slip stitch the beginning of each row and end of the loom. You’ll also be using rib stitches for the flipper or e-wrapping two pegs, then purl and repeat.
E-wrap 68 pegs to cast on and work on 48 rows. Remember to rib stitch back to the center when you only have two pegs remaining and repeat from the 35th peg for the opposite side of the flipper. For the final row, slip stitch the first peg and e-wrap 67 pegs before binding off.
3. Assemble the blanket
To construct the mermaid tail, you will stuff the top end of the flipper onto the body. Pull the string until you achieve the look you want and stitch the hole closed around the flipper. And that’s it, you just made a mermaid tail blanket for a toddler, but you can adjust your work for bigger sizes.
How Many Stitches Do I Need To Cast On For A Blanket?
You will need to evaluate your needle size, yarn weight, gauge, and pattern to know how many stitches to cast on for your blanket. You might also be knitting too tightly, which can affect the gauge of the project. And speaking of which, consider the stitches you’ll do and the size of the blanket itself.
Remember that the stitches you’ll cast on should accommodate each repeating stitch the pattern needs. Then, don’t forget about the border and the end of the blanket. You should find charts online with the number of stitches to cast on according to where you’ll bind off, or check out our guide about how many chain stitches for a blanket to understand the factors mentioned better.
Can A Beginner Knit A Blanket?
The short answer is yes because there are different blanket patterns and sizes. More so, you can always select the technique that you’re comfortable with to finish an extensive project like a blanket. A helpful tip is to start with smaller blankets such as baby blankets or throws that use bulky yarns with the simplest stitch like stockinette or garter stitch to get you comfortable.
Conclusion
If you’re familiar with loom knitting, you can make your own mermaid blanket. This article has taught you how to knit a mermaid blanket that’s a toddler size, but you can always adjust accordingly. It might seem intimidating, but it’s straightforward once you get the hang of it.
Be sure to practice e-wrapping and slip stitches, and you’re good to go! If you want to ask for more tips regarding this project, feel free to leave us a comment.
