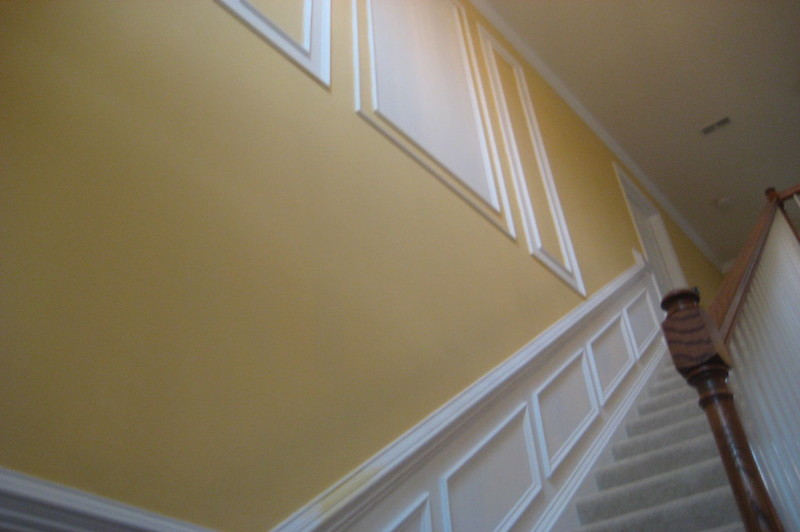
Installing a chair rail might seem tricky, so here are some easy steps on how to install chair rail with wainscoting. Chair rail and wainscoting are a type of molding commonly used in formal areas such as living and dining rooms to protect the walls from possible damages such as scrapping. It’s not only used for its protective uses, but for interior design as well.

Steps In Installing A Chair Rail With Wainscoting
Here are some easy steps on how to install your chair rail with wainscoting.
Step #1. Preparation
First and foremost, in every work that you will do, preparation comes first. Gather your needed materials and prepare your workspace. You’ll want a clear and obstacle-free workspace when doing work such as these.
One of the things that you must also prepare is your safety equipment and tools. A safe workplace is an ideal workspace.
Step #2. Measure
Now that you are prepared and gathered the necessary materials, it’s time to measure the areas you will install your moldings. Measure and mark the areas that you will be installing the chair rail first. Mark the span and regions that the chair rail will occupy.
After measuring the chair rail position and span, measure the area between the chair rail position and the floor. This area will be the place where you will be installing the wainscoting.
Step #3. Cut
After measuring, cut the pieces appropriately according to your measurements and markings. Cut the chair rails first using the necessary tools and techniques.
In cutting the wainscoting panels, approximate how many boards you will be using based on your measurement. If you are applying a box type of wainscoting, try to approximate at an odd number of panels. This way, you can place a center box to adjust your wainscoting size application.
Try to cut a block that would act as space between the chair rail and wainscoting. This would help you create an even spacing in your chair rail and wainscoting. However, if you are using breadboard wainscoting, just cut the overall space you measured where the wainscoting will be placed.
Step #4. Application
This is the last and the most crucial part of installing the molding. There are two ways to do this depending on the type of wainscoting you are applying.
If you are using a panel box wainscoting, start with the chair rail first, apply the chair rail appropriately, and tight fit. Apply your wood glue to the molding before nailing. Doing this would allow some minor adjustments before settling it in place.
After installing the chair rail in the room walls, it’s time to proceed with applying the wainscoting. Place the block you previously made as to the spacing between the wainscoting and the chair rail. Use a liquid nail or glue on the corners of the wainscoting boxes before nailing so you could adjust it first.
On the other hand, if you’re using beadboard wainscoting, install the wainscoting first. Attach the wainscoting using wood glue first before nailing so that you could adjust it. Make sure to fit the panels appropriately after adjusting nail the wainscoting in place.
After applying the wainscoting, place your chair rail molding atop the wainscoting panels. Just like what you have done to the wainscoting, apply glue first before nailing so that you can avoid creating unwanted errors.
Clean up and finish your work area. After that, you can celebrate your success on installing your very own chair rail with wainscoting.
What is the difference between chair rail and wainscoting?
Chair rail and wainscoting are independent of one another in many ways. First and foremost, chair rails are a type of protective molding, while wainscoting is a type of panel molding designed for wall insulation.
Both molding’s purpose is significantly different from one another, but both can be installed simultaneously. Not only does it provide wall protection it also looks great for your interior design. Impress your visitors with that classy interior look.
Do chair rails need wainscoting?
It mainly depends on the house interior design that you are aiming for. Chair rails and wainscoting are two different types of interior constructs. You can install chair rails with or without wainscoting.
Chair rails are designed mainly to protect the walls from scraping due to moving objects such as cabinets or chairs by providing a space between the wall and the object of interest. You are encouraged to place chair rails about 36 to 38 inches from the floor up to your walls.
On the other hand, wainscoting is a panel type of molding that can be installed below the level where a chair rail is placed. In ancient times wainscoting was used as wall insulation for stone houses. Nowadays, you can use it not only for wall insulation but as an aesthetic addition to the room’s interior design.
Conclusion
Now you know how to install chair rail with wainscoting, why not try it in your home and make your interior look better and as pleasing as it can be. If it’s still troubling whether you can do it right, try to get advice from veteran carpenters near you and finish that installation on your own.
