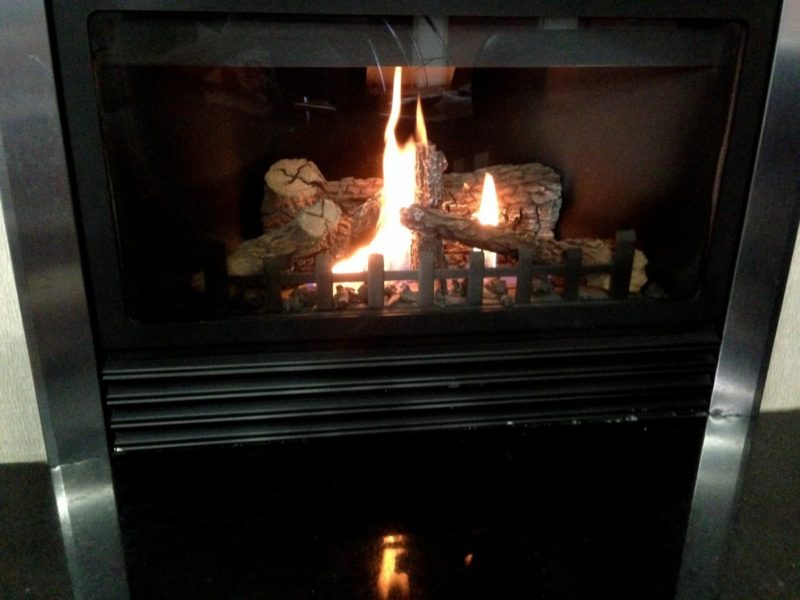
Are you wondering how to install a wood stove in a garage? In six easy steps, you can; you will understand these steps as you further delve into this article.
Garages are suitable for different activities like workshops for a home project or simply an area where kids could play and hang out. However, garages are often unheated, and to fully utilize their free space; an ideal wood stove is an excellent item to have present in your garage.
Having a wood stove in your garage is beneficial in a different number of ways. First, it helps give warmth and comfort, especially in winter and freezing times. It can also serve as a warm and cozy fireplace if you don’t have any other space for a fireplace in your living room. All in all, adding a wood stove to your garage would drastically improve comfort and coziness in your garage space.
There are many more things that you should know about this topic, so just read on!
Steps To Install A Wood Stove In A Garage
Installing a wood stove in your garage is very easy and hardly takes any time. Here are the few steps to take and do on how to install a wood stove in a garage:
Step #1. Pick out a suitable area
Before installing the wood stove, the foremost step is to plan and decide on an area in your garage where you want to set up the woodstove. Choosing the right place to put your woodstove would make the next steps easier to do and fulfill.
Another thing to remember is picking what type of pipe you will need to install for your stove. There are different variations of stovepipes; these are single-wall stovepipes, clearance stovepipes, and double wall stovepipes. You then should choose what type of stovepipe is better for your type of woodstove and garage. Connecting different types of chimneys, however, are different from stovepipes. Therefore, you must also plan out the type of chimney you will need.
Step #2. Prepare the woodstove and chimney for the installation process
To acquire the appropriate measurements and see where the wood stove and chimney should go, put everything in the garage and start arranging everything haphazardly to figure out how much room the stove and pipe would take up. It will also assist in obtaining measurements as well as the specs listed with the items.
Also, remember that it is crucial to get the exact width of the chimney pipe’s dimensions to create a hole in the ceiling for the chimney’s installation.
Step #3. Locate a suitable area where you could drill a hole
Find a location in the ceiling to construct a vent for the chimney pipe with the aid of the chimney. With the support of a plumb bob, mark the places on the roofs using the chimney opening.
Take the correct chimney vent measurements then you can add about four (4) inches on the circle marks to supply the chimneys with a minimum clearance from any flammable resources on your roof. You can also then mark the spots for the chimney parts that would penetrate the roof and ceiling. For the top marks, you might use a compass for scribing.
Step #4. Drilling the hole for the chimney pipe
After you’ve taken all of the necessary dimensions for the chimney pipe, begin drilling the hole according to the markings. To create the spot, you can use a utility knife. If you’re having difficulties drilling a hole or making the marks, you may hire a professional to assist you because this is the most critical step in the installation procedure. Next, make a hole in the roof and roof wrapping for the stove tube and trim the ceiling wrapping to fit the metal chimney’s collar. You may also use a jigsaw to cut the openings for the said chimney.
Step #5. Clean the section around the holes you have drilled
Clear the space surrounding it once you’ve finished drilling holes in the ceiling and roof for all pipes and fittings. Next, clean the places on the roof where you will install the chimney metal collar and other components according to the manual’s instructions. If you feel that doing all of the fittings is too harsh, you may hire a professional to assist you with the chimney fittings. Anyway, it may be best to know how to clean water damaged bare wood.
Step #6. Carry out the final fittings
Connect the wood stove pipe to the chimney pipe once you have completed the chimney fittings in the roof. Place the woodstove just below the chimney to allow the chimney to function correctly.
It’s A Wrap!
That’s all for the steps! So these were the full steps on how to install a wood stove in a garage. Make sure you take accurate measurements to fit the chimney, as the installation process will be a little tricky without the precise measurements.
If you feel like the process is not easy, you can call up a technician to ease your work. Remember that having a wood stove in your garage makes the space much more enjoyable and cozier than it is. First, however, you must carry out the proper installation to avoid risks and other potential hazards.
It is also essential to provide regular maintenance and check-ups for your woodstove so that you could prolong its lifespan and maximize its full capabilities. Have a good time installing your wood stove in your garage!
For more articles like this, understand how to put out fire in fireplace before bed.

