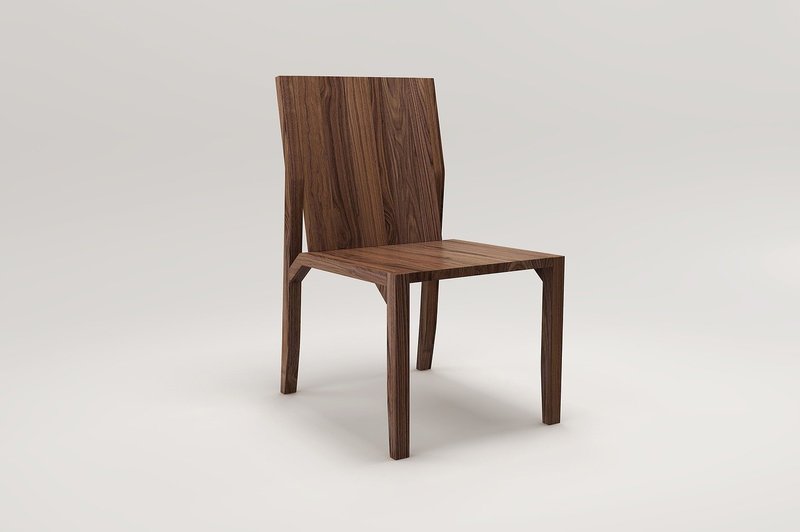
There have been many DIY projects on the web lately, and one you might get hooked with is how to fix wooden chair joints in our five easy-to-learn steps. Of course, there may be some of us who are fortunate to have an elder or anyone strong enough to do the repair jobs at home. Regardless of that, it is quite befitting to have most young adults and even teens learn how to use a hammer and do simple carpentry.
Even before the globalization of the internet and the widespread use of instructional blogs, people had been learning to do the small to considerably larger maintenance tasks at home. Especially in rural areas, it is common to have the children do simple chores like unclog the drain, clean the fireplace, and fix wobbly furniture. While a lot of this traditional training is starting to fade, learning a bit of carpentry goes a long way.

The one we’ll discuss today focuses on wooden chairs. They are pretty standard, even in highly urbanized households. If you have an antique or modern chair up for a bit of fixing, we’ll accompany you through a rewarding journey of getting it on its toes again.
Steps In Fixing Wooden Chair Joints
Unlike metal chairs and other alloy furniture, wooden chairs and even tables tend to get loosened on their joined parts. Even meticulously done and cared for pieces are subject to damage through wear and tear. If your chairs are often used in a more accident-prone environment, then they might need fixing frequently.
Here are some steps for you to get your chair back to usable form:
Step #1. Get a picture of the original form of the chair
This is a crucial step that most of the people who do repairs choose to neglect. While most furniture is simple enough for you to know which parts go where, a fixed image of the chair will let you do the job better. So, we urge you to take the time to create a plan.
If the chair you’re trying to fix is from a set, some experienced carpenters would recommend that you fully disassemble another piece from the collection. Doing so will give you a concrete idea of how each part connects. However, this is quite a drastic and risky step, mainly if you have limited time.
Instead, we’ll recommend you to carry your damaged chair and another chair into your working area. This way, you’ll have a model without having to dismantle something you’re not sure if you can reform again. Of course, if the chair you have is a single piece, obtaining a model would change differently.
For solo or unique pieces, you can either check if you have a copy of its assembly instructions or pay a visit to the store where you first obtained them. For example, if you bought it from a specific furniture shop, you could check if they still have the same item. You can also browse online for photos of the same chair.
Step #2. Label the part you’re fixing
After getting a clear perspective of how you’ll reassemble the chair, you need to label the parts you will fix. For example, if the chair has a wobbly leg and you wish to fix it in place, you can mark it with a letter. We recommend that you write the same note on the portion where the leg (the part you’re repairing) is connected.
These labels will help you later on, so each part gets returned to its proper place. It is especially significant if you’re planning to repair multiple parts.
Step #3. Disconnect the damaged part/s
You can now disconnect the moving or broken part from the main body of the chair. Depending on what connections were used to form your chair, you can do this either by hand, with a hammer, or with a spreader clamp. Some links use screws and some other unique mechanisms.
We recommend that you approach this step with a lot of patience. Taking some parts off can be long and exhausting, especially if the chair is a bit aged. Also, if your chair uses screws, make sure you keep them grouped somewhere.
Step #4. Clean the surface on the joints from both sides
The next thing you need to do is clean the surface of the parts that will be joined later on. You can do this by using sandpaper. For a leg, we suggest you scrub both the key and lock parts.
You need to scrub off all the previous adhesives used and smoothen both surfaces. This will ensure the quality distribution of adhesives later on. After scrubbing, dust off all the debris off the parts.
Step #5. Glue the parts together
You can now assemble the chair again. Spread enough wood adhesives on the two parts, or whatever your glue manufacturer recommends. We suggest you look out for some suggestions on how to apply the adhesive effectively.
Let the adhesive cure as recommended, then attach the parts. Make sure you check that they are fitted flawlessly and leveled accordingly. You can add some screws or nails to level up the connection.
Let the connection harden before you use the chair again.
Conclusion
There are other ways on how to fix wooden chair joints as well as other furniture. However, we shared with you some of the most straightforward steps we know. We hope you get that item fixed and be able to use it again.
