It is unnecessary to learn how to charge a window air conditioner since most people would just buy a new one when their unit has been damaged. But if you want to do so, it is not that hard for as long as you know the basics.
Firstly, ensure that it is legal to do it in your place since some countries do not allow a person without a license to recharge an AC. But if it is legal to do it, ensure to consult an HVAC professional.
Other than that, recharge only at the amount needed by your unit. If you overcharge your system, the tendency is that it will leak again. On the other hand, undercharged units will be less efficient and incur higher running costs.
Keep reading as we will be providing you a step-by-step process in recharging an AC unit.
Steps To Charge A Window Air Conditioner
So, how to charge a window air conditioner? Needless for you to wait any longer, below are the steps that you should follow when recharging your unit.
Step #1. Prepare the things needed
Before anything else, you will need to prepare the supplies needed, including a Freon kit, refrigerant, leak detector, screwdriver, protective eyeglasses, and gloves.
Step #2. Unplug your unit
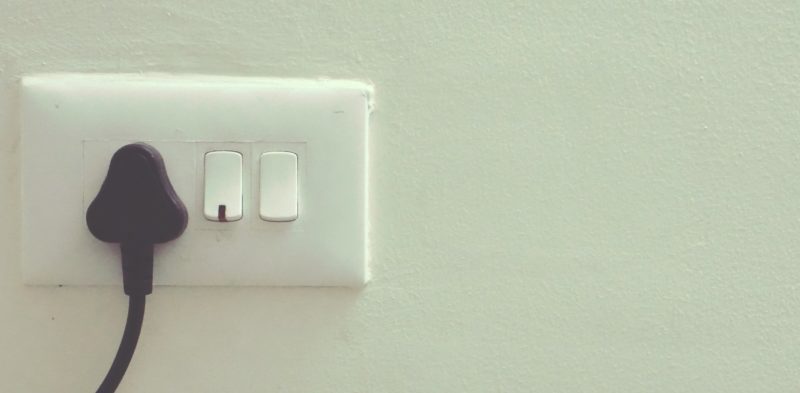
Unlike a central AC unit, you only need to unplug a window AC unit from its wall socket for it to go dead. Then, you can already take it apart and start inspecting its inner workings.
Step #3. Wearing protective gear
You must not proceed to the next step without wearing your protective eyeglasses and gloves. Keep in mind that Freon is toxic, so you need to take all precautions necessary.
Step #4. Open the unit
You will only need to slide the front end of most older window AC units to see their interiors. But the newer models require a screwdriver in putting it apart. If you are not sure what to do, always refer to the user guide that came with it.
Step #5. Checking for leaks
You can check leaks using various methods. For one thing, you can use soap. Simply mix water and soap. Then, lubricate all gears related to refrigerant transmission, including its pipe, hoses, as well as valves, and turn on your system. In case bubbles will form, then there is probably a leak.
You can also make use of a leak detector. Turn on your unit first and cover its exterior to protect it against the draft. Then, switch on your leak detector.
The next thing that you should do is to pass the probe close to the outdoor unit. Your leak detector will be giving visual or audio signals if there is a leak. But this will depend on the type of leak detector that you are using.
Nitrogen can also be used. However, you should not use this method if you are not an expert. This includes closing all the valves that connect to the downstream or upstream apparatuses.
You should pressure the unit using nitrogen and monitor the pressure. If there is a leak, then you will notice a significant pressure decline. Another way to do this is to use a fluorescent dye. Even if you are a newbie, you may use this method. Just fill a tiny portion of fluorescent dye onto the system before you turn on the unit.
The dye will circulate along with the Freon, and you will see them accumulating onto the leak. Some would also use an ultraviolet or leak detection flashlight to figure out the leak. It will glow in case of a leak.
Step #6. Fixing the leak
Perhaps, the leak is very slow; then, you might not need to fix it. That is because simply boosting your system will be sufficient in compensating for the leakage. But in case of pf a fast leakage, soldering the area is necessary.
Step #7. Connect the compressor and the valves
Locate the compressor as well as the lines connected to it. Then, attach the valve to this line. Also, attach the line onto the included tap valve.
Step #8. Connecting the valves and the Freon kit
Refer to the diagram included in the kit to know how to perform this step. The diagram will guide you in positioning the Freon tank correctly onto the valves.
Step #9. Recharge
You have to ensure that all parts are snugly connected. There should be zero chance of leaking. Next, switch on the unit and set it to the highest power. Now that the tap and service valves connect the refrigerant tank onto your unit, the refrigerant will flow from the tank towards the unit.
Check the manual to find out how much refrigerant is required for the unit. Power down your AC unit once the limit in the Freon tank gauge is already reached.
Unplug your unit again and remove the two valves. Finally, you can turn your AC on and enjoy the comfort of its cooling.
It’s A Wrap!
Before you perform the steps to charge a window air conditioner, you need to keep in mind some things.
Well, you’re already aware of the steps mentioned above.
Hopefully, you’ve learned a lot, my friends.
Have a great day!

