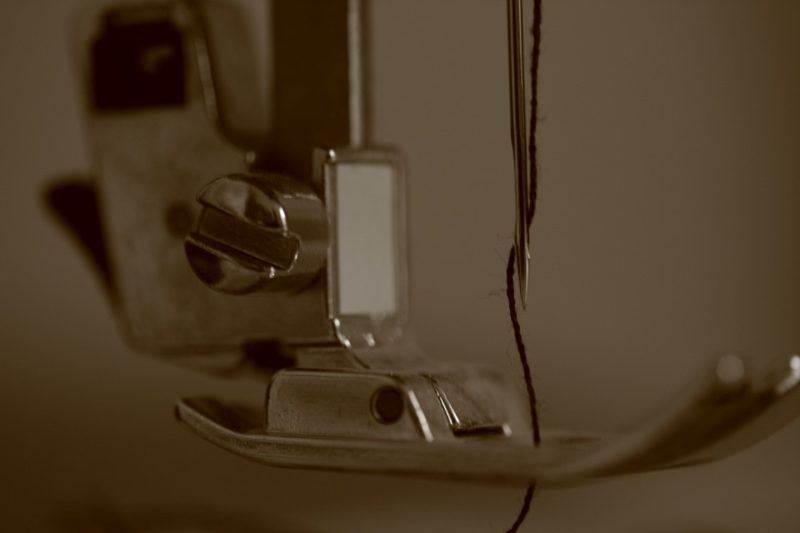
If you want to know how to change presser foot on Singer sewing machine, try three steps. First, we’ll start with preparing the machine correctly and then the proper removal and installation of the foot. You’ll also know repairs for common issues regarding the sewing machine presser foot.
Speaking of changing the presser foot on a Singer sewing machine, you can also browse our blog for everything related to Singer. We have discussed how to fill a bobbin on a Singer sewing machine, for example. In addition, we always write tutorials based on Singer manuals, so you can be confident in following them.

How To Change The Presser Foot On Singer Sewing Machine
Step 1. Set the parts
- Refer to the Singer manual of the specific sewing machine you have
- Raise the needle as high as possible by turning the balance wheel towards you
- Slide up the presser foot lever to release it
- If you can’t find the presser foot release lever, it is located at the back of the presser foot holder
- In some Singer sewing machines, you will press the lever
- Hold the foot as it will fall once you release it
Step 2. Take off the presser foot
- With the presser foot released, pull it down then slide it off from the sewing machine
- Be careful not to break the needle accidentally when you take off the foot from the peg
- Hold the replacement presser foot with it oriented downward
- Check if the pin of the new presser foot will sit directly on the slot of the presser foot holder
Step 3. Secure the new presser foot in position
- Slide the presser up into the peg, reversing the method where you removed it from the sewing machine
- For some Singer sewing machines, you will lower the presser foot lifter to snap the new presser foot in place
- Secure the new presser foot by sliding the lever down
- If you can’t find the perfect position for presser foot, keep pressing the release lever as you’re lowering the presser foot
- Guide the foot into the correct position with your thumb
- Adjust the needle accordingly so it won’t hit the presser foot, and you can read our guide on how to adjust the needle position on a sewing machine for a more detailed discussion
- For some Singer models, there is a button for Needle Up/Down or you can use the foot control to lower or raise the needle
How To Fix Presser Foot On Singer
If you’re using the wrong presser foot height, you may notice your machine skipping stitches or the fabric is not stable. The good news is that you only need to loosen the clam screw and lower or raise the foot according to your project. In general, a height of 5/16 inch is optimal when the presser foot is raised for most fabrics.
- Remove the faceplate and presser foot pressure knob on the Singer sewing machine
- Check the manual if you can lubricate the presser bar where the foot is attached
- Lift the needle and foot, so the former will be above the foot, and the feed dogs are down
- Check if the foot can sit flat on the throat plate
- Loosen the clamp screw and adjust the presser foot height
- Check the height with fabric to make the necessary adjustment
- The presser bar clamp must stand against the presser bar lifter
- Align the foot so the needle can pass through the presser foot
- Retighten the clamp screw and return the pressure knob and faceplate
When to adjust presser foot height
- The fabric tends to slip when sewing can mean you’ve set the presser foot too high
- The fabric won’t move smoothly can mean the presser foot is too low
- The machine skips stitches since the foot is too high, and it affects the pressure on the fabric
- The fabric is puckering when there is too much pressure on the fabric from the presser foot being too low
- Set the foot higher when working on heavy fabric
- Set the foot lower when sewing lightweight materials
Read why is my sewing machine skipping stitches if this is a frequent issue. We also discussed what causes fabric puckering.
Common Singer Sewing Machine Presser Foot Problems
- The fabric will not feed if the presser foot is too low
- The material can pucker if you use the wrong presser foot or incorrect presser foot pressure
- The machine won’t sew straight if the presser foot doesn’t press down on the fabric
- The presser foot must be attached securely to avoid issues with the stitches or fabric
Types Of Presser Foot
There are many types of presser foot, and your sewing machine will likely come with an all-purpose foot, rolled hem foot, blind hem foot, and zipper foot. These feet should suffice for most sewing projects, and you can also purchase potentially useful ones like the overlock foot, buttonhole foot, Teflon foot, and gathering foot.
Remember always to replace your machine presser foot according to the project to avoid issues during sewing.
Conclusion
Was this article helpful? We just talked about how to change presser foot on Singer sewing machine, and it’s as easy as releasing the lever, placing the new foot onto the machine, and sliding the lever down. However, remember always to check your presser foot height to avoid issues during sewing.
We hope this was easy to follow. Leave us a comment below if you have any.
