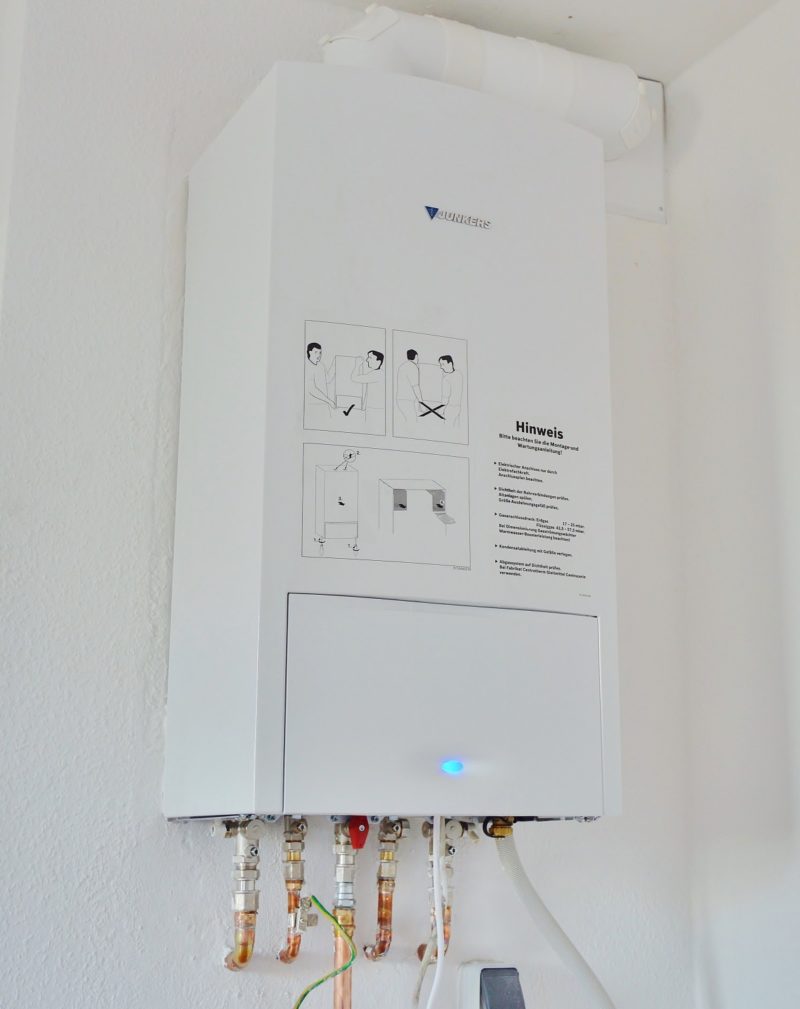
The question here is how to test an electric water heater? Sometimes we are not getting the amount of hot water we desire. For this reason, we need to test an electrical water heater. Here we will be explaining to you how you can test an electrical water heater. You will get to know me further as you go through this article further, so keep reading!
Have you noticed a significant reduction in the water temperature provided by your heating element? Every household needs hot water to do various domestic duties. However, it might be problematic when your water heater generates hot water that cannot be used for its potential purposes. A defective part is one of the most likely reasons for the water heater’s poor operation. You must understand how to inspect water heater elements and replace broken ones.

Steps To Test An Electric Water Heater
Let’s now discuss the steps for how to test an electric water heater without wasting the time further. There are more things that you should know. Let’s start.
Step #1. Disconnect the power
This is indeed a vital stage in the water component testing process. Find the power switch that links your water heater at the main power panel. It is often housed in a metal casing fixed to the wall. Every breaker is usually followed by the identification of the device it powers. I found the one labeled “hot water heater” and turned it off. If you are unsure about the breaker for your hot water system, simply turn off the whole power supply to protect your protection.
Step #2. Open the metal box cover
To open the box, remove the metal lid. There, you’ll notice the panels that are attached to the side of your water heater. Depending on its size, many water heaters are available including one or two panels. Using only a screwdriver, remove the metal plate. Make sure that the new nails do not drop into small spaces within your property.
Step #3. Remove the covering
Depending on its history, your hot water tank will also have a coating of wood or fiberglass insulation behind the metallic coating. Remove the covering and set it aside. When peeling the covering, use your safety gloves and goggles. Try to see whether the thermostat has a plastic casing. Uninstall the thermostat cover by pulling off the button. However, because some thermostats don’t really come with a detachable plastic coating, this is an additional method.
Step #4. Ensure that the electricity is turned off
You might want to double to ensure that the electricity has been turned off. Install a non-contact voltage sensor near the wire connecting the component and the thermostat. A buzzing sound or blinking light from the power sensor shows that the water heater has still been plugged into the power source. Before proceeding with the job, be certain that the electricity is entirely unplugged.
Step #5 Locate the endpoint
Your water heater would most likely contain one or two components, based on the scale of your household. The parts themselves are invisible since they reach deep inside the front panel of a water heater. You will, obviously, be able to view their endpoint. A part is approximately one inch in length and is connected to a plastic plate.
Step #6. Take note of the water heater’s temperature
Set the meter needle to the minimum or Rx1k setting, which equals resistances multiplied by 1000. Examine the bottom of the water heater container carefully. You will notice the watts and ohms written. The tester will show 16 if the heater is 3500-watt, and 12 – 13 if it is 4,500-watt. You will receive between 10 and 11 for a heat exchanger with a 5,500-watt element.
Insert another multimeter needle on a screw that is connected to the item’s face. You could do that by undoing the metal item’s free end. However, be sure you’re only checking the component and not some other electrical components that link to it. Attach the multimeter wires to the element screw’s end. Examine the multimeter values to check if they correspond to the values mentioned above. If the resistance is very low, such as 1, or does not read at all, the water heater is defective and should be replaced.
Step #7. Reconnect the detached pieces
Reattach the wires to the surface of the water heater circuits. Protect the visible panel as well as the radiator with plastic. Secure the replacement wire and replace any damaged screws. Replace the insulation and reset the fuse box. If you remove a defective element, you may have to wait a few moments for the water to warm up. It’s best to also know how many Gpm for the tankless water heater.
It’s A Wrap!
As now you must have learned how to test an electric water heater so now you should really be able to solve a problem in this water heater. Also, feel free to share this information with your friends to let them know about fixing the water heater. You may want to read related articles; know how to clean hot water heaters and how to vent a water heater.
