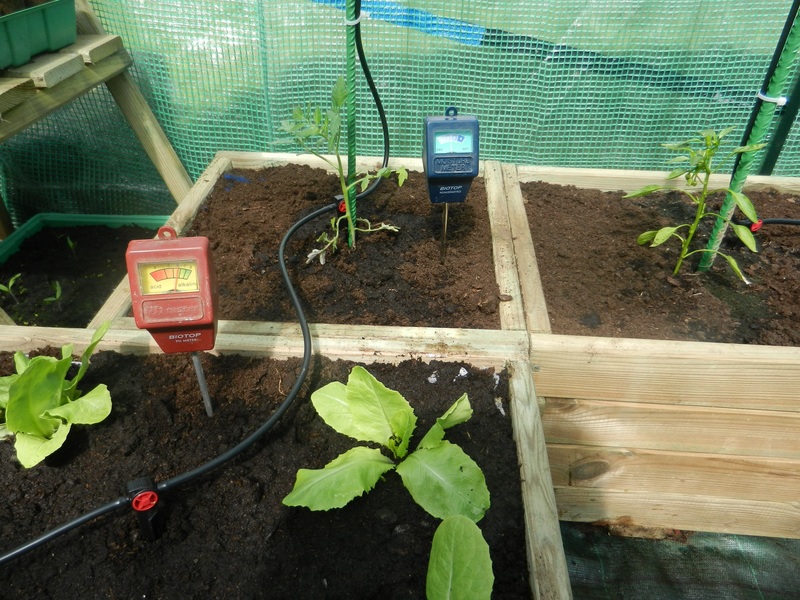
There are two methods to learn how to use a ph meter for soil. But why do you need to know how to test soil pH with pH meter? The importance of this doing this process in the garden affects the quality of the plants you’ll produce.
To put it short, getting the soil pH right by measuring the acidity of alkalinity will let you know any necessary procedures to do for the garden. The pH level is vital for hydroponics, but remember how the soil plays a significant factor in the plants’ health and growth.

Comprehensive Guide On How To Use A pH Meter For Soil
There are two methods for using a pH meter for the soil. The first one is by direct ground measurement, and the other is by using a soil solution. The first one is more straightforward, but it will help learn them both to use what is more convenient for your situation at hand.
More so, not all pH meters in the market are the same. You might need to use a different meter for a method since not all meters can work on paste-like soil samples.
Method #1. Direct measurement of the soil
The first method is using the pH meter to measure the soil directly. This demands lesser work than making a solution. Still, it’s worth noting that Washington State University only found one meter in the market that will work well directly on soils if you were to use solid or paste-like samples. Nonetheless, both methods require a pH meter with an electrode.
Dig
You need the meter, a shovel, gloves, and both tap and distilled water for direct measurement. Start first by collecting the soil to a depth of 8 inches or more. Remember that you don’t need any rock or stone. It would also be best to discard the 2-inches of the topsoil.
Measure
It might be easier to moisten the soil with distilled water as well, especially when the ground is very dry. Once you have dug to the recommended depth, don’t forget to clean the electrode first using the tap water. Afterward, you can push it into the soil without brutal force, and the reading should settle after some time.
Repeat
You can then rewash the electrode with tap water and remove all the residues by hand as cloth can damage it. With this method, you must always clean the electrode for each location. After all, you can only get a reliable measurement by testing many sites and getting the data average.
Method #2. Measurement of a soil solution
The other method is using a soil solution instead of testing the ground directly. Therefore, you will need additional tools besides the meter, shovel, and gloves. You also have to bring deionized water, a beaker and a 2-mm screen, and ziplock bags for the samples.
Sample collection
Quite similar to method #1, you should also discard the 2-inch topsoil and dig at a depth of 8 inches or more. You’ll collect a sample (i.e., 1 per 1000m2 or 1 sample per bag) with the same quantity for many areas and then mix them. You should also remove other debris like sticks and rocks before the next step.
Make the soil solution
Now that you have the mix, use the screen and sieve it to ensure no foreign matters remain. Then, use a 2:1 ratio for the solution where you have 50 ml of deionized water for every 25 grams of sieved soil. Mix them for half a minute and wait for 5 minutes before measuring.
Measure
Mix the solution and then insert the electrode similar to how you measure the ground directly. Much like method #1, the accuracy of method #2 relies on how many locations, or in this case, samples you get for measurement.
Which method should you choose?
As mentioned earlier, you use the measuring method that you think will be convenient for the situation. Both present positives and negatives, but they have one similarity to ensure that you get a reliable measurement. For direct ground measurement, test as many locations in your area, or get many samples in the area for soil solution measurement.
Method number one is advantageous if you want an immediate result because you do it at the ground. However, the constant testing puts you at risk of damaging the electrode and can result in inaccurate readings. On the other hand, making a soil solution consumes more time, but it creates less abuse to the electrodes.
Conclusion
Before planting, it’s crucial to prepare the site and location, such as the soil. Gardeners must learn how to use a ph meter for soil to improve the soil and adjust it to the plants’ requirements. You can either use the meter directly on the ground or test a soil mixture.
The first method is straightforward, but you must be careful not to damage the electrode for each test. On the other hand, the second method only differs because you’ll mix the soil sample and deionized water first for testing. Either way should help you grow plants more effectively, but don’t forget to test as many locations in your area or gather as many samples as you can to create a solution for accurate results.
