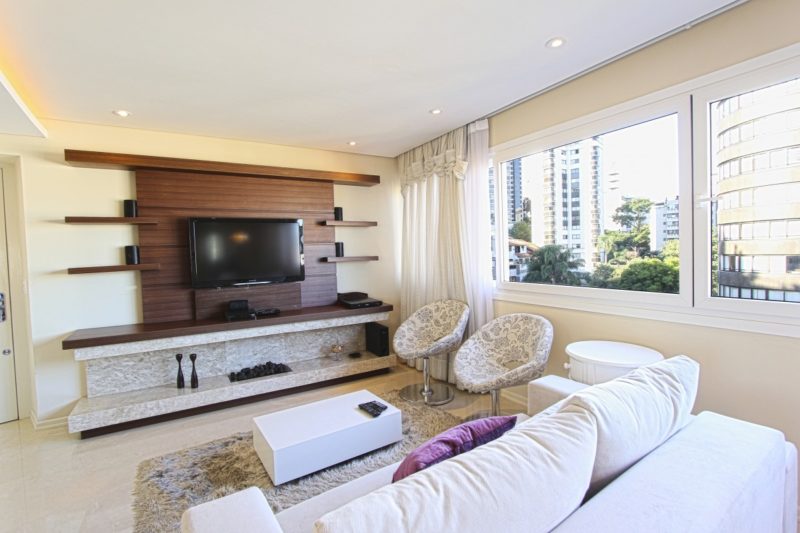
How to make gathered curtains? Knowing how to do this can help you in making your room more stylish.
Curtains with gathered headings can fit all design themes. It is typically a wide fabric that you can add to large windows.

This is a fuss-free window treatment due to its stationary position.
For as long as you know the tricks in making them, you can surely hang them properly in place.
The tricks that I am talking about are related to calculations.
You need to figure out the fullness required, the dimensions of the finished curtain, as well as the number of panels needed.
But the most complicated thing is finding out the dimensions of the fabric needed to make the finished curtain.
The actual making process is simply sewing seams and folding hems.
Steps To Make Gathered Curtains
If you stitch curtains yourself, you can ensure that they will surely fit in your windows.
So, how to make gathered curtains?
It is very simple to do for as long as you get the measurements accurately.
In this section, we will be discussing the process step by step.
Step #1. Deciding where you want to hang the curtain
You need to decide whether or not you want to hang your curtain within the window frame.
By how much do you intend to hang from the top and on the side?
Also, decide on your desired length, whether you want it to end right below the windowsill, extend to the floor, or just in between like a valance.
Step #2. Measuring up
Before you start getting the measurement, it would be best to hang the track or curtain pole in place first.
Start measuring the pole’s width and divide it into two if you intend to make a pair of gathered curtains.
Also, measure the curtain rod’s circumference and take note of the measurement on a piece of paper.
Then measure for the drop starting from the top where you intend it to hang towards the bottom.
Step #3. Installing the curtain rod
In installing the curtain rod, follow the instructions provided by the manufacturer.
After you have mounted it onto the wall, measure starting from the bottom of the rod towards the desired curtain length.
Step #4. Cutting the fabric
The rod circumference that you take note of earlier must be added by eight inches for the bottom hemming and six inches for the ruffle.
Then, cut the length of your fabric to this number.
Step #5. Hemming the fabric
The fabric must be folded about four inches for the bottom hem.
Fold it again for another four inches, then press.
To secure the hem, sew near the second fold.
Also, fold the side edges at about one and a half inches, then press.
Repeat the same process for the second fold.
Step #6. Adding drapery weights
Attach an inch drapery weight right on top of the bottom hem by opening the first fold at the bottom of the fabric.
Then, align along the edge to the second fold at the side.
Secure those weights in place by stitching them into the plastic tab above the weights.
Once done, fold the hem back in place.
Step #7. Sewing the hem
Now, sew the hems starting from the top toward the bottom of the edges of the panel.
The stitches must be near the second fold.
Then, fold the top edge of the fabric and press.
Step #8. Sewing for the hook
Position the curtain panel onto the table with the wrong side facing downwards and the pressed side upwards.
Sew the hook-and-loop tape about an inch from the edge just above the pressed folds.
Step #9. Sewing the ruffle
Divide the circumference of the rod into two and add two and a half inches to this measurement.
Fold the top edge of the fabric by this number and press.
Pin the hem in place.
Mark a line for the ruffle starting from the panel’s top edge using a self-erasing pencil.
Then, start sewing across the curtain panel near the first fold.
Next, you can sew the line you made for the ruffle to create the ruffle itself as well as the rod casing.
Step #10. Inserting the rod
Slip the panel onto the curtain rod.
Then arrange the gathers to ensure that they are even.
Step #11. Attaching the tape to the rod
Cut two pieces of the self-sticking hoop and loop tape and stick them at the back of the rod.
One should be aligned to the panel edge and the other one onto the edge outside.
Make sure that their position matches the equivalent tape you stitched into the curtain earlier.
Step #12. Securing the panel
To secure the panel, ensure that the tapes and the curtain are aligned.
It’s A Wrap!
Acquiring custom-made curtains will cost you several bucks.
It may be worth it if you invest it in something fancy and elaborate.
But if you are after the simpler ones only, it would be best to learn how to make gathered curtains.
This can be done easily. All you need to do is to sew the fabric in straight seams.
