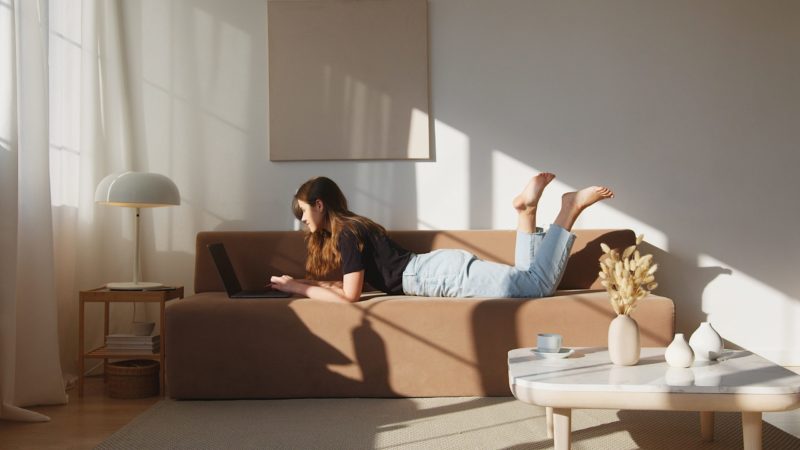
Your loveseat may not be the most expensive in the world, but you most likely want it to look as good as new for as long as possible. Getting a loveseat protector is the simplest way to keep your loveseat clean. So, let us look for instructions on how to make a loveseat protector.
What is the first thing that happens when you bring your brand new loveseat home? The “new loveseat rules” are in effect. No excessive eating, drinking, playing, or breathing on the new, expensive piece of furniture.

The reality is that adhering to such rules is often difficult, especially in households with children and pets. And, because this isn’t a long-term viable strategy, it’s best to find a way to make a loveseat protector.
What is a loveseat?
The seat can accommodate two people. It is an excellent option for small spaces. Doubling up is a practical option. This allows you to position them opposite each other or at an angle to a table in the corner.
A loveseat can be a fabulous focal point in any room, adding warmth and style, and there are so many designs, fabrics, and styles available – from velvet loveseats to leather loveseats and even multifunctional loveseat sofa beds.
A loveseat protector can breathe new life into an old loveseat or keep it looking as new as possible, as well as give a room a new look. While it is possible to purchase a loveseat protector, making your own is less expensive and allows you to use fabric that is precisely the desired color and texture.
All you need for this project are some basic sewing skills, the willingness to try and go through it with confidence, and the willingness to try again when you get stuck. Just simply follow these instructions on how to make a loveseat protector.
Instructions on how to make a loveseat cover
Step 1: Materials needed
The fabric of your choosing. For beginners, it is always preferable to use plain or printed fabric with no direction. Fabric with lines or patterns will result in a lot of waste because the lines must be aligned to give a nice, neat finish. You’ll need felt (for anti-slip), thread, and upholstery zipper (for the cushions), velcro, and a fabric marker. A sewing machine, scissors, pins, measuring tape, ruler, and fundamental sewing skills
Step 2: Measurement
Always buy extra fabric because you’ll need to wash it before you start cutting because some fabrics shrink. Don’t skip this crucial step: the beauty of a slipcover is that it can be easily removed and washed, but you must ensure that it will not shrink after you’ve made it. Follow the care instructions for the specific fabric you’re working with.
Iron the fabric before beginning work on the loveseat protector. Wrinkles in the finished product could cause puckering, so this ensures a smooth and accurate fit.
You have two options when it comes to the fabric. If you only have one loveseat and don’t mind wasting fabric, go ahead and buy a large piece of fabric to drape over your loveseat and begin pinning and cutting.
Step 3: Create the loveseat protector pattern
Drape some cheap muslin or butcher paper over the love seat and tuck it in loosely. With chalk, mark the pattern sections. Measure the fronts of the arms. Cut the pattern sections out.
It’s fine if you have to use two or three large, separate pieces. In that case, you may need to use safety pins to secure sections of the sofa. The arm fronts do not need to be covered at this point.
If you’re feeling confident, skip the mock-up and drape the sofa with the fabric you’ll be using, wrong-side up. In this case, you can trace the pattern directly onto the fabric.
Step 4: Sew the loveseat protector
Remember to feed the fabric into the sewing machine wrong-side up so that the seams on the right side are smooth. Once you’ve sewn the pieces together, remove the pins.
When sewing the loveseat protector, first cut out each section, pin it together and attach the arm fronts to the armrest sections and the body with a sewing machine. Reattach the body and sides to the sofa and rejoin them and sew the side section. Make use of the pins and chalk lines to help you. As you go, remove the pins from the seams.
Examine the fit of the loveseat protector. Along the bottom of the loveseat protector, draw a hemline. The hem should be pinned and ironed to make it easier to sew. And hem the ends to complete the look. If there are any areas that need to be repaired, now is the time to do so. Using a seam ripper, remove problematic seams and rework them so that they are straight.
Place the loveseat protector on the sofa with the right side facing out, carefully tucking the cover into place, and you are done.
Conclusion
Whether your loveseat is brand new or decades old, a washable protector will keep it looking pristine at all times. The latter design is better for short-term use, whereas the former is intended for long-term use.
