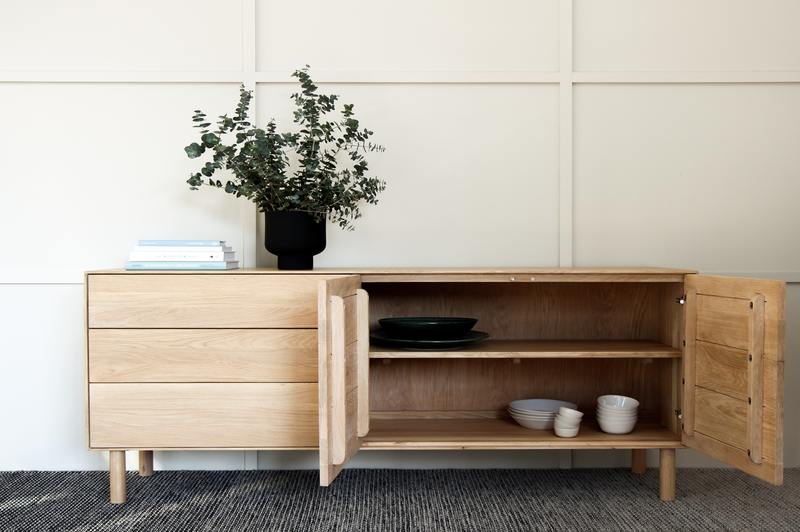
In this project, you will need perseverance, a couple of tools, and general knowledge of how to treat water damaged cabinets at home. As cabinets are usually installed in the kitchen and bathroom for storage purposes, they are more susceptible to water damage. Sometimes, you may even get to the point of replacing sink cabinets altogether.
The kitchen and bathroom, after all, are areas where plumbing, sinks, and faucets are most normally located. When water overflows or leaks from these sources, your cabinets can chip off and even become swollen.

Sometimes, the damage is an easy fix, other times, especially if you have taken it for granted for so long, there might be no turning back. It is best to repair the damages caused by water as soon as possible before it gets worse to avoid purchasing or building another cabinet.
Drying Water Damaged Cabinets
To do a good job treating the water damaged cabinets, you have to make sure it is dry enough to work on and possibly repaint if you choose to do so. You may also want to learn how to dry water damaged floor under cabinet to make sure that the area will not compromise your furniture again.
First off, you may want to remove all the items stored in your cabinet. Using towels or rags, wipe the interior of the cabinet where excess water is currently stagnant.
For a built-in cabinet, get a screwdriver and take the screws off your cabinet door to remove it. This step allows air to circulate easier and dry off your cabinet.
Suppose you can completely move the cabinet from one place to another. In that case, it will be better to bring it outdoors or to your working shed if you have one to limit the possible disruption that the project may bring inside your home. Whether you have the whole cabinet to work on or just the doors you removed, prepare large cloths or layers of papers that can serve as floor protection for when you start to sand and paint.
You can employ the use of drying equipment or just be patient until the cabinet dries on its own. Ensure that you are working in a place without much humidity. Inspect every part of the cabinet and the place where it is originally installed for leaks to fix and let it dry as well.
How To Make Water Damaged Cabinets Look Brand New
Step #1. Apply primer
Once your cabinet has dried, it is time to work on it, from priming to painting. Choose a primer of your choice depending on the material your cabinet is made. The primer will help give a clean, even finish to your cabinet. It will also help the paint stick on longer.
To make the primer application easy, choose a primer that comes in spray bottles. Make sure that the cabinet is well-coated and not a patch of space is left fending for itself. Apply primer coats once or twice depending on the quality and performance level of the primer.
Step #2. Use plastic wood filler
Using plastic wood filler on your cabinets is only necessary if you find holes, cracks, and gaps in your water damaged cabinet. Apply just enough fillers to ensure that there are no gaps left for water to seep through.
If you think you have applied too many fillers, don’t worry, as you can just smooth it over using a putty knife. Flatten out the filler against the surface to get it ready for the next step.
Step #3. Smoothen surfaces
Take a step back to inspect how much work you’ve done. While you are at it, grab sandpapers and start sanding!
Don’t worry if your sanding job doesn’t look perfect. It’s not the last step so just do what you can as best as you can.
If you have a much more efficient sanding tool, though, make use of it in this step. A high-quality electric belt sander can do a good job smoothing uneven surfaces, not to mention that it is easier.
Step #4. Paint it and sand as necessary
On this part, you can proceed with painting and sanding alternately until you achieve a nice, seamless finish. Remember the primer you used and make sure that the paint matches it.
To paint small cabinets, you can use regular paint brushes. For larger cabinets, paint rollers will make the job much easier. Of course, this will depend on how good you are at painting.
Make sure to paint the entire cabinet and not just the parts losing color to keep the surface even-looking. Give enough time for the paint to completely dry in between coats. The interval will depend on the type of paint you use.
After you finish a layer of paint, sand it down manually for precision so the next layer will stick on properly. Repeat painting and sanding gently until the damage is no longer evident and the cabinet looks brand new.
Step #5. Apply waterproof varnish
This last step is the final layer of protection you can give your cabinet doors. Unless your cabinet gets soaked in water, moisture won’t have a chance once you apply a topcoat of waterproofing varnish.
Again, your cabinet material, primer, paint, and varnish have to match each other to get the best results. Consider also what kind of finish you want, whether matte or glossy, and then apply.
Conclusion
Learning how to treat water damaged cabinets at home is only the first part of a project that could take days to complete. Even if it poses to be such a tough job, persevere to prevent from dealing with worse issues in the future.
If, however, you find that there is no hope left for your cabinet and you need a complete overhaul, it is a good idea to change the structure of your sinks and counters. Do this instead so that water will not overflow and seep through the cabinet.
