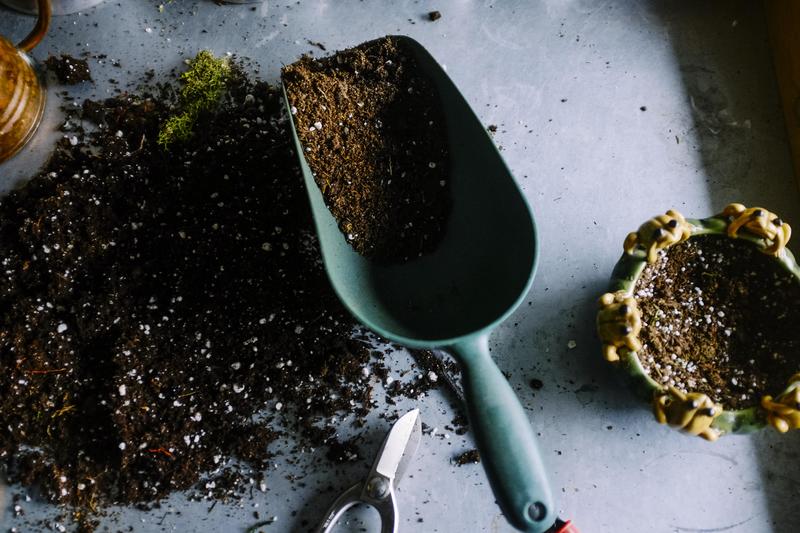
If you want to know how to sterilize perlite, there are 5 methods to choose from. Learning the proper sterilization of perlite is crucial because this filler is what you use to your medium to improve its aeration and drainage. You will find that most potting media and hydroponic systems utilize perlite, but the perlite you use must be sterile.
When growing plants, cleanliness is essential to prevent potential problems. Those who use a greenhouse can easily maintain this indoors, but anything you bring can potentially harbor organisms and fungal spores. Therefore, sterilizing perlite and supporting the ideal environment in the greenhouse should help you grow plants without worries.

How To Sterilize Perlite Safely
Method #1. Washing
The first sterilizing perlite method is straightforward, but in general, you can consider it as the first step of sterilization. Regardless, if you feel that your perlite is already clean, consider rinsing it first to ensure that it is free of dirt and filth. Washing perlite is even quick and easy, so you have no excuse not to do it and remove built-up and debris.
To wash perlite, place it in a pan and spread evenly. You can do this under a faucet and let the water run over them. Flip the perlite to get the other side to remove the dirt all the way through, and you’re done.
Method #2. Hydrogen peroxide
The second method of sterilizing perlite is a proper sterilization technique, and it is by using hydrogen peroxide. According to experienced growers, the best solution to use is 3% hydrogen peroxide. However, it’s crucial to emphasize diluting it first at one tablespoon per quart of water ratio.
Diluting hydrogen peroxide for sterilizing perlite is crucial because you don’t want to damage the plants that you’ll grow in the perlite. Therefore, you have to make a fresh batch of diluted hydrogen peroxide each time you’re sterilizing perlite to prevent it from evaporating and altering the solution’s components. To use, only water perlite with the solution and spray beforehand if necessary.
This hydrogen peroxide solution is also useful for solving fungal growth when sowing seeds. While you can use it for sterilizing perlite, you can continue to water the medium once a week with the solution after sowing. Therefore, hydrogen peroxide is useful not just before planting but also after sowing.
Method #3. Bleach
The third sterilization method for perlite is using chemicals, and the most popular one is bleach. However, you may want to practice caution because this is only recommended for pure perlite. The method itself is straightforward and as simple as the first two methods.
You want to dilute the bleach by mixing nine parts of water and one part of bleach. Leave this solution for 20 minutes before soaking the perlite in. Afterward, you can use this solution to wash the perlite before using it as a medium.
Method #4. Steam
The fourth and fifth method of perlite sterilization requires additional equipment. However, they are easy to find at home anyway. First, you can use a boiler to steam perlite, and this should destroy the contaminants.
A temperature of 212°F at a pressure of 5 to 15 psi would be excellent for sterilizing perlite, but you can also use other steaming methods. You want to let the water boil and let the steam do the work for you. The temperature can also vary, so adjust accordingly to your boiler or method.
Method #5. Oven
The final sterilization method that you can consider is by putting the perlite in the oven. Much like with steaming, the heat from the oven should kill the contaminants in the perlite. To do this method, preheat the oven to around 200°F.
Then, dampen the perlite first and place it in an oven pan. Cover the pan with aluminum foil and place in the oven for half an hour, letting the temperature reach 250°F. Take out the pan and let the perlite cool.
How To Use Perlite
There are many ways to use perlite, but the most common one is improving the aeration and drainage of your gardening medium. You can also improve your ground’s quality by adding loose perlite over the surface, which should help with water retention. Lastly, those who propagate plants from cuttings can use moistened perlite and a plastic bag to encourage rooting.
There are also different types of perlite, so you should research what you want to achieve and use the proper perlite for it. The styles include coarse, fine, and medium-grade that each differs in uses. Coarse perlite is useful for aeration and water tension, fine perlite is excellent for flowerbeds, and medium-grade perlite is suitable for potting seedlings.
Conclusion
As a gardener, you need to learn how to make your own medium, including familiarizing yourself with materials to use. Therefore, you also need to know how to sterilize perlite to guarantee that you’re not introducing organisms to your plants. Start by rinsing your perlite and choose from hydrogen peroxide, bleach, steam, and oven to sterilize it.
All these methods are quick and straightforward, which is why you shouldn’t overlook this perlite preparation. However, be sure that you will dilute the solution first when you’re using hydrogen peroxide or bleach. This would save you the risk of damaging the plants after using the medium.
