For those who want to know how to repair water damaged wood veneer, you should check out these quick and simplified steps that will guide you throughout the process. We will also answer frequently asked questions regarding your matter, so stay until the end of this worthwhile read!

What Are The Materials Needed?
Before you proceed to restore your furniture, you will need these materials during the process. Once you have the complete materials, you are good to go!
- Wood furniture
- Clean rag
- Denatured alcohol
- Mix rottenstone
- Linseed oil
- Steel wool
- Wax
- Furniture polish
Steps To Repair Damaged Wood Veneer
Part #1. Getting rid of white spots
Step #1. Buffing the veneer surface
To start off buffing the veneer surface, you need to use liquid furniture polish. This will help you remove the white spot of the wood veneer on its own.
Step #2. Dip rag in alcohol
For the next step, use a clean rag and dip it in denatured alcohol to remove the stain. However, the thing that you need to remember is that you have to be careful not to damage the polish that is still existing on the furniture. The long exposure of polish on the furniture with any alcohol may lead to the material’s problem on its own.
Tip: If you have no alcohol available in your home or if it does not work, mix the rottenstone and linseed oil. This is another technique that you can use to rub over the surface of your furniture in the direction of the grain. This will also help with a soft clean rag.
Step #3. Polish when done
Once those white spots no longer exist, you will need to ensure that the wood veneer surface of the furniture is waxed at least twice and polished for the sleek final look.
Part #2. Getting rid of the blushing
Step #1. Scratch down the white part
With the steel wool that you have, scratch down the white part of the furniture. The white part is what we call “blushing”.
Step #2. Pushover layers of wax
Once you are done scratching out the white part, you will need to ensure that everything from your furniture is wiped down by a clean rag and put over a reasonable amount of wax. This is to smoothen out the surface of your material as much as you want it to be.
Tip: If this method does not help, it would be best to try this technique called “re-amalgamation”. This method is based on what type of finish your furniture has. When you accomplish this method, you can proceed to the next step.
Step #3. Brush down the edges
Once you have accomplished the first following steps for this method of getting rid of the blushing, you will need to brush down the edges of the new spot by making your furniture’s sharp edges smooth.
Step #4. Wax and polish to finish up your furniture
After brushing down the edges to smoothen the surface, like the first method, you need to wax and polish it again. This ensures that everything from the furniture is all sealed now. Aside from the security that gives off your material, this gives off a pleasant sleek look to your room.
What is wood veneer?
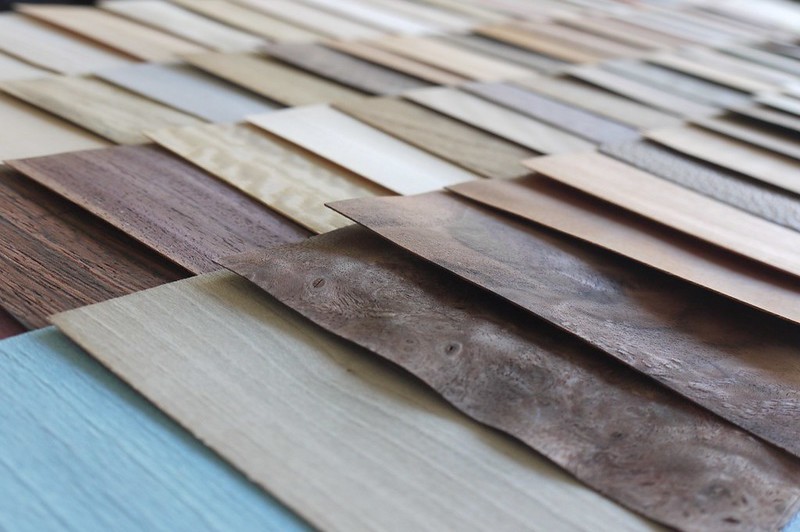
A wood veneer is a thin sheet type of wood over another wooden piece of furniture. You usually see these on any tabletop.
This piece of wood is usually used to give off a glossy look to any wooden piece. Although it is beautiful for any wood, it still requires maintenance to avoid any damage. Since this does not include insurance coverage for your house, your furniture is on your own.
How does the furniture get damaged severely?
Most of the time, water is the culprit in these situations. Although this type of element gives off so many benefits in human life, in some cases, water is not a good fit with a wood veneer.
Whether it’s from splashes of water or trapped water, this type of wood gets easily damaged if not resolved quickly, and you can not complain about this kind of problem to a lawyer! Water brings up some issues like having white spots on or a blushed haze all over your furniture, so be careful with your purchase that has wood veneers.
Conclusion
Learning how to repair water damaged wood veneer is not an easy task, but it is a worthwhile experience that can help you in the long run. Once you follow the steps correctly and have the proper tools, you will have an item of restored furniture that is as good as new!
This requires proper maintenance, so be ready for this commitment for your furniture, especially since this does not cover your house insurance. If none of the methods work, you are advised to call for professional help to avoid significant damages that might happen to your precious furniture.
