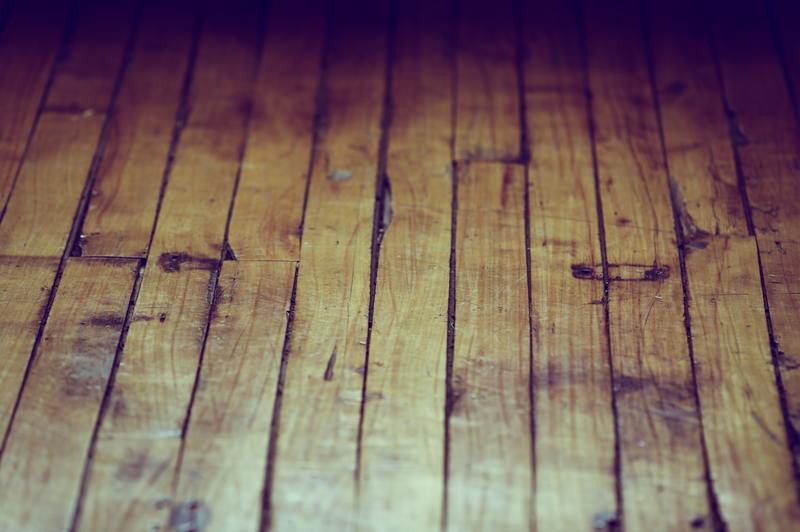
Do you need a guide on how to repair water damaged floating floorboards? Here’s a guide on how to fix them.
The floorboards can buckle and bend when saturated with liquid, and this can be dangerous to anyone in your home, so it’s essential to know how to deal with water damaged floating floorboards.

Ways To Fix Floating Floorboards That Got Wet
It is a real issue when water goes underneath the floating floorboard. This floorboard incorporates extension gaps to expand and contract, but it can leave room for water to seep underneath and cause serious problems.
Here are the steps you can go along with to lessen the amount of irreversible damage caused by water to your floorboard.
Step #1. Spot the source of water damage
First things first, find the source of the water. Does it come from an accidental spill, leak from the dishwasher, or another location?
Make an effort to stop the source of the water damage before you take the time to worry about the floorboards. You may contact a water damage contractor if you can’t find where the source is.
Once you can stop the flow of water, you may now focus your attention on the damaged floorboards to see the extent of the problem.
Step #2. Clean up excess water
The presence of water on the surface can be damaging if it sits for too long, so clean and dry all the affected boards before proceeding to the next step. Ensure that you get rid of the leaks before doing any repairs.
If the leak still exists, further damage may occur to your boards.
Step #3. Identify the amount of floorboard needing repair
The next thing to do is identify how extensive the water damage is and how many boards you should repair. Evaluate the flooring in each room, and mark damaged areas using a colored piece of tape or sticky note.
Closely examine the affected area. You need to locate all boards needing repair because if some spots go unnoticed, water damage can spread to more regions, and molds and bacteria can build up in areas not treated immediately.
Step on each board to feel any movement that may suggest water is underneath. It’s also advisable to look for visual changes in the flooring.
Damaged boards will show discoloration and can sometimes buckle if exposed to water, and these are the boards you should focus on.
Step #4. Prepare the tools necessary for repair
Prepare all the tools you need to repair the floorboards. Here are some of the tools you need:
- Safety glasses
- Flooring adhesive
- Putty knife
- Flooring adhesive
- Measuring tape
- Utility knife
- Pliers
- Hammer
- Cleaning solvent
- Replacement underlayment material
Aside from all these tools, it would be best if you also prepared new floorboards that can match the design of the floor.
Step #5. Remove the affected boards
After gathering all the tools you will use, the next step is to remove the damaged boards. Ensure that you have already determined all damaged areas and bought the replacement boards before removing them.
Start by pulling the affected boards carefully. Use a putty knife on the damaged edges.
Remove the whole floorboard, check the bare floor for signs of mold and eliminate it before installing a new board.
Want to know more about ways to eliminate and prevent molds? Click this article to understand how to clean mold off a concrete floor.
Step #6. Replace the water damaged boards
After removing the damaged boards and checking for traces of molds, you may now replace them with new boards. The challenging part here is that it can be difficult to match new floorboards with those you already have.
To gain more information about water damage repair, check out this article to know how to repair water damaged bathroom floors.
When In Doubt, Ask A Professional
Repairing floorboards after getting damaged by water can sometimes be time-consuming. Water damage is not a laughing matter, and floorboards are prone to some of the more severe issues.
If you don’t know how to repair this well, you will cause more damage to your flooring. Take note that the things lying around at home or the workplace won’t be able to solve some issues.
It is advisable to look for a water damage professional to handle the repairs. Some professionals can assist you in times of need, and they can fix the root of the problem and replace your flooring with ease.
How To Clean Floating Floorboards: Do’s And Don’ts
Are you thinking of ways to clean floating floorboards and keep them looking great for years? Here are some of the guidelines for cleaning floating floorboards.
Read the instructions
Always check the manufacturer’s instructions for your floorboard. The brand may have certain recommendations based on the materials used, and many companies have detailed product guides on their websites about the proper way of cleaning their product.
Wipe up spills immediately
Remember to tackle spills when they happen. Liquids can damage floating floorboards, so it’s essential to minimize exposure to them.
Don’t use abrasive tools
Refrain from using abrasive tools, like steel wool, for example. You may use a soft-bristle broom or dust mop to sweep up debris.
Don’t use too much water
Traditional mopping is not advisable for floating floorboards because the water can seep into the seams and cause damage like floor bubbling. Too much water can also cause staining or fading.
Conclusion
How to repair water damaged floating floorboards? Before proceeding to repair water damaged boards, you first need to focus on the cause of the water problem and stop it as soon as possible.
The next thing to do is to identify how many floorboards need repair. After identifying, you may now prepare your tools for repair, remove the damaged boards, and replace the boards with newly bought ones.
