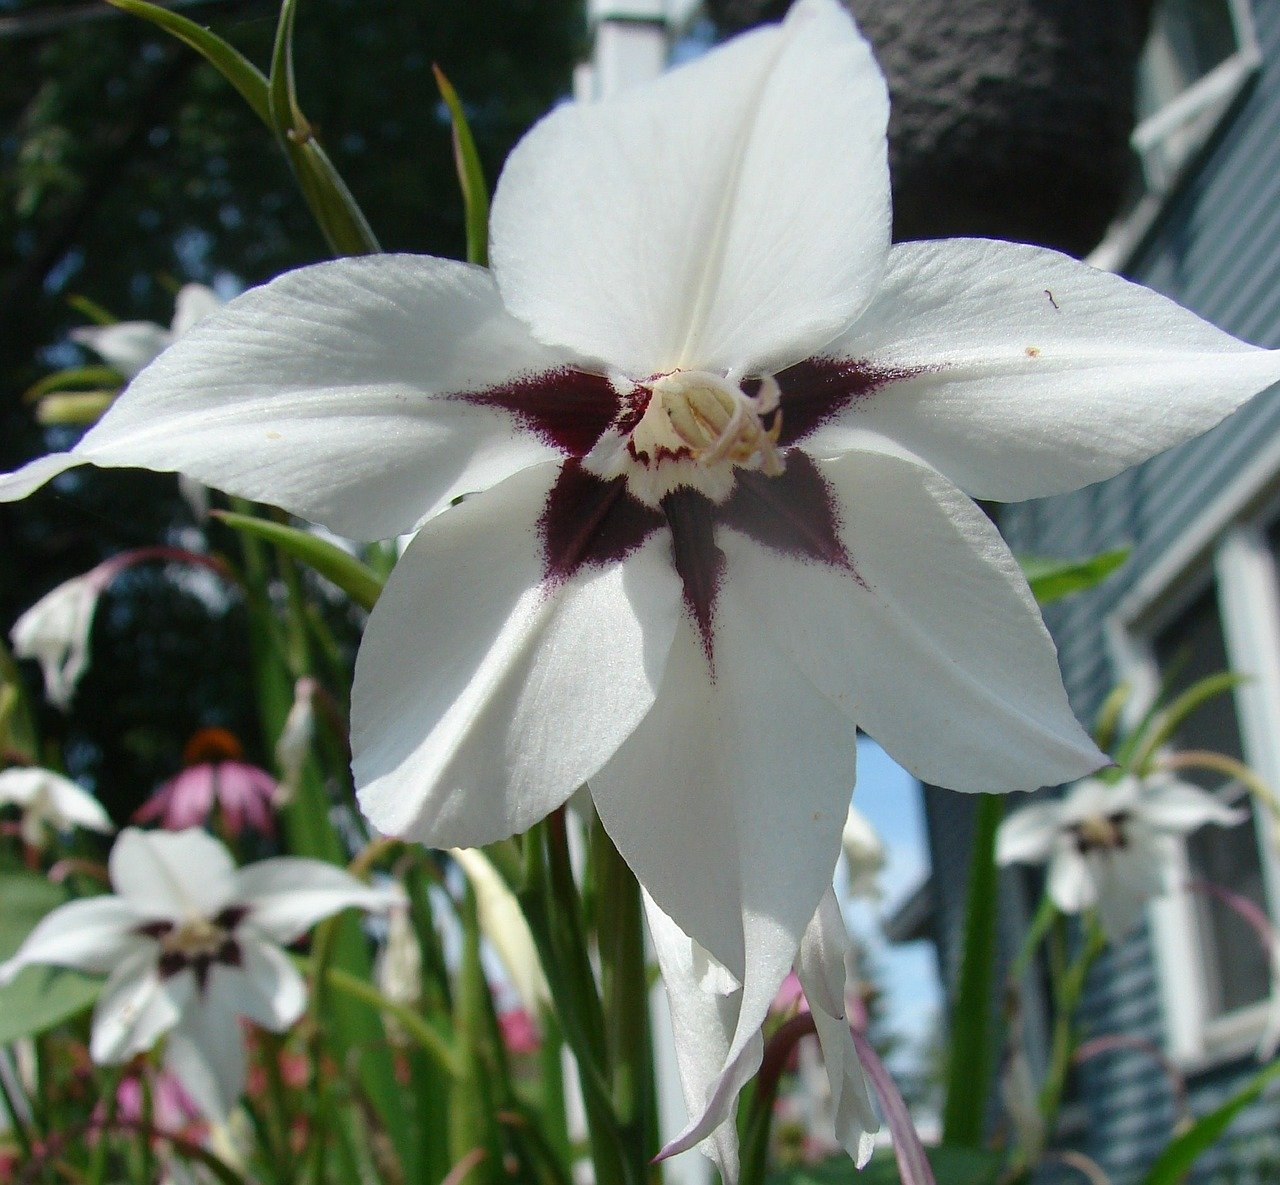
It only takes three steps to learn how to plant peacock orchid bulbs. Planting, growing, and maintenance are the main things you should study to have these tropical summer bulbs blooming in your garden. The white flowers with red details combined with green sword-like foliage of peacock orchids make them standout among others, and you’ll be pleased knowing how straightforward it is to grow them.
Peacock orchids are not real orchids, which should make you feel a bit more confident as they are not as tricky to grow as true orchids. However, you’ll still have a head start if you choose to use a greenhouse for this iris. The greenhouse is excellent for starting plants to ensure that they’ll grow vigorous from the vulnerable, young stage.

How To Plant Peacock Orchid Bulbs For Beginners
Planting
Peacock orchids require a long growing season, and they can bloom from mid to late summer. It’s common for seasoned gardeners to plant their bulbs in spring, and you can do so in the ground or containers. To make it easier for you to understand various literature, note that peacock orchid bulbs are also interchangeable with corms since they don’t have a proper bulb per se.
You can plant the corms in clusters of up to 25 plants to create a better effect than planting in rows. However, you can also space the small bulbs six inches apart. Use a well-draining yet moist soil and have them five inches deep.
What’s the ideal location for peacock orchid bulbs? These flowers prefer full sun, and you can even combine them with other plants for better aesthetics. For example, peacock orchids look great with prairie dropseed, fountain grass, licorice plant, or blue fan flower.
These combinations enhance the maroon details of peacock orchids, and their size makes it easy to combine them with other plants in containers. Just make sure that your plants have the same requirements to avoid drawbacks. Lastly, ensure that you keep their medium moist without over-watering to prevent rot, so let the soil dry between waterings.
Growing
A typical practice in growing peacock orchid bulbs is that after planting them in spring, you dig them up in autumn for storing them indoors. You can skip this step if you use a greenhouse since the structure protects them from the dangers of cold conditions. Remember that the soil temperatures should be above 50°F since the bulbs thrive well in warmth.
You can be productive and avoid delays by starting the bulbs indoors a month before the last frost date by checking your hardiness zone. This strengthens the plants for transplanting outdoors without the fear of cold weather or wind destroying the plants. Additionally, don’t forget to prepare the site and check if the soil needs loosening before adding compost.
Remember that small orchid bulbs or corms should be at a shallower depth than larger ones. The corm should have its pointed end upward and the flat side down for easier emergence. Never compact the soil over the bulbs and then maintain soil moisture to encourage growth and establishment.
Maintenance
As mentioned earlier, those who planted peacock bulbs outdoors will eventually need to dig them in fall before the soil freezes. The proper time to do so is when the foliage turns yellow, typical after a light frost. When you dig the bulbs, remember to rinse them before drying them in a location away from direct sunlight or freezing temperatures.
You’ll cut back the stems to 4 inches and then cure the bulbs or corms for two weeks in a dry and shady area. This way, their tops would be more comfortable to twist off, and then you can store them at 60°F in dry peat moss or vermiculite for replanting next spring. You can cure the bulbs for three weeks before storing them in winter, but some gardeners leave them in the ground.
This works best if you are in growing zone 7 by adding mulch for winter protection. It’s also worth noting that if you did not dig the bulbs for winter storage, you want to divide them every three or more years. This way, you can ensure that they will continuously bloom.
Besides digging and storing, the other maintenance practices for peacock orchids is regular watering and checking if they are receiving hot afternoon sunlight. You can also fertilize in late spring when the plants show growth and then use a liquid fertilizer every two weeks until the growing season ends. A 10-10-10 liquid fertilizer should work well with peacock orchids.
Conclusion
Even though they are not real orchids, having peacock orchids will surely make your garden stand out. It would help if you learned how to plant peacock orchid bulbs by studying three steps. Remember that these plants don’t have genuine bulbs, but instead, propagate by corms.
Their planting is relatively easy, and you only have to choose a well-draining site that receives sunlight. It would be best if you were careful with the primary practice when you dig the bulbs out and store them until next spring. You can also start the bulbs in the greenhouse to avoid delays in the growing season.
