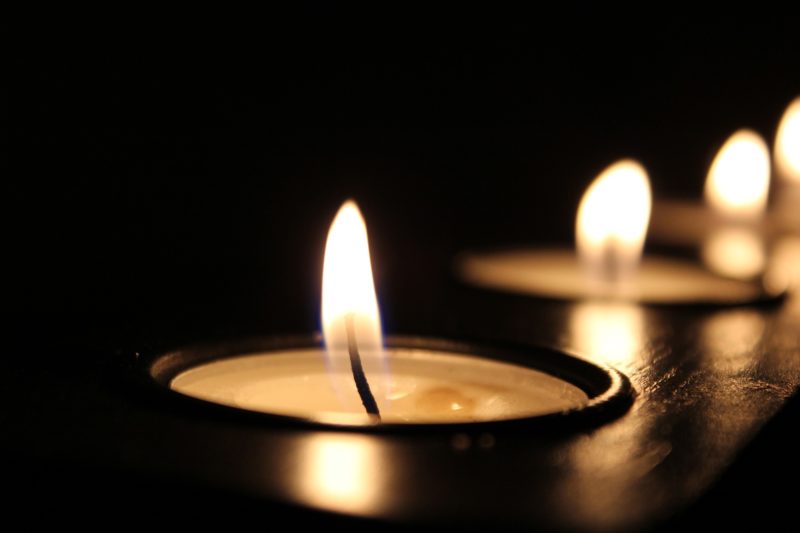
If you want to utilize aroma to create a relaxing ambiance in your house, burning a candle is the way to go. We all know no one wants to throw out candles that still have some wax on them, right? That is why we will teach you how to melt candle wax to reuse it.
It’s practically hard to burn the wick when the smell of wax won’t melt evenly. So, is it possible to save the wax from severely exhausted candles? The straightforward answer is yes.

How To Melt Candle Wax To Reuse
To begin, melt the candles in a small saucepan put over a big saucepan of hot water. Different waxes have melting points ranging from 100 to 145 degrees. Once the wax has melted, remove the old wicks with tongs and discard them.
Step 1:
Cut a two-inch-tall piece of wicking to fit the votive holder. Tie one end together and thread it through a wick tab. Wrap the free end around a wooden skewer.
Step 2:
Coat the wicking and tab with the heated wax. Remove the tab, then push it to the bottom of the holder. Place the skewer on the rim of the votive.
Step 3:
Fill the votive container halfway with molten wax, ending a half-inch below the rim. Allow it to stand for approximately an hour or until it hardens. Pour extra wax into the middle until it’s one-fourth inch below the rim to smooth out the well.
Because not all candles are created with the same components, not all candles have the same boiling point values. Remember this when combining different waxes (or any wax for that matter) to produce a candle. Alcohol, which is used in certain candles, has the potential to catch fire.
Never leave an unattended hot plate, burner, or glue gun. Determine how much wax you have on hand. Dip your candles if there is enough to fill a bowl or coffee can to a depth of 6 inches.
Step 4:
Pour candles into a container if the amount is little or if you prefer a simpler approach. Fill a big pan halfway with water. Bring to a simmer.
Step 5:
Inside the bigger pan, place a saucepan, metal dish, or coffee can. Add your old candles, being careful not to mix waxes such as beeswax, paraffin, and soy wax. Even if the candles have different colors or aromas, it is okay to mix two candles created from the same type of wax.
Step 6:
Attach a candy thermometer to the pan’s side, with the detecting end in the wax. Your wax is ready to use when the temperature hits 185 degrees F. Using a spoon or fork, remove burnt fragments, unused wick, and other debris from the molten wax.
Step 7:
If you want your candles to smell nice, add 1/2 to 1 ounce of essential oil, such as geranium oil. Before proceeding, give it a good stir. Clean and dry a shot glass or teacup made of glass or ceramic.
Step 8:
Cut a length of thread or wicking 2 inches longer than the height of your container. Wrap your wick around a fork or spoon. Dip it briefly into the wax to coat it.
Step 9:
Place the utensil over the top of the container, allowing the wick to dangle down into the center. Adjust the wick so that it barely touches the bottom of the container. Pour a tiny bit of wax into the container’s bottom, then adjust the wick to stay in the center.
Step 10:
Fill the container to about 1/4 inch below the rim each time. Allow for an hour to set before cutting the wick. It is so that about 1/4 inch extends out from the top of your new candle.
Step 11:
Assemble the melted wax in a deep, thin container. Your dipping wax should ideally be at least 6 inches deep. String a clothesline or place a broom handle across the backs of two chairs or other stable supports.
Step 12:
This is where dipped candles will be hung to dry. Cut your string or wicking to at least 16 inches in length. Tie a fishing weight, a metal nut, or a couple of coins on either end.
Hold the thread in the center and dip both ends into the wax until the candle is the desired length. Remove and set aside for four seconds to cool. Repeat this process, allowing your candles to cool for a few seconds between dippings until they reach the desired size.
Step 13:
Hang the candles on your line or broom handle. Be careful not to let them touch each other. Allow them to stand for a full day before removing the weights and trimming the wick to approximately 1/4 inch.
Step 14:
Allow the wick to burn for two hours the first time you light your new candle. This will make lighting easier the next time. The melting points of various kinds of wax vary.
When you’re melting wax, keep an eye on it. If it starts to smoke, it’s too hot. For best results, reduce the temperature to 165 degrees Fahrenheit. This sums up on how to melt candle wax to reuse.
Conclusion on How to Melt Candle Wax to Reuse
You no longer need to feel bad about throwing a fragrant candle wax because it is no longer functional. Here are simple steps on how to melt candle wax to reuse it. Just follow this guide and you can have the ease of your scented candle.
