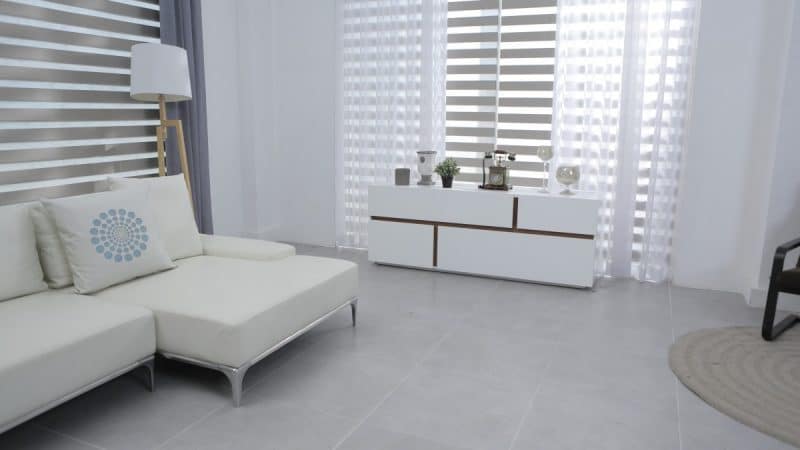
How to make back tab curtains? Read on!
Making your curtain panels will surely save you some bucks.

You know those drapes can be very expensive sometimes.
Luckily, sewing your back tab curtains would not take much of your time and money.
Aside from that, it will also let you customize the treatment of your window however you like.
Plus, you can ensure that it will fit the space and style of the room. There are a lot of DIY ideas that you can copy.
These sewing projects can transform your room without costing you that much money and effort.
To get started, all you have to do is choose the fabric to use and measure the height and width of your window.
You can use any fabric material to make your back tab curtains. Just ensure that it can complement the overall theme of the room.
Continue reading until the end of this post as we teach you how to make your back tab curtain in just a few easy tips.
What Are The Things Needed?
Before anything else, you must know the things that you need to prepare first.
Ensuring that the tools and materials needed are readily available near you is the key to finishing the project in no time.
Below is the list of the tools and materials that you will need as you perform the project:
- Fabric scissors
- Tape measure
- Fabric marker
- Straight pins
- Ruler
- Sewing machine
- Iron
- Thread
- Fabric
6 Steps To Make Back Tab Curtains
After you have prepared all the materials and tools needed, for sure, you are now ready to go.
How to make back tab curtains?
So without further ado, below are the steps to follow when making a back tab curtain:
Step #1. Measuring the window space
Before going out to the market to buy fabric, you have to measure your window.
Determine the length that you want your back tab curtains to be.
If you already a curtain rod mounted over your window, measure the length from there and add seven more inches into it.
This number is beneficial when finding out the right amount of fabric to purchase that will be enough for your project.
If you are not sure how much you will need, you can refer to the guide in calculating fabric yardage.
Just remember to take a closer look at your window’s width and ensure to purchase enough fabric that can cover the space when you close the curtain.
Step #2. Cutting the curtain pieces
Take out the fabric panels that you bought and start trimming the edges.
In creating the curtain tabs, you need to cut eight pieces for every panel.
Each piece should measure 5 inches square.
Now, in making the facing piece that will hide the tabs, you also need to cut 5-inch long pieces with your panel’s width.
You will need to prepare sixteen tab pieces with 5×5 measurements and two 5-inch facing pieces with a similar width as your panels.
That will be enough for two curtain panels.
Step #3. Preparing the tabs and the facing pieces
Start folding each tab piece in the middle with the raw sides and stitch about hand an inch seam.
Then, turn its right sides out.
After that, you can now press it at the center.
Now for the facing pieces, fold two inches on its short edge, press the iron and unfold.
Then fold the line you just pressed in half and stitch again.
After that, you have to create a half an inch crease by pressing one of the longer edges.
Just leave its other edge.
Step #4. Pressing and pinning the tabs and panels
The two drapery panels must be laid out so that you can press about 2 inches on each of their long edges.
Then, turn down about an inch of it.
Start stitching about an inch near the fold from the outer edge.
After you stitch the two longer edges of every panel, space the tabs evenly across the shorter edges.
Then, pin those tabs onto their proper places at the fabric’s front side.
Make sure that the right sides and the panel are together and the raw edges are up.
Start pinning the facing pieces above the tabs after that.
In between each tab, you have to pin and stitch about half an inch seam across them.
Step #5. Pressing and stitching across the panels
Fold the facing piece and the tabs to every panel’s back and start pressing them in place.
Now you can start stitching the entire panel’s width.
With a seam that can be about half an inch wide, you can tuck all the end of the tabs underneath.
Step #6. Finishing
Now you are left with the bottom of every panel.
Press it for hemming and stitch.
After completing the hemming, you can now hang your back tab curtains and admire your hard work.
Want to read more articles? Click here.
That is all.
It’s A Wrap!
In just six easy steps, you can create your back tab curtains. Very simple, right?
I know the whole process will be a breeze for you for as long as you got the tools and materials.
So make your back tab curtains now!
I hope you learned a lot from this article “How to make back tab curtains?”
