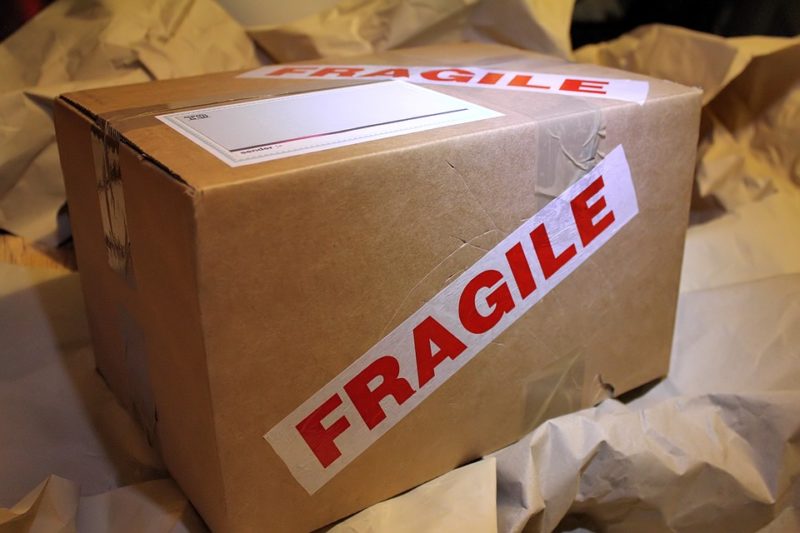
How to make a donation box out of cardboard? To make a donation box, we need to prepare our materials first and follow eagerly the steps given. Aiding the poor through a donation drive is one way to help and share your blessings with others. We are an artist in our special ways and think creatively; in this article, we will find out how you can make a donation box out of cardboard. These are the materials: cardboard, cutter, measuring tools like a ruler, colored paper, marker, and packing or scotch tape.
Creating a custom box can be used for a few good reasons: storing, wrapping gift presents, materials for DIY or in artworks, donations, etc. A donation box is a box or container where individuals can put cash or things like food or clothes collected for an association.
These are commonly found in open public places as a great way to create extra funds for foundations or associations. Churches, libraries, exhibition halls, fastfoods, and numerous non-profit organizations utilize donation boxes.
Steps To Make A Donation Box
Are you wondering how to make a donation box out of cardboard? Here are the following steps:
Step #1. Materials preparation
All you need is second-hand cardboard, a cutter, measuring tools like a ruler, colored paper, marker, and packing or scotch tape. Bring these materials to a wide table. Choose a room or an open space where you are comfortable and bright. You can also work on the floor but see that it is clean and no one is passing by in that area. Working on the floor is advantageous if you create a large donation box for clothes, blankets, and groceries. You may want to read about how to build a clothing donation box.
Step #2. Measure and mark
Spot the edge, width, and length of the cardboard, and imagine what size of the box you want. The best option is to find a flat square object, put it on the top of the cardboard, and trace it so that you can get equal sides and measure. See to it that you alloted a 1-inch allowance for each side for step number 4 later.
Step #3. Cut to size
Now, cut the cardboard base on the measured size. Do not cut unto the very edge. You will need to leave half the width as extra cardboard will be flipped so that it’s easy to tape all the edges. Expand the sharp edge of your utility blade or cutter, and cut the cardboard. Hold the sharp edge at a 45-degree angle and gently drag it towards you. If the cardboard is thick and difficult to cut, you may need to cut through the same line 2-3 times to get through it.
Step #4. Flip, fold, and tape
So you have a total of 6 squares to form a box. Take the item off the cardboard and flip it onto its other side. Fold the allotted 1-inch allowance and check if all the sides and edges ideally bend and form the box’s four corners.Once you finish folding the edges, puzzle, or form a box out of 6 equal squares, in this step, you need to call one person to assist you in pasting or in putting all the tapes on each edge. Make sure it is closely packed together for its durability.
Step #5. Hole
The hole size depends on what kind of donation box you want. If it is monetary, then the hole must fit a paper bill or folded envelope. It must be horizontal and at the top of the box. But if it is clothes, blankets, or food, the top of the box must be open. And big cardboards are the best option for this kind of donation. Fix the hole if the size of the bill is not fit or correct. You can try and measure it using a ruler.
Step #6. Design
You can use the colored papers to make your donation box look presentable. Choose only one color. I prefer light colors so that the name “donation box” will be visible even in a far distance. Then use your marker and write the title in a clear, significant, and thick font. Catchy colors or designs can help your donation boxes grab public attention. Choose a design that links to your mission and symbolizes the recipient of your donation. Make your donation box simple and choose recyclable materials like cardboard.
The procedure from step 1 to step 6 will take 30 minutes to finish a simple donation box. You can also do this by yourself, but if you are scared to handle the cutter, you can seek help from your older brother, uncle, or expert in cutting jobs.
Final Words
Before we plan to make a donation box out of cardboard, we must first finalize what kind of donation drive we want and its recipient, if it’s for the church, orphans, or any non-profit organization. Then we have to be consistent and active in activities of our donation drive, and you will start that by creating an appealing or catchy donation box. This will help to generate funds and more opportunities for exposure to the public. Why cardboard? Because of its durability, easy to find, and it is a recyclable material. It is also one way you can help and contribute to our mother earth. Well, if you want to start a donation drive and plan to make a donation box, this article is an answer on how to make a donation box out of cardboard. You may be interested to know where to buy donation boxes.

