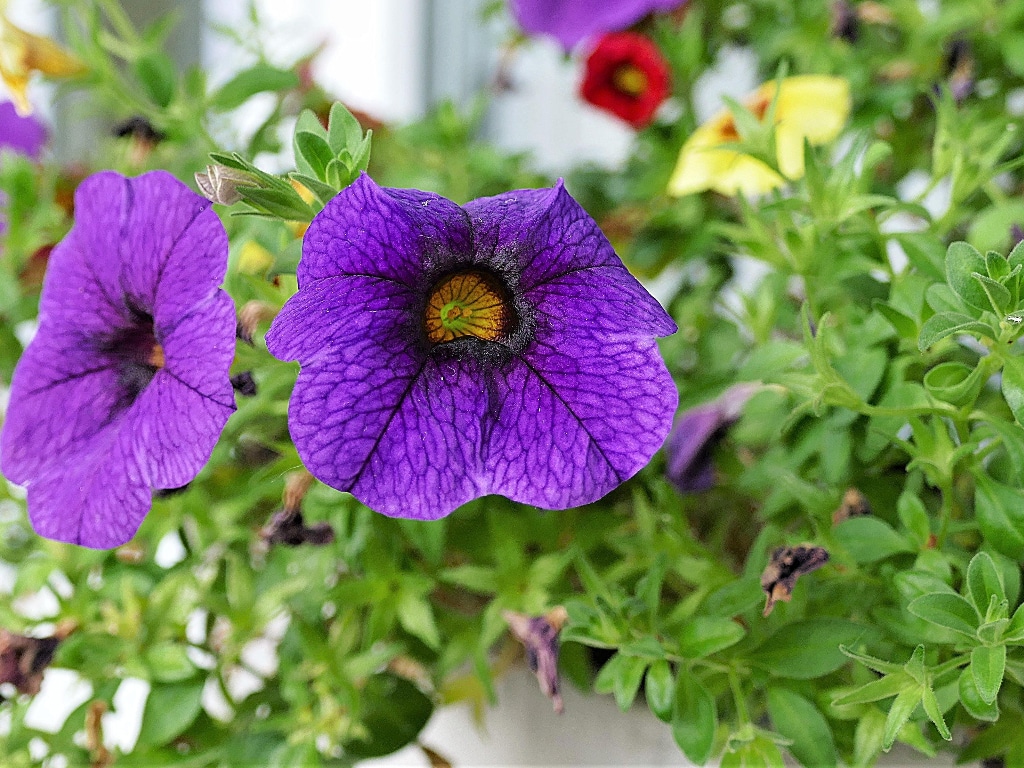
Have you ever wondered how to grow calibrachoa? Calibrachoa, also known as million bells, are beautiful plants that look much like small petunias. These plants reproduce well even in warm climates. In fact, you can grow calibrachoa all year round in the U.S. Department of Agriculture plant zones 9 to 11. For those who live in other regions, you can grow calibrachoa as annuals.

What You Should Know About Growing Calibrachoa
Calibrachoa flowers are undoubtedly beautiful, especially when they bloom in different colors. It’s no wonder why gardeners want to learn how to grow calibrachoa. You can grow a million bells from seed, but cuttings are among the most popular methods. It usually takes 60 days for millions of bells cuttings to mature, so make sure to harvest them in time.
Here’s what you should know about growing calibrachoa:
Cuttings
The best calibrachoa cuttings are taken during spring from the healthiest million bells plant in your garden. Cut three inches (at an angle) just below the leaf, and the best time to do so is in the morning when the moisture level is at its peak. Keep in mind that some calibrachoa only grows three inches tall, so you may have to cut them close to the soil.
Potting Soil and Container
Place the cuttings in a three-inch diameter pot. They shouldn’t need a bigger pot because these cuttings only need little water. A large container will hold excess water, which can stunt root development and lead to root rot.
For many gardeners, their first choice of potting soil is the organic and nutrient-rich variant. However, this can actually do more harm than good. Fungi and rotting are more likely to develop in organic potting soil if they’re kept in an enclosed space without much ventilation.
It’s better to use a soilless medium for without organic matter or nutrients so there’ll be fewer chances of problems. You’ll need to feed your cuttings every 14 days after the roots develop, but you’re more likely to have a successful rooting if you use a soilless medium. Be sure to keep your potting medium moist.
Prep
Remove all the leaves except the ones at the top of the stem. Pull the leaves at an upward motion to avoid damaging the stem. Add a rooting compound to the lower part of the stem so the roots will grow faster and stronger.
Sticking
Sticking refers to the process of placing the cuttings into the soil. Refrain from pushing them into the soil because you’ll risk damaging the stem. You’ll need to make a two-inch hole in the center of the pot and gently insert the cutting. Cover it with soil, so it stands upright.
Humidity
For a successful rooting, calibrachoa cuttings need high humidity. You can increase humidity by using a clear plastic bottle. Cut the bottom of the bottle and place it over your cuttings. Place the plant in a partially shaded area and remove the cover once the stem starts to grow.
Problems That Commonly Occur When You’re Growing Calibrachoa
Many gardeners overwater their cuttings. Instead, you can mist the potting medium to reduce the risk of excess moisture.
Another common problem is iron deficiency. If you notice that the leaves are slightly yellow, you can add extra iron. However, make sure to observe sanitary practices when doing so to prevent transmitting diseases to your cuttings.
Calibrachoa plants tend to become leggy if they’re placed in high light areas. Be sure to pinch your plants before they get woody so you’ll get compact million bells.
Growing Calibrachoa in Mini Greenhouses
Your calibrachoa cuttings need to be placed in a controlled environment for higher chances of success. A mini greenhouse is a perfect solution for propagating calibrachoa cuttings. Here are some of the reasons why:
Protect your cuttings from pests
Fungus gnats and aphids are the most common insects that attack calibrachoa plants. If left unattended, these pests can be devastating. You can keep your plants safe from harmful insects by placing them inside a mini greenhouse.
Perfect for people with limited garden space
Want to grow your own calibrachoa plants but don’t have enough garden space? This is a common problem among people who live in apartments, small spaces, etc. A small greenhouse kit is a perfect solution if you want to grow your own flowers. The standard size of mini greenhouses is around six feet, but there are smaller options as well. You can place them on your balconies, patios, decks, and even on tabletops.
Keep your calibrachoa cuttings safe from bad weather
Small greenhouse kits are great for shielding your plants from bad weather. The enclosed space protects them from snow, frost, high winds, and heavy rains. They’ll grow happily inside the greenhouse, and you can transplant them into your garden once the weather warms.
Final Thoughts on How to Grow Calibrachoa
Knowing how to grow calibrachoa is important if you want to feast your eyes on these beautiful and colorful flowers. Although these plants are easy to grow, you can still increase your chances of success if you make sure that you start with numerous cuttings from the healthiest calibrachoa plants.
