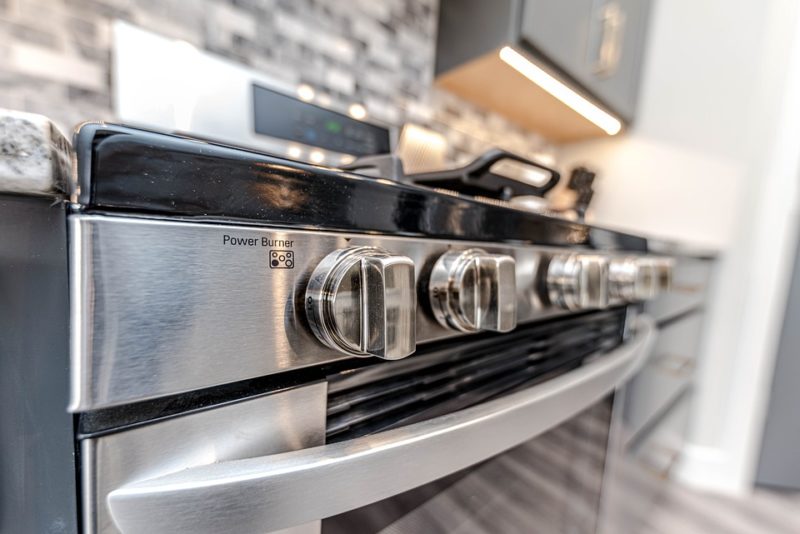
Are you trying to learn how to clean burners on gas stove tops? We got you; this article will discuss the steps and ways to get your stovetop burners back in tip-top shape.
When it comes to cooking meals, gas burners have several advantages over electric cooktops. Experienced cooks prefer the precise control provided by gas range stoves, and some refuse to cook with anything else.
On the other hand, gas stoves might lose effectiveness when the ports on their burners become clogged and impede gas flow. If a gas burner gets clogged, it will produce a poor flame or, in some situations, no flame at all. Fortunately, cleaning gas burners is a simple task. There is so much more to learn about this topic. So, delve deeper into this article!
Steps To Clean Burners On Your Gas Stove Tops
How to clean burners on gas stove tops? Gas burner grates and drip pans that are dirty and oily age the equipment, damage your cooking and provide a fire threat. However, when you know fully understand how to clean stove burners, it’s a breeze. Just do these simple steps on how to clean burners on gas stovetops. But before everything else, know the things you’ll need:
- Baking soda
- Drying cloth
- Dish soap
- Non-abrasive scrub pad
- Old toothbrush
- Paper clip
Now, let’s discuss the process, and here are the following:
Step #1. Read the manufacturer’s instructions
Knowing how to care for your appliance will go a long way toward protecting your investment. The product documentation that came with your cooktop will tell you which areas are safe to remove for cleaning, making your work a lot easier. The instructions may even advise cleaning chemicals (or products and ingredients to avoid). Doing this is a fantastic place to start knowing unclogging and cleaning burners. When you lose the handbook that’s printed, you may most likely obtain it from the manufacturer’s website.
Step #2. Burner caps should be detached
If you have a cooktop with a standing pilot light, turn off the gas before you begin. To diffuse the flames, many gas burners contain a removable ceramic cap that rests atop the burner. If this is the situation with your stove, pull this cap off the burner while ensuring the burners are cool.
Step #3. Detach the burner heads
The burner head lies atop the venturi tube beneath the caps. Lift the burner heads straight up to remove them. If your stove has this configuration, take care not to bend or damage the ignition electrode.
Step #4. Soak the components in the mixture
Soak the burner heads and caps for 20 to 30 minutes in liquid dish soap and warm water mixture. Doing this will aid in the loosening of stuck-on material.
Step #5. Scrub the burner heads and caps
Scrub all burner heads and caps surfaces with a non-abrasive scrub pad and an old toothbrush to remove food stains. If material remains in the port apertures, dig it out with a straightened paper clip, careful not to harm the metal. Don’t dig too deep into the portholes, and never use a toothpick since the wooden pick could break off and block the ports even more.
Make a solution of half baking soda and half water for really persistent stains. Scrub the surfaces of the burner heads and caps with a non-abrasive pad and toothbrush. It may take several applications, but even the most persistent stains are generally removed.
Step #6. Rinse the components
All parts should be rinsed appropriately under running water, shaken to remove excess water, and dried with a cloth. Allow for complete air drying of all aspects before reassembling the burners. While the pieces dry, you can focus on cleaning other areas of your stove, such as the grills and drip pans. You can also wash these parts with the same soak-and-scrub procedure.
Step #7. Put the burners back together
Reattach burner heads, drip pans, grills, and caps when all are completely dry. When reinstalling on the ignition stoves that are electric your burner heads, be careful not to damage or reshape the ignition electrodes.
Step #8. Relight the lights (pilot)
Relight your pilot flames on your stoves with pilot lights that are hanging in context with the direction provided by the manufacturer. Check on burners in preparation for proper operation—abnormal flame color or shape could indicate that the burner heads aren’t entirely dry or that the caps aren’t adequately set over the burner heads.
Always remember when cleaning a gas stove’s burners:
- To catch spills and prevent boil-overs on your burners, use a removable gas range guard cooktop liner that goes over the burners.
- To avoid rust, keep all cooktop components, such as grates and burners dry.
- In cleaning hardened spills on your gas cooktop, never use a knife or other sharp item.
- Keep the grates clean to avoid clogging the burners. Always read your user’s manual to know if your gas range model has grates that can be cleaned in a self-cleaning oven.
It’s A Wrap!
How to clean burners on gas stove tops? So that was all you needed to know about how to clean burners on gas stovetops! And one more thing, if the flame turns uneven or yellow, it’s probably time for a thorough cleaning. Otherwise, thorough cleaning should suffice once a month, but regular maintenance (such as spill cleanup) will make deep cleaning easier. Good luck with cleaning your burners!

