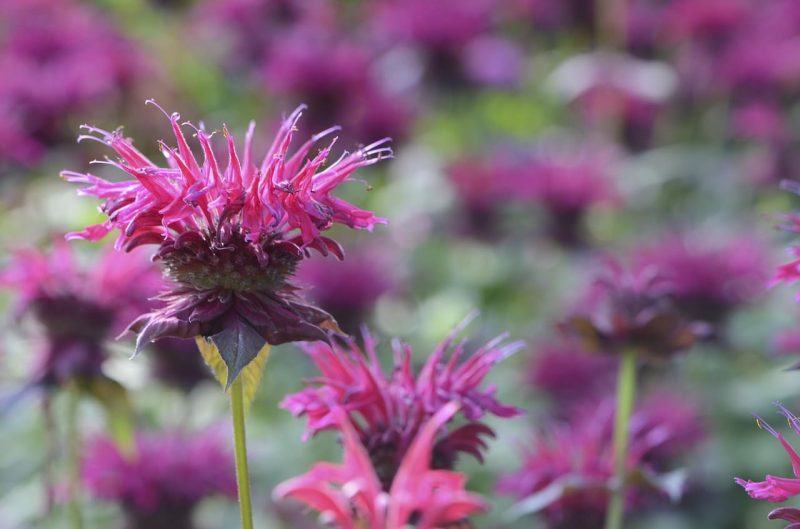
It’s simple to learn how to propagate bee balm, and you have three methods to choose from. You can also consider starting bee balm in the greenhouse to guarantee that they will root and grow vigorous enough for transplanting. Remember that bee balm grows well in zones 4 to 9, so if your climate is currently unstable, it’s better to grow indoors to prevent drawbacks.
Take comfort in knowing that bee balms are relatively easy to grow, which is also applicable in propagating them. You can also choose from different cultivars to find the bee balm plant that will thrive in your area. Overall, bee balms make an excellent consideration for any garden, and learning how to start them will be advantageous for later productivity.

How To Propagate Bee Balm For Beginners
Option #1. Seeds
Collecting seeds
You can propagate bee balm from seeds because they germinate easily. You can buy their seeds, but you can also harvest them from mature bee balms in your garden. Harvesting bee balm seeds is possible two weeks after their flowers have finished blooming and have dried off.
Simply bend the plants to collect the seeds from the flower heads. However, remember that propagating bee balm from seeds would not give you the parent plant’s specific characteristic compared to using cuttings and division. If this isn’t an issue, dry the seeds in a sealed container for a week and sow them either indoors or outdoors.
Sow indoors or outdoors
The advantage of starting bee balm seeds in the greenhouse is that you won’t get delayed in the season. If you want to sow directly in the garden outside, you must remember that fluctuating conditions will prevent germination or slow it down. You can start bee balm seeds in early spring and transplant them when they have rooted around fall or when the rainy season starts.
You can check your calendar for outdoor sowing and plant the seeds after the last frost date. Allow an inch of space between them and thin to 24 inches apart when the young plants develop true leaves. On the other hand, you can use the greenhouse to sow eight weeks before the last first date.
Option #2. Cuttings
Taking cuttings
An excellent method to get true copies of your favorite bee balms is using cuttings to root them. You can start collecting 6-inch cuttings in spring or mid-summer when your bee balms are developing new growth. Much like taking other plants’ cuttings, you want to use a sharp and sterilized knife to cut below a leaf node.
The section should be free of any diseases, and the parent plant itself should be healthy. Once you have the cuttings, don’t forget to remove all the leaves except those at the top. You can also dip the end in rooting hormone powder to encourage faster root development.
Rooting
Rooting bee balm cuttings in the greenhouse is also advantageous because you can control the temperature much easily indoors. The ideal conditions for bee balm cuttings are between 60 and 70°F. You can use pots with potting mix and cover each with a clear plastic bag, making sure that it’s not in contact with the stem.
This will maintain moisture and humidity that is supportive of root growth. You can then remove this cover once the bee balm cuttings develop root. Place them somewhere bright but out of direct sunlight, and wait until the conditions outdoors are stable before transplanting.
Option #3. Division
The final method of propagating bee balm is by division, and this also works as a maintenance practice. According to Iowa State University, it’s better to divide bee balms every two years in early spring. This will help you control their rapid spread and also create new plants.
Remember that you will need to rejuvenate bee balms after some time, and they are also prone to overcrowding compared to other plants.
Lifting
A good sign to start dividing is when you notice new shoots on your old plants. To make lifting easier, dig around the clump with a shovel. This way, you can slide under the roots and lift outward to loosen this perimeter. Slide under the clump and pry upward to lift or pull the root ball up by hand.
Dividing and preparation
Once you have the clump, remove as much soil as you can. Some gardeners divide the clump by hand, but your bee balm may have thicker roots, which are easier to divide with a knife. Don’t forget to ensure that each clump has at least two shoots with enough root system to develop without problems.
Before planting, remove all the dead, rotten, and damaged roots and stems. Plant the divisions immediately to prevent the roots from drying. You can also use the greenhouse, but some gardeners replant the divisions in the previous location.
Conclusion
Bee balm is relatively easy to grow, and you can start them yourself without issues as well. Knowing how to propagate bee balm is straightforward, giving you three options: seeds, cuttings, and division. Whichever method you choose, using the greenhouse is advantageous because of the stable conditions indoors.
In general, you want to maintain moisture and place bee balm somewhere bright and out of direct sunlight until they have established themselves. Then, make sure that the conditions outdoors are no longer extreme before transplanting.
