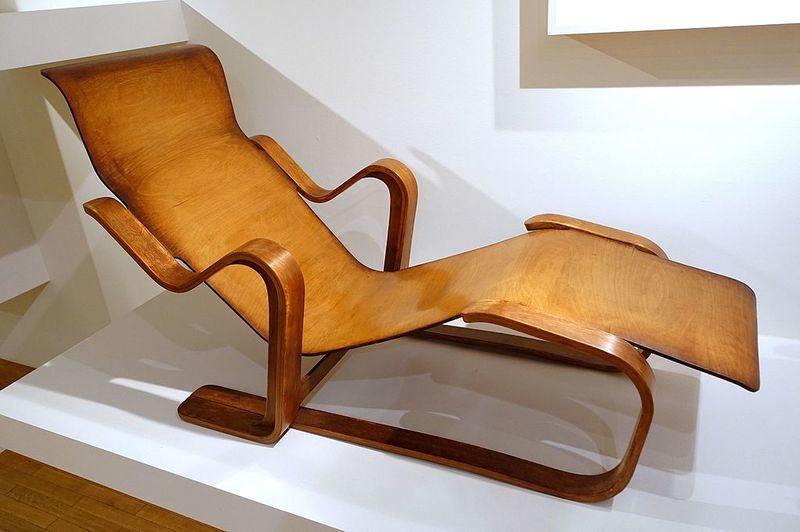
Staying at home for a long time, doing nothing, can be stressful, so you’re going to want to learn how to build a recliner chair with our four easy steps. They’re not the usual project goals that you see daily, and they definitely require some skills. However, recliner chairs are pretty intriguing that we’re sure you’ve been wondering how they were made at some point.
Recliner chairs are one of the usual contents of family houses all over the world. They are those chairs that look like a sofa that can be reclined and adjusted to your preferred angle. If you still don’t know what we mean, then think about airplane seats or car seats.

These types of chairs have been widespread and are present in all sorts of environments. You can see them either indoors or outdoors. There are even recliner chairs made with simple steel and fabric that you can bring to the beach.
Since they are also used and enjoyed throughout all age groups, a reclining chair you’ve made can now be used until you’re older and have children and grandchildren. So let’s talk about how you’re going to make it!
Steps In Building A Recliner Chair
Making a new chair from scratch is a whole new level of craftsmanship, but we’ll start with something simple and sturdy. You can then build your way through more complex and personal design from learning the basic concepts. Here are the steps in making a recliner chair.
Step #1. Get a well-detailed plan
Since making a recliner involves more than just making a chair, you’re going to need a highly specified plan of work. The main focus of the chair would be the mechanical part you’re going to attach.
Note that a recliner chair needs a backrest that can be tilted up and down to allow the user to lie down. Some even feature additional footrests to add some convenience.
Now, you can provide the reclining action in a couple of manners. You can use a single inclination lock that requires a less mechanical device and needs just a few additional screws and wood. If you want something smoother and capable of getting raised to a variety of heights, then you’ll need to acquire more intricate reclining parts.
First, draw a look for your chair, both on its classic look and the reclined. Next, draw the chair in each of the following views: front, left, right and rear. This is like drawing a blueprint of the chair so make it as detailed as possible, with dimensions and proper labels.
Step #2. Buy all the raw materials and bring them to your working area
Once the plan is fully ready, we can now start dealing with making the chair. We recommend that you personally visit the hardware you’re planning to acquire your materials rather than ordering them for deliveries. Hardware products, especially wood, are so unique to one another that it’s best if you get to check the items you’re going to need.
We’re going to do a multi-inclination chair, and we’re also going to use solid wood frames for the chair. You can buy the recliner part on the hardware; just ask for the recliner mechanism. Some of the shops that prepare this part will ask you to preorder this.
It would be hard for the wood to recommend a specific one since availability will dictate its price. We suggest that you pick something sturdy and tough. Talking with the staff at the hardware shop will also help you choose the correct item.
Step #3. Prep the wood
Cut the parts of the chair base into the dimensions you have previously recorded. Make sure you label each piece for easy identification when you assemble. Use a level to ensure you create good angles which will make proper fittings later on.
After cutting all the parts, treat them with substance to keep the termites and other wood-deteriorating insects off your chair. Follow the instructions of the chemicals concerning application and soaking periods.
Step #4. Assemble all the parts of the chair’s base
Now, you can take your hammer and nails and start putting up your chair. Make sure you double-check parts before hammering them together. We encourage you to fill gaps left after nailing with wood putty.
Fit the recliner part into the base before you cover it with your seat surface. The fitting and fixing of this reclining mechanism will depend on where you obtained the part, so make sure that their staff properly explains the process to you.
Check that the reclining part is moving properly and not getting caught on other parts. Then, attach the seat surface and all the different parts of the chair.
Smoothen all the surfaces of the chair with sandpaper and brush off all the dust. You can then paint or apply varnish to it, or if you have the skill, you can also attach some cushions to turn it into a sofa.
Conclusion
We have shared our easy steps on how to build a recliner chair, covering as much as possible. There might be some strange turn-outs when you’re already hands-on working on the project, especially if you have no experience. Just keep pressing on, and you’ll definitely make it work.
