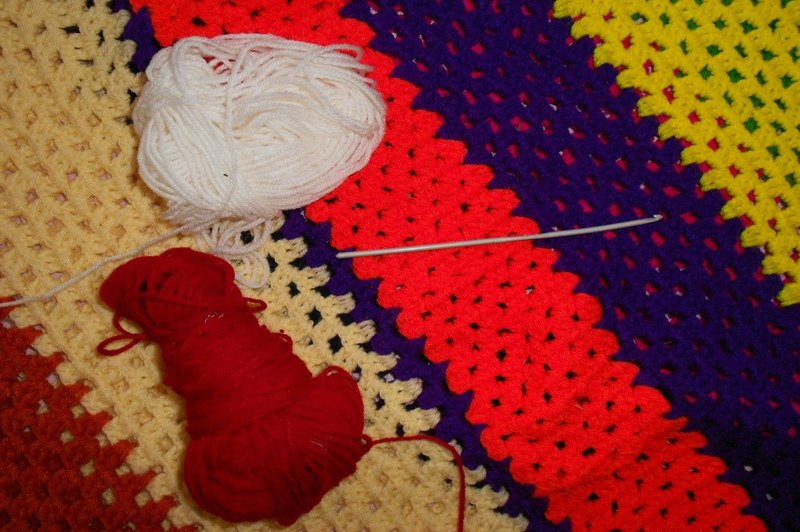
If you already have a blanket, wouldn’t it be nice to know how to crochet a name on a blanket by yourself and be able to do it with four quick steps?

Crochet blankets are so popular these days that it’s even more fulfilling to beautify one yourself.
What more would be better to add to your blanket than a crocheted name?
Crochet adds more features to a blanket name compared to other ways of stitching.
Though it’s only limited to knitted or crochet mediums, crochet names add dimension, texture and unique feel to the name.
If you plan to give the blanket as a gift, crochet names will make your package stand out and memorable.
If your blanket is not crocheted or knit, you still add a crochet name by making it a patch.
However, you’d still need a crochet background for this patch, but it should be easy to learn how to crochet a small square for this purpose.
It can be a bit trickier to make, but crochet names are definitely worth the try.
Step-By-Step Guide On How To Crochet A Name On A Blanket
Making crochet names is a bit different from doing plain crochet blankets.
Since it already involves an already made blanket, your name would have to adjust properly to be stably attached to the blanket.
Here are some steps we suggest you follow.
Step #1. Draw the letters on the blanket
First, you need to make a chart that has the alphabet patterns on graph paper. It would help if you had this to serve as your model.
This is so you can know how to position your letters, how big will your name be, and see how the curves and corners of each letter must be plotted on the blanket.
You’ll avoid getting confused while working if you use a pencil or any chalk that will come off after washing.
Draw the letters of your name on your chosen position by copying the alphabet chart and following the horizontal and vertical lines on the crochet blanket.
You can bold your letter drawings to approximate the size of the yarn that you’re going to use so it will be easier for you to trace it later on.
Step #2. Place a locking mark on your first knot
We recommend that you start your crochet near a corner, so it’s easier to see if your crochet name follows a definite line on the blanket.
If you’re undecided as to which knot to start, pick the knot that’s four rows from each of the two edges of the corner.
Place a locking stitch marker on your chosen first knot. This will serve as the basis of all the other letters of your name.
Step #3. Start the crochet
To start, you need to make a pull-stitch on the first blanket knot aligned according to the direction of your letter.
Push your hook across the bottom of your first knot, then pull a loop of the yarn through the stitch back to the top layer of the blanket.
Next, let the loop you created stay on the upper part of the hook, then loop the shorter end(tail) of your yarn around the hook and pull it inside the first loop you created.
Slightly tighten the tail after this.
Step #4. Make chain stitches until you form a letter
Create a chain stitch by pushing your hook through the next blanket knot.
Wrap a loop using the longer end(head) of your yarn around the hook, then pull the hook out of the knot.
Make sure that your hook doesn’t carry the previous loop before the one you’ve just created.
This is also referred to as a slip stitch, where you pull the head around the next knot then through the preceding loop that’s already on your hook.
You can check if you’re doing it right by seeing a pattern where only one loop remains on the hook every after knot on the blanket, and the loops you initially created form a chain.
To create corners, turn the blanket to the desired direction and slip your hook to the knot right beside the corner, then continue with the chain of slip stitches.
For curves, slightly bend your chain’s direction to follow the letters you initially draw and make slip stitches. Keep making slip stitches to form enough chain to create the letter.
After forming the letters, lock your tails by knotting them to the loops. Cut the excess yarns, and you’re done.
The backside of your blanket should also look like the front side.
Crocheting your name on a blanket would look a bit better than doing cross-stitch since it’s neat, and the back part will also look good.
It’s also suitable for beginners since creating a mistake somewhere will not require restarting the entire process since you can easily pull off the part that needs to be repeated.
You can use a medium-length yarn so you don’t have to worry about it messing up while you’re working.
However, don’t use too short yarns since it will smudge your project when you try to extend it.
Conclusion
It’s a bit complicated to learn how to crochet a name on a blanket on your first try, but we urge you to keep going and practicing.
Once you’ve mastered one way of adding names by crochet, you can always move on to the next.
After all, there are many techniques to learn in this art, and someday you can even move to do complicated embroideries on your blanket.
