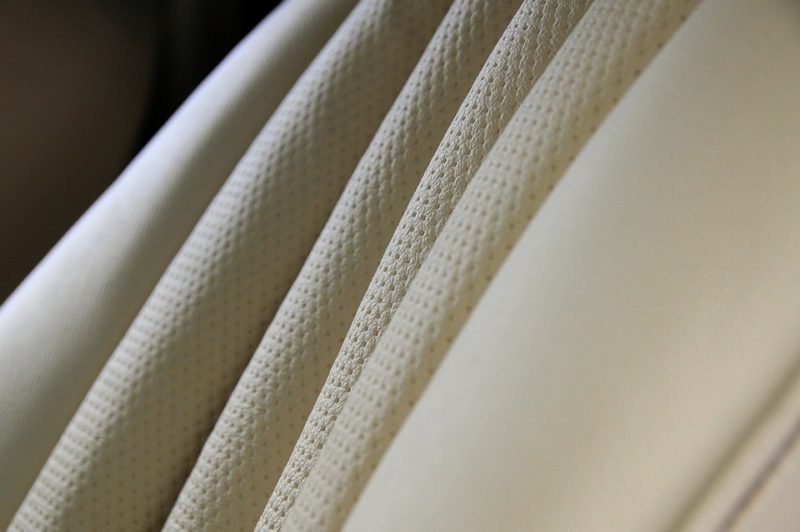
Those who want to know what is piping in sewing can analyze the name itself. This is because it’s similar to a pipe that you’ll add as a trim on the seam. We will discuss how to make one below and even the uses of piping.
Are you unfamiliar with other sewing jargon as well? For example, please navigate our blog to learn what is baste in sewing or what is interfacing in sewing.

What Does Piping Mean In Sewing?
What is piping?
Piping is essentially a fabric or bias binding folded over a cord, hence the name since it looks like a pipe. It is also interchangeable with the terms welting and cording that you’ll usually see in garments and upholstery. You can even consider it a trim that you can add on the seams of sewing projects, and you can buy ready-made ones or make one yourself.
The following is what composes the piping:
- A strip of fabric such as a bias tape with the design suitable for the project, i.e., it can be contrasting or similar to the main fabric
- A cording that comes in different sizes and is made of foam, paper, or cotton according to the flexibility or body you want
What is the purpose of piping in sewing?
Piping is attached to the edge of the sewing project material to give it a better-finished look. The cord inside also enhances the seams by giving it extra body or structure. And when used in garments, the piping can define the lines of the project.
How Do You Make Piping For Sewing?
- Prepare the materials needed, such as the bias tape and cord that matches your needs for the project
- Wash, dry, and iron the fabric to make it easier to work with
- Cut the piping on the bias at a 45-degree angle according to your project’s shape and size
- Cut fabric strips according to the cording width with seam allowance multiplied by two and the length based on the project’s size with some extra inches
- Lay the fabric strip wrong side up and place the cord in the middle of the material
- Fold the fabric in half and pin to keep everything from sliding
- Place the piping under the sewing machine’s zipper foot and stitch along it
- To attach the piping to the project, place it along the seams right sides up and pin
- Sew on top of the stitches on the pipe
- Place the other piece of fabric over the piping right sides together and pin with the piping in the middle
- Flip the project over and sew inside the stitching line
- Trim the seam as needed
Is Piping The Same As Bias Tape?
Piping is not the same as bias tape, but it uses a bias tape as the fabric strip covering the cording. On the other hand, a bias tape is simply a fabrics strip cut on the bias or the 45-degree angle across the weave of the material. The result is an elastic fabric strip that is useful for piping.
How to make a bias tape for piping
- Trim the selvage of a fabric piece and make a triangle on the top corner of the fabric that is folded and aligned against the bottom edge of the material
- Trim off the triangle and move it to the left side to end up with a parallelogram
- Pin the two edges right side together of the straight edges
- Sew and press the seam of the fabric open
- Make parallel lines to the edge with an angle and a width according to the size of the piping cord
- Mark half an inch of the seam allowance on the top and bottom edges
- Fold the fabric right sides together and match the two strips along with the seam allowance so you can cut one line of material
- Match the lines you made along the seam and pin to form a tube
- Sew and press the seams flat
- Cut along the line marks to end up with a strip of fabric
What Sewing Foot Do I Use For Piping?
The ideal sewing foot for inserting piping is the zipper foot. This is because it allows the needle to stitch close to the cording. Here is how to insert piping to the seam with a zipper foot:
- Pin the piping to the right side of the project with their raw edges aligned
- Trim the piping’s seam allowance to prevent puckering before sewing
- Allow the piping ends to fall outside the stitch line when sewing it to the project
- Place the other fabric piece of the project over the other material right sides together
- Sew close to the piping and turn the materials right side out to finish
Conclusion
And that’s it! To answer what is piping in sewing, it’s essentially a bias tape covering a cording that you can add on the seams of a sewing project. This will add body or enhance the finish of the project.
You can use the sewing machine’s zipper foot to attach the piping that you can buy or make yourself. We hope this was a helpful read, and if you want to know other ways to finish the fabric edges, read what is serging in sewing.
