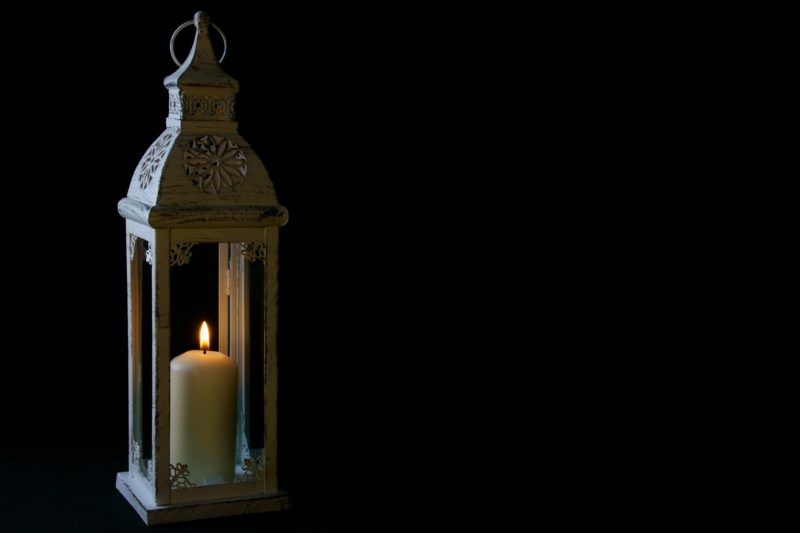
When it comes to candle-making, all you need is some great ideas. It’s simple to make a DIY candle. In this article, we will show you 15 tips in making a DIY candle for your home or office.

What You Will Need
Many of the tools you need for making a handmade candle are things you probably have around the house, or can easily find at your local arts and crafts store. The other items can be found in hardware stores.
* Wax
* Candlewick
* Candle dye (or food coloring)
* Candle scent (or scented oils)
* A pot to melt the wax in
* Heat source (a stove, hot plate, or electric melting pot)
* Paper towels or rags for clean-up
15 Tips in Making DIY Candles
When making candles by yourself, follow these tips to create the best homemade candles.
- Start with clean, uncolored wax. You can find wax sheets or chips at craft stores or online candle-making suppliers.
- Make sure you have your wick ready to go before you start melting the wax because once it’s hot, it won’t take long for the wax to harden and cool off again.
- Never leave melted wax unattended because even low heat can cause fires or burns if not monitored carefully throughout the entire process of making a candle.
- If you want to make colored candles, adding dye is an important step to make your DIY candles look great! When purchasing dye for coloring beeswax, remember that darker hue colors typically require more dye than lighter ones.
- When heating the wax, make sure to stir often and never let it come to a full boil. If you notice that your wax is starting to smoke or smell burned, remove it from heat immediately.
- Using a double boiler helps by evenly distributing the heat from your stove’s burner across the surface of the wax in a gentle manner. You can also find electric melting pots at most craft stores which are very useful for candle-making projects.
- Slowly add scent to melted beeswax and stir well before adding another drop of oil if necessary. A little bit of essential oil goes a long way, so add carefully!
- After you remove the wax from the heat source, allow it to cool to about 150 degrees Fahrenheit or 65 degrees Celsius. You can speed this process up by placing your container of melted wax into a bowl filled with ice water or cold running water.
- Once the wax has cooled down, test your wick-holder by pouring a small amount of hot wax into a tin can or jar lid and sticking your wick in there. If you notice that the wick floats up as it hardens, make sure to make a few adjustments before you start making candles. These may include trimming the wick shorter or securing it better with something like tape around its base.
- Carefully place the wick into the center of the candle and wait for it to harden. You can put it near a fan or window that has a cool breeze to speed up this process.
- Using your wick-holder, dip your wick in hot wax several times, letting it dry between each step. This will ensure that your candle doesn’t burn too fast or unevenly when you start burning it later on.
- Leave about 1/2 inch of an unsealed opening at the top of your candle container so you can pour the more melted wax in there after the first layer is solidified (usually within two hours). Continue with this process until your candle is as tall as you want it to be, and then let it sit undisturbed for the rest of the day or night.
- The next day, carefully remove any wick holders you used before and fill in any “holes” that may have been created by dipping your wick holder too many times by pouring more melted wax into them.
- Trim off any extra bits of the leftover candle with scissors. Now add a pretty container and enjoy your homemade candles! You can make all sorts of scented candles using essential oils like lavender oil to help keep insects away, orange oil for its fresh scent, cedarwood oil for making a manly candle, eucalyptus oil for keeping the air clean, and so on.
- If you want to keep your homemade candle for a long time, make sure you store it in a cool, dry place because sunlight can cause the wax or dye to fade over time. You can also try dipping your candle again once it’s been burned out if that seems like an interesting idea!
Conclusion
So there you have it! 15 very helpful and easy tips for DIY candle-making. If you follow these steps, you can make your own candles at home without too much trouble! It’s a try; you might end up loving it as well as learning lots of new skills such as arts and crafts along the way. Have fun and share your results with us in the comments section below!
