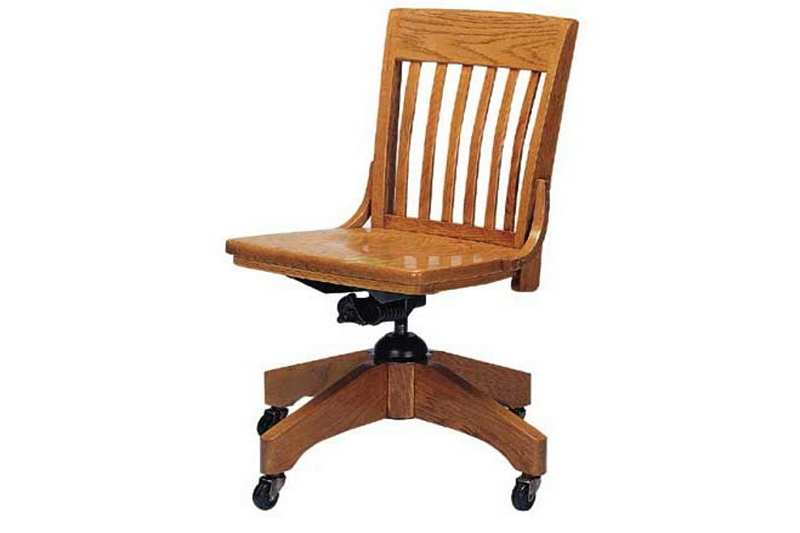
There are many reasons people want to reupholster their oak swivel chair. Maybe they’re tired of how the chair looks and wants a new style, or maybe they just need to repair it because the fabric has been damaged. Whatever your reason for wanting to reupholster an oak swivel chair, there are some things you should know before starting.
You will need replacement fabric and upholstery supplies to complete this project successfully. This blog post will provide all of the details so that you can get started on turning your old oak swivel chair into something beautiful!

Steps on Reupholstering an Oak Swivel Chair:
Step 1. Start by taking the old fabric off of your chair. You will need a screwdriver to remove all of the screws from the frame, and then you can use scissors to cut through any velcro or ties that are holding it on. Make sure not to discard this fabric because you might be able to reuse it later!
Step 2. Now measure how much replacement fabric you will need for each side of your chair (including both arms). Usually, one yard is enough but if they’re long heavy pieces like tapestries or other textiles, two yards may be necessary.
Once again make sure not to throw away any leftover scraps as they could still come in handy later! Write down how many yards total are needed so when ordering more online remember how many yards you need for both sides of the chair.
Step 3. Once your fabric is cut to size, place it on top of what’s left from the old cover and use a staple gun to attach them. Don’t worry about how messy they are at this point because once you’re done with all four corners they’ll look professional!
Step 4. Place more staples in each corner to make sure that there’s enough support before moving onto another one.
Now flip over the seat cushion so that it’s facing upwards and repeat these previous steps but remember to be careful not to go too high or else you may puncture through the padding underneath which will eventually lead down into an uncomfortable sitting experience for whoever sits on it next!
How do you reupholster a non-removable chair seat?
If you have a chair seat that is not removable then you will need to remove the entire fabric from one side of it.
You would do this by removing staples or tacks and pulling up on the old fabric to try and get as much of it off in one single motion before folding it back so that there are still about 12 inches left attached underneath where we started, like how an open present package looks when opened.
Then you’ll flip over the other side of your chair’s cushion which should be facing upwards now with just enough room for both hands to fit under its edge without touching any part of its padding and grab hold tightly onto the sides while pushing down at once using our body weight until all six legs come free from their respective holes.
What materials do I need to reupholster a chair?
#1. Quantity of fabric. A good rule of thumb is to have a yard per linear foot or about two yards for the seat and back cushions, depending on how how much cushioning you want (more padding means more fabric).
#2. Thread in matching colour if possible.
#3. Straight pins. If using clips to attach the upholstery undercarriage to your chair’s frame, but enough so that each clip can be attached with at least one pin on either side.
#3. Hammer & nail punch tool as needed for furniture repair/replacement. This will only need to be used if there are any screws holding metal parts together that need replacing, such as hinges and brackets. Newer chairs might not require this step but it’s always worth checking.
#4. Scissors and needle-nose pliers as needed for fabric cutting/preparation. If you’re using clips, be sure to have scissors handy so that the upholstery can easily be unfolded from its cardboard packaging without having to cut it with a knife.
A foam roller or other type of cushioning material (optional) for seat cushions only if desired .
How do you reupholster a bucket chair?
A bucket chair is a flexible, soft-sided chair with an open bottom and back. Bucket chairs can be upholstered in any fabric type imaginable but are most often seen lined with vinyl or faux leather. When reupholstery time comes around, the process of how to reupholster a bucket chair is quite simple as long as the filling inside it isn’t replaced at the same time.
The first step is to unzip the old coverings so that they’re lying flat on either side of the seat cushion (or remove them completely) and then lay your new material over top.
If you want to secure these pieces together, staple down all four corners for added stability before proceeding; otherwise, just go ahead and fold the material over at the front of the seat cushion – this will be how it covers up your old cushions.
The next step is to remove any staples that are in place from where you removed the coverings on either side of your chair’s seat section first.
Grabbing a staple remover tool, start removing these metal pieces one by one while holding your new fabric taut so as not to disturb its shape or stretch it out too much.
Once all of them have been taken out (or if you used a piece of decorative trim), grab hold near the edge and pull towards yourself slowly until there’s enough space for you to slide your hands underneath; then do just that carefully before pulling again with both hands firmly.
